
Screens
The Screens program area is the archive of all the templates stored in the software, your screens from the templates you use and your self-created screens.
It is divided into the following two areas:
- Template Area → upper area with software templates
- Screen Area → lower area with your screens
TOPIC OVERVIEW
The respective sections describe the properties and functions of the program area according to the following structure.
| AREAS | → | Description of the 2 work areas in detail |
| VIEW | → | Setting the program area view |
| NAVIGATION | → | Navigation within the program area |
| SEARCH AND INFORMATION | → | Finding screens / getting Screen Info |
| ORGANISATION AND EDITING | → | Organising and editing screens |
SYMBOL EXPLANATION
To support you, you will find an icon in front of each heading that informs you about the availability of the functions:
| | | The function applies to the entire Screens program window. |
| | The function is available for the entire Screens program window, but can be controlled individually for the Template Area and user-specific Screen Area. | |
| | The function is only available in the user-specific Screen Area. |
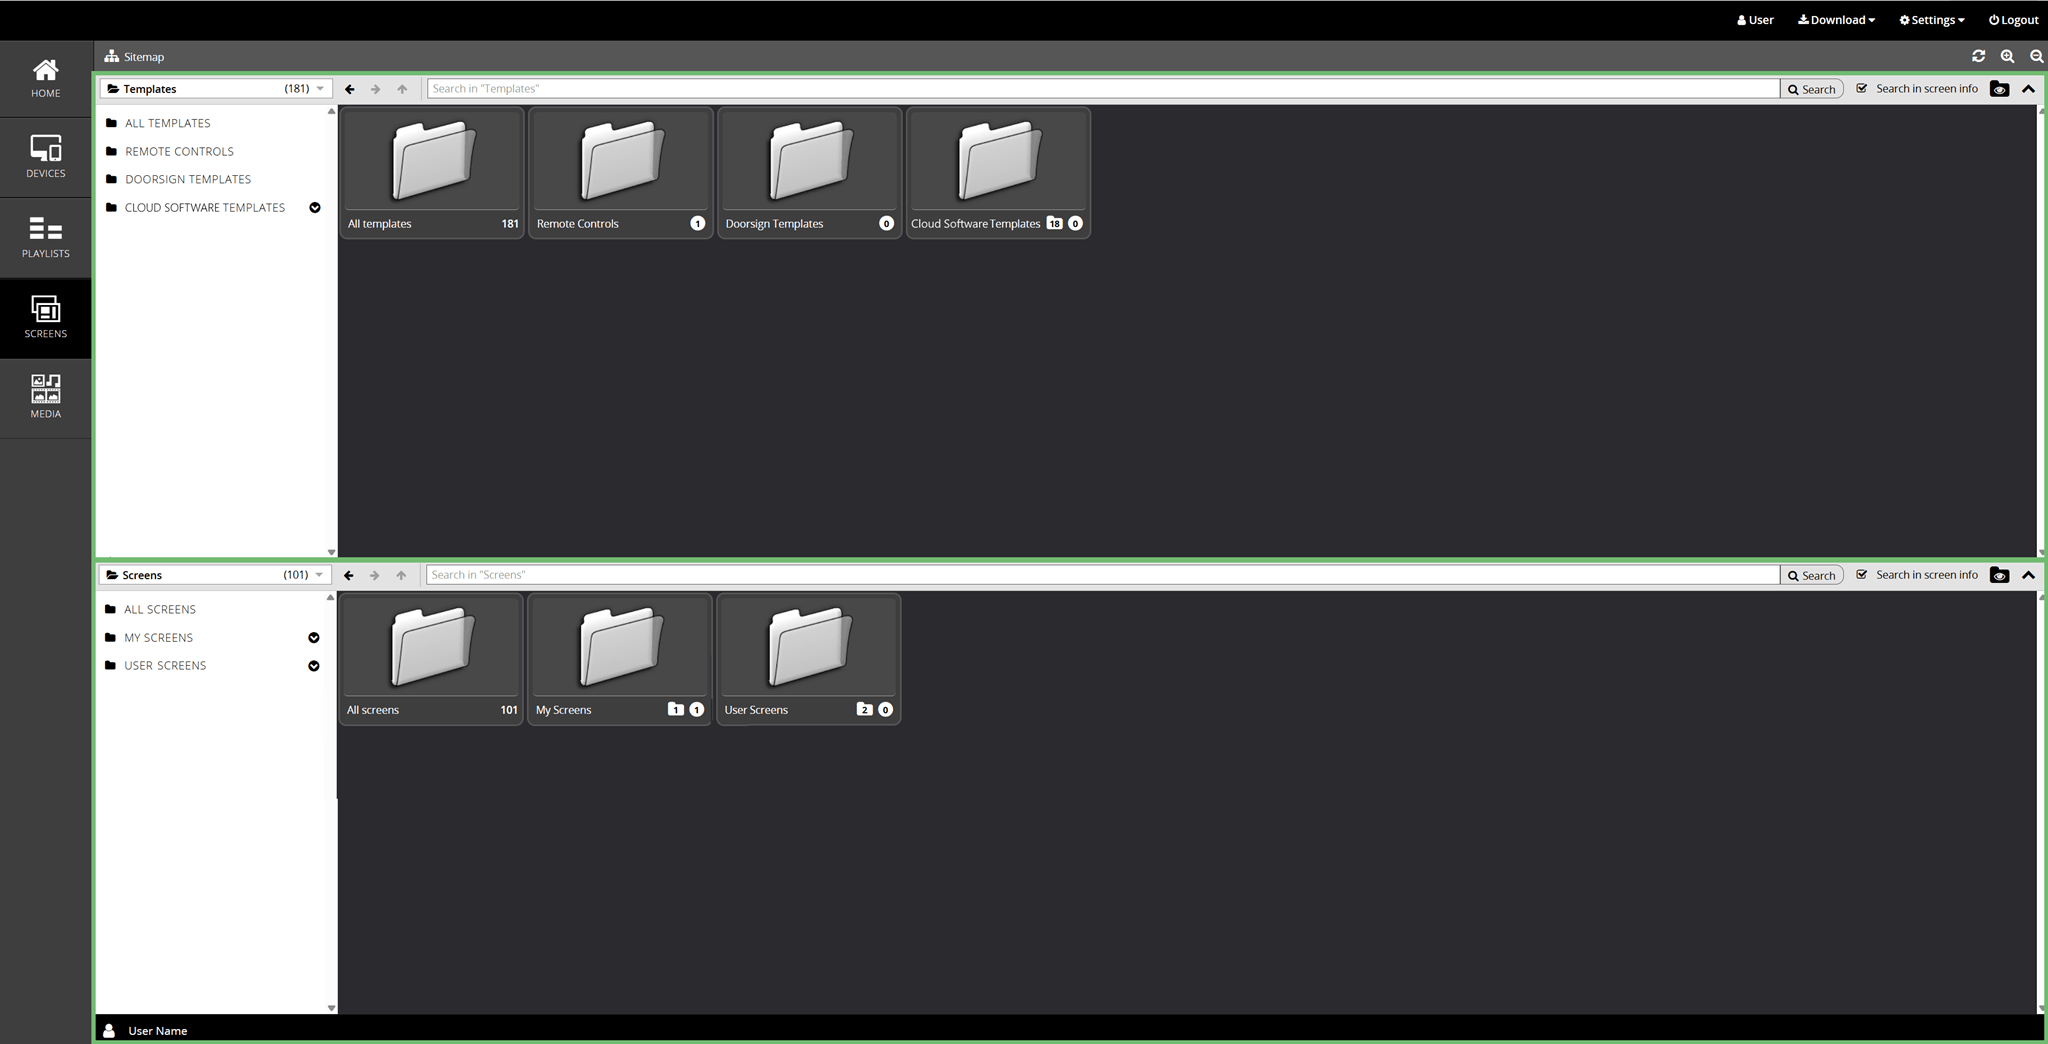
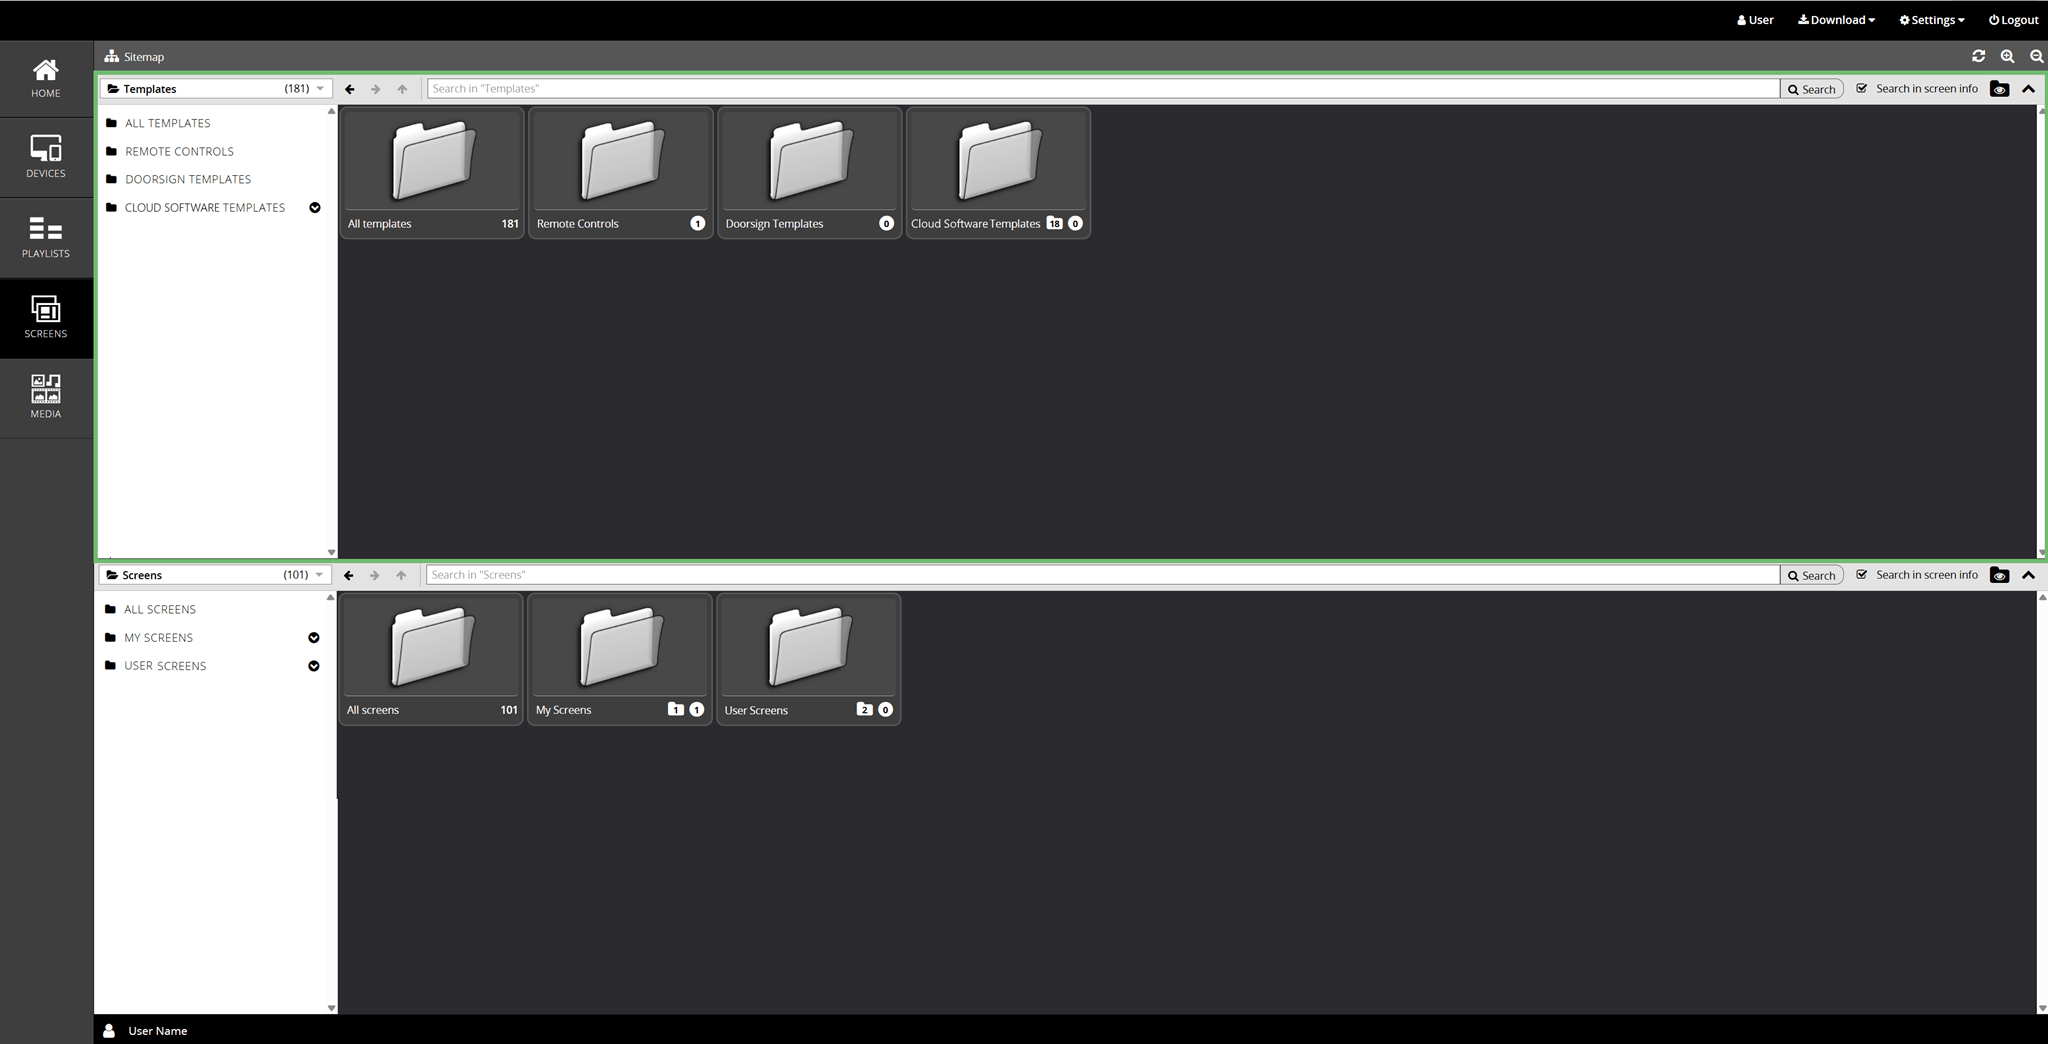
AREAS
In the upper part of the program area you will find the Template Area and in the lower part your Screen Area. Please read the following sections.
| | Template Area |
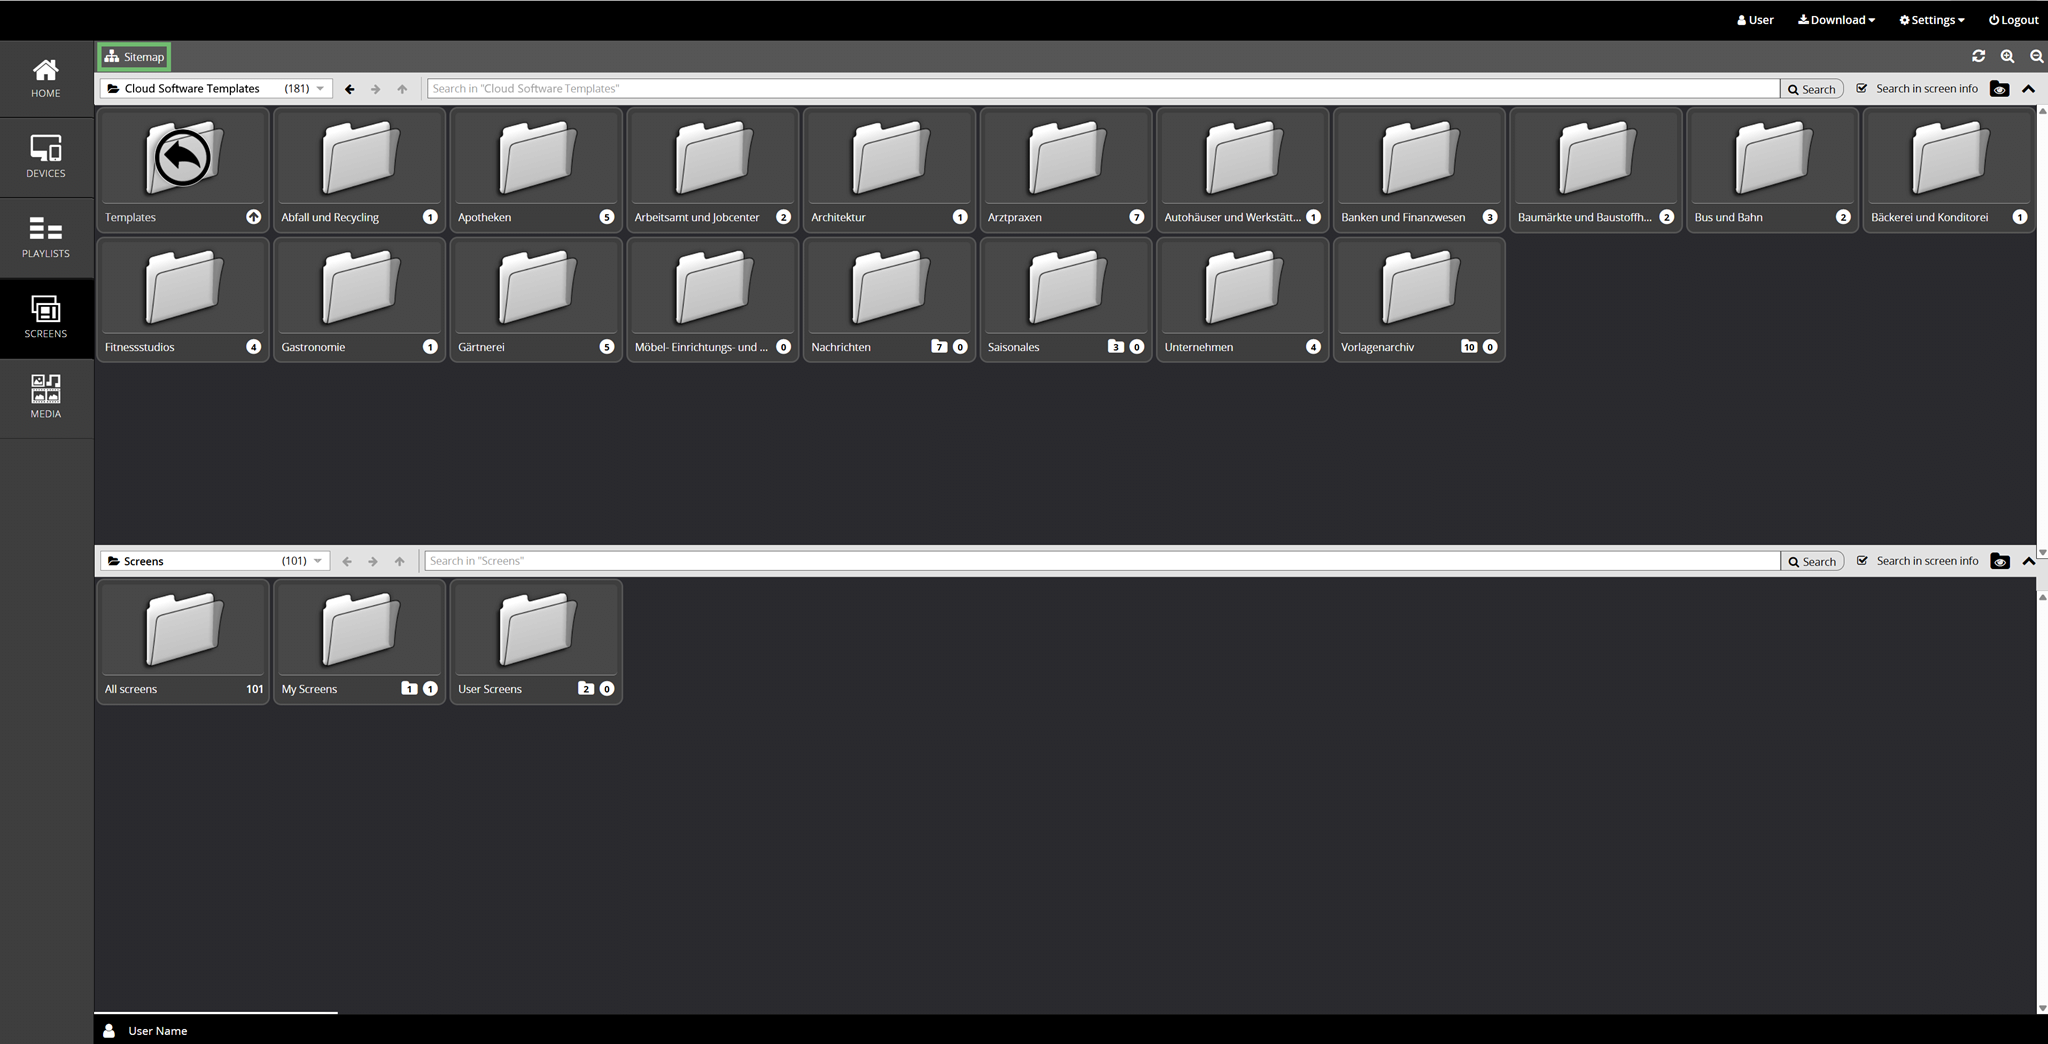
Here you will find a selection of ready-made templates for a wide range of topics and industries. You cannot make any changes in the Template Area. However, you can quickly drag and drop the templates into your Screen Area. From there, you have many options for customisation. This means that the templates can also be easily used across different topics.
Display options for the templates:
| ALL TEMPLATES | → | All software templates are shown here. |
| CLOUD SOFTWARE TEMPLATES | → | Shows folders sorted by industry that contain topic-specific templates. |
| REMOTE CONTROLS | → | If you have authorisation to display remote controls, they will be shown here. |
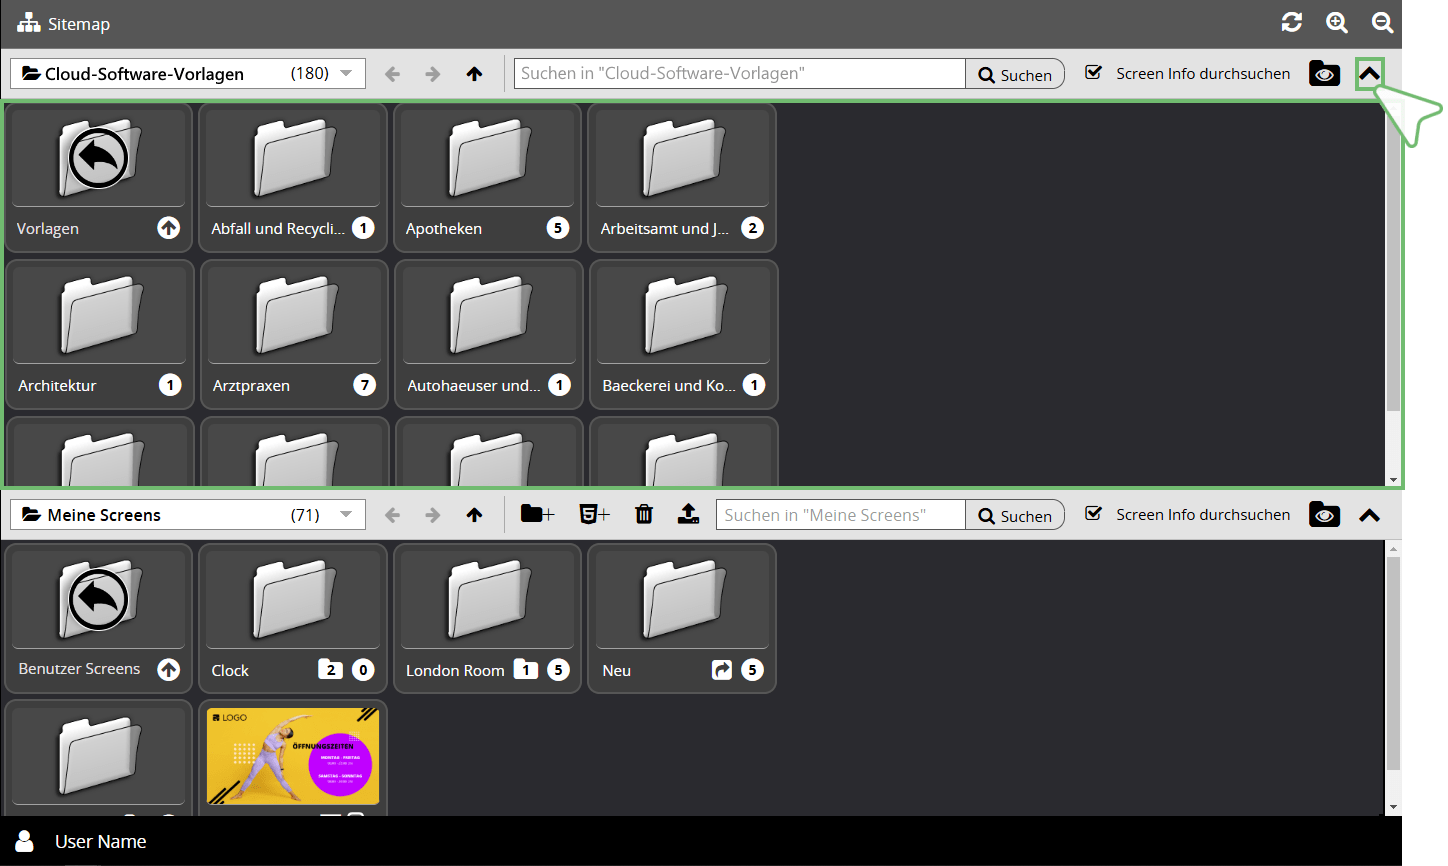
| | Screen Area |
You can make changes in this area. Store selected templates from the Template Area here to edit them. Save the screens you have created yourself. Create your own folder structure for yourself and your sub-users for a better overview.
Options for viewing your screens:
| ALL SCREENS | → | Overview of all templates used and self-created screens. |
| MY SCREENS | → | Administrator Area with Administrator Folder. |
| USER SCREENS | → | Here you can create folders for your users and save screens customised. After opening a folder, edits can also be made from here. |
VIEW
You can use the following functions to optimally adapt the view of the program area to your current editing process.
| | Update View | |
 | | Click this button to refresh the view of the entire area. |
| | Change View Size | |
 | | Click this button to enlarge the folders. |
 | Click on this button to show the folders in a smaller size. |
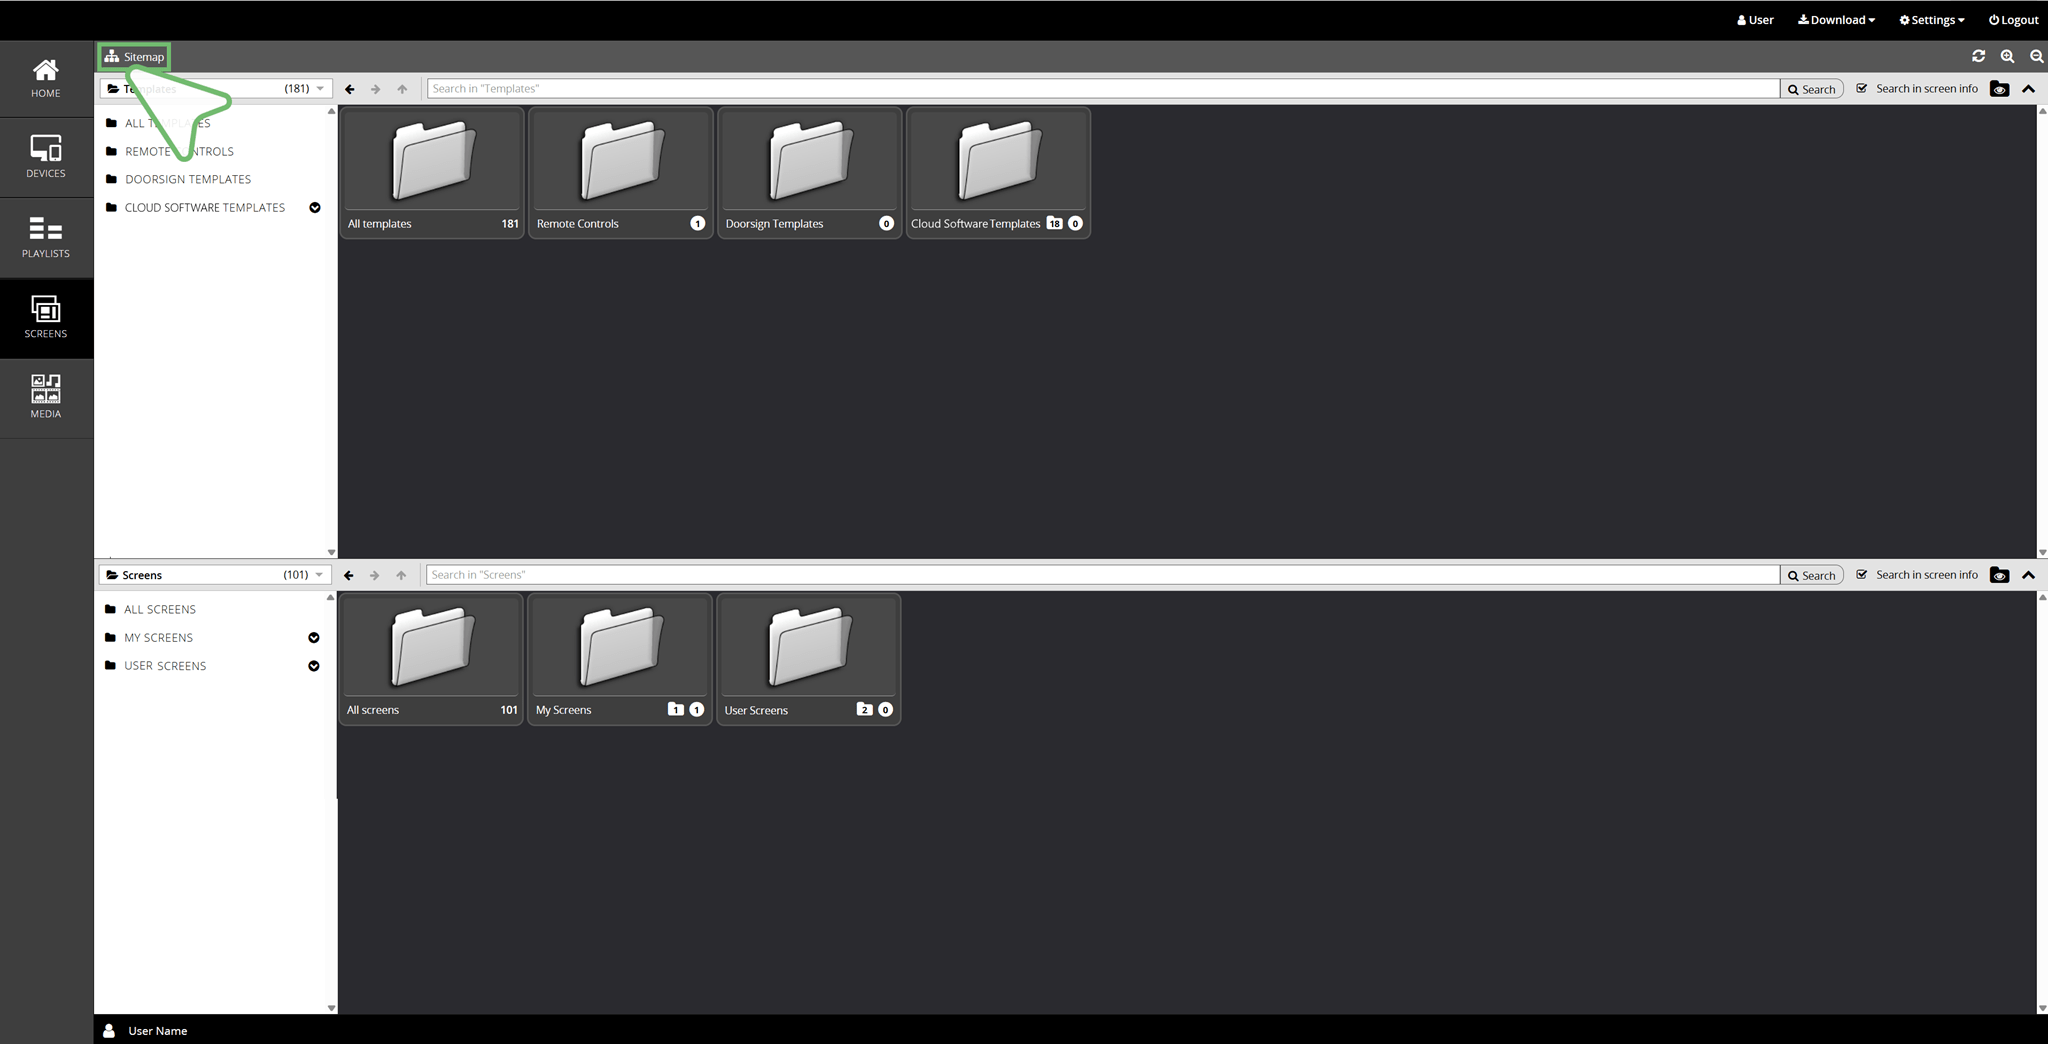
| | Show And Hide Sitemap | |
 | | At the top left you will find the Sitemap function. This allows you to show or hide the folder directory. |
Sitemap → Show
You can select the folders in the sitemap with a simple click.
Hide → Hide
Use this to enlarge the Template Area and your Screen Area.
| | | Show And Hide Folder Structure |
Click on the function to change the view in the desired area. You can either work via the folder structure or display the folder contents.
 | | Folder Structure → Show |
 | | Folder Structure → Hide |
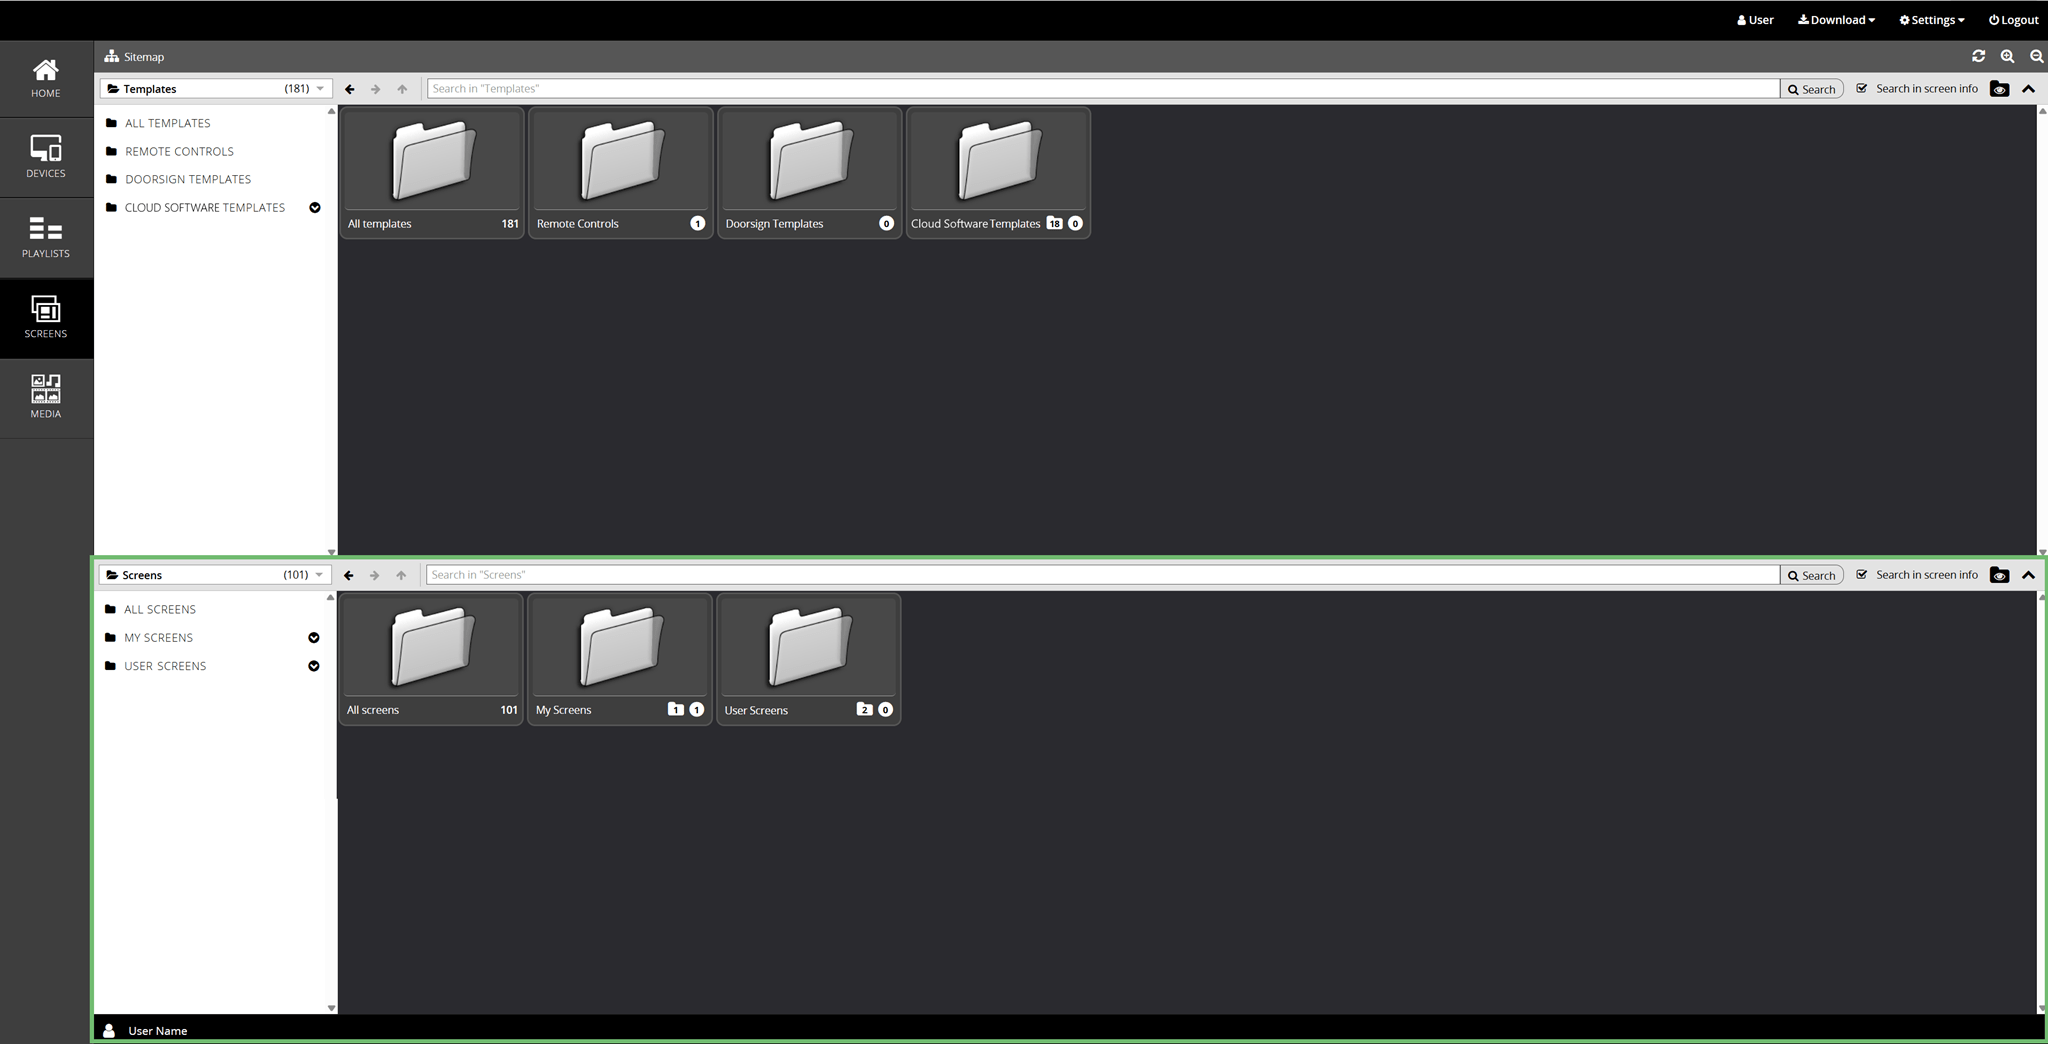
| | | Show and Hide Areas |
If you do not currently need the template area or the screen area, you can hide them using the corresponding arrow button. This creates more space for the area you currently need.
 | | Area → Show |
 | | Area → Hide |
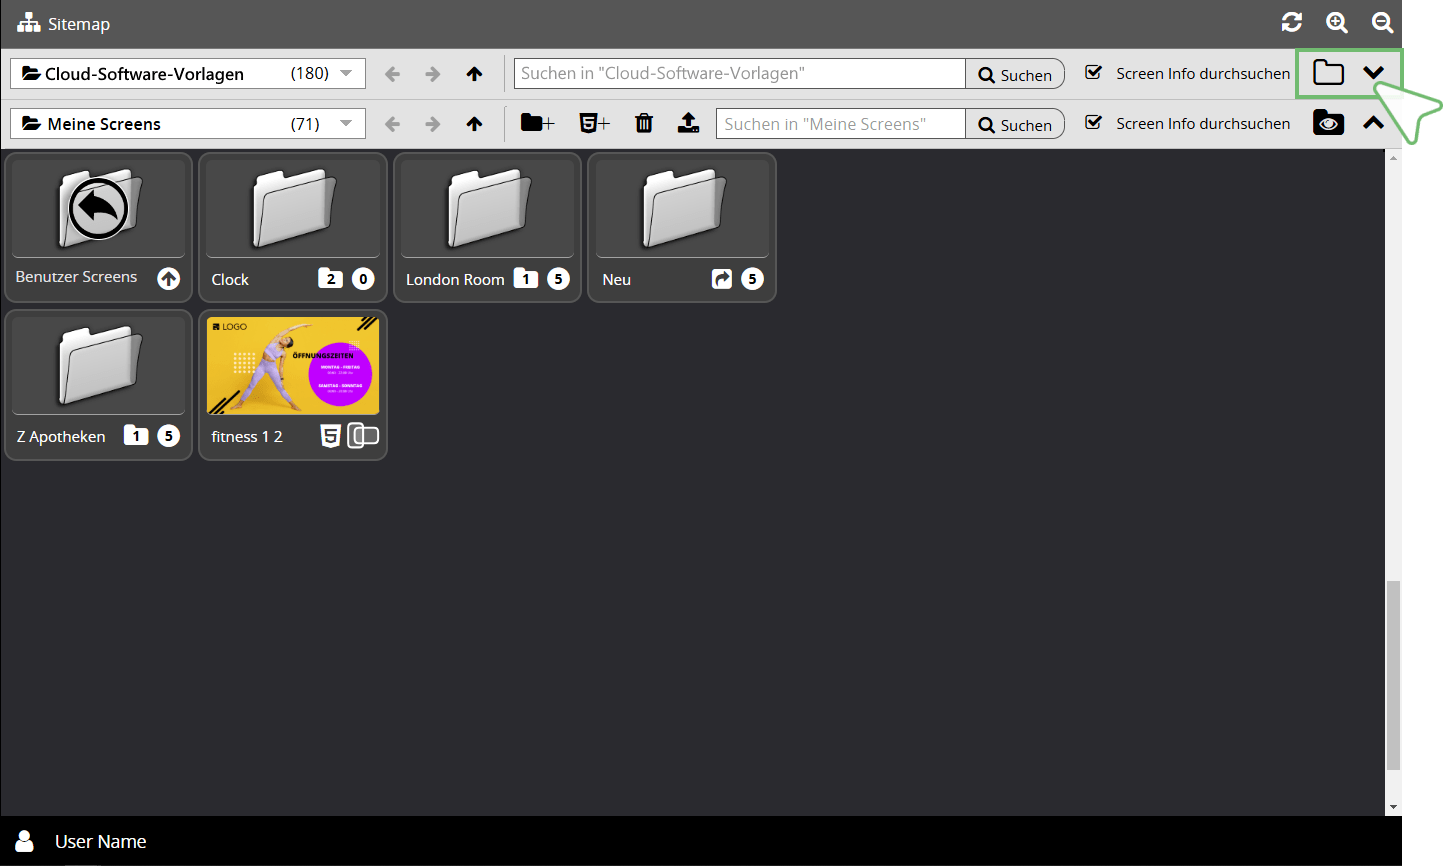
NAVIGATION
Each area has a navigation bar at the top with functions that allow you to navigate through the areas separately.
Bar above the Template Area:
Bar above the Screen Area:
Please read the following sections.
| | | Change Folder Via Drop-Down Menu |
Use the navigation bar drop-down menu to switch to a different folder.
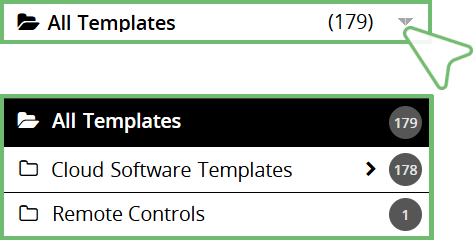
| | | Template Area Drop-Down Menu |
All Templates → Shows an overall view of all templates stored in the software.
Cloud Software Templates → Shows folders sorted by industry that contain topic-specific templates.
Remote Controls → Display only with existing authorisation.
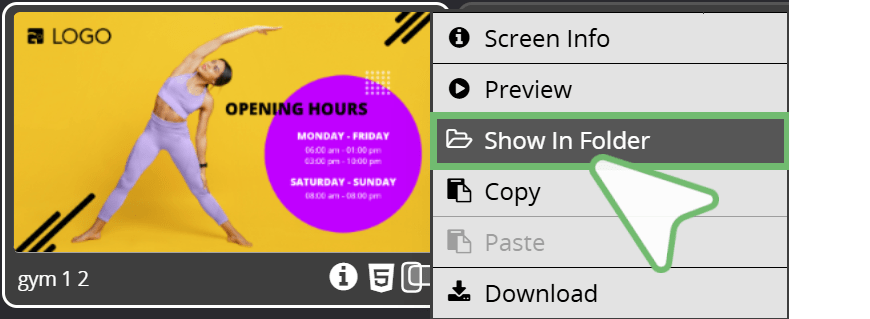
| | | Context Menu - All Templates |
You can access the template folder via the All Templates context menu.
Right-click on the template to open the context menu. Then select the → Show In Folder menu item.
| | | Screen Area Drop-Down Menu |
All Screens → Shows an overall view of all screens created in your account. My Screens → Shows your own screens.
User Screens → Shows the screens that you have created for your sub-users.

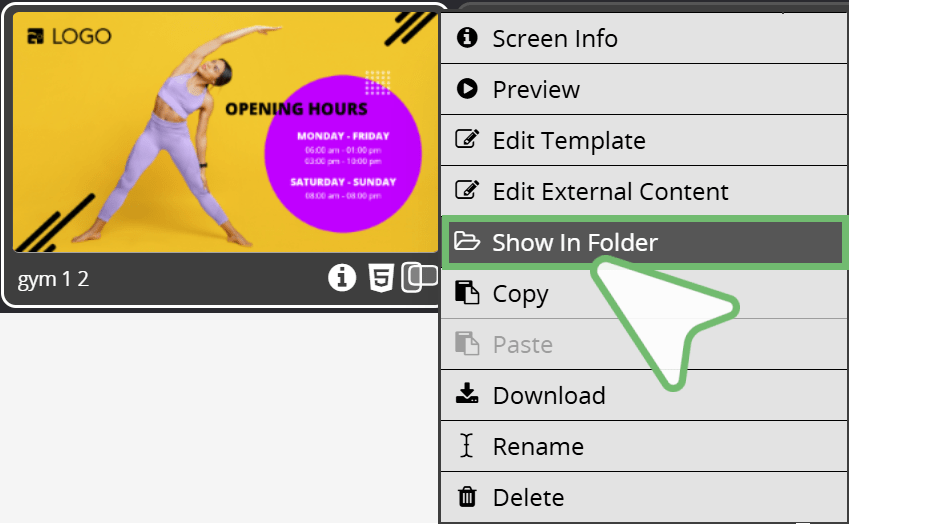
| | | Context Menü - All Screens |
The All Screens context menu takes you to the folder of the screen.
Right-click on the screen to open the context menu. Then select the → Show In Folder menu item.
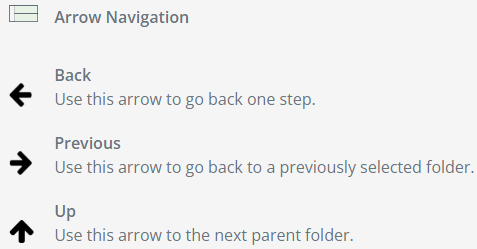 Arrow Navigation
SEARCH AND INFORMATION
The following functions help you to search for and select a template or screen.
| | | Search Bar | |
The search fields in the navigation bars help you to search for screens or templates. Enter a search term. Click on → Search or confirm with → Enter.
| | | Search Bar Template Area | |

| | | Search Bar Screen Area | |

You can use the following function to extend the search radius:
| | Search in screen info |
If this function is activated, the screen info stored in the screens is included in the search. See also the section Screen Info | Tooltip.
 If this function is activated, the screen info of the templates is also searched.
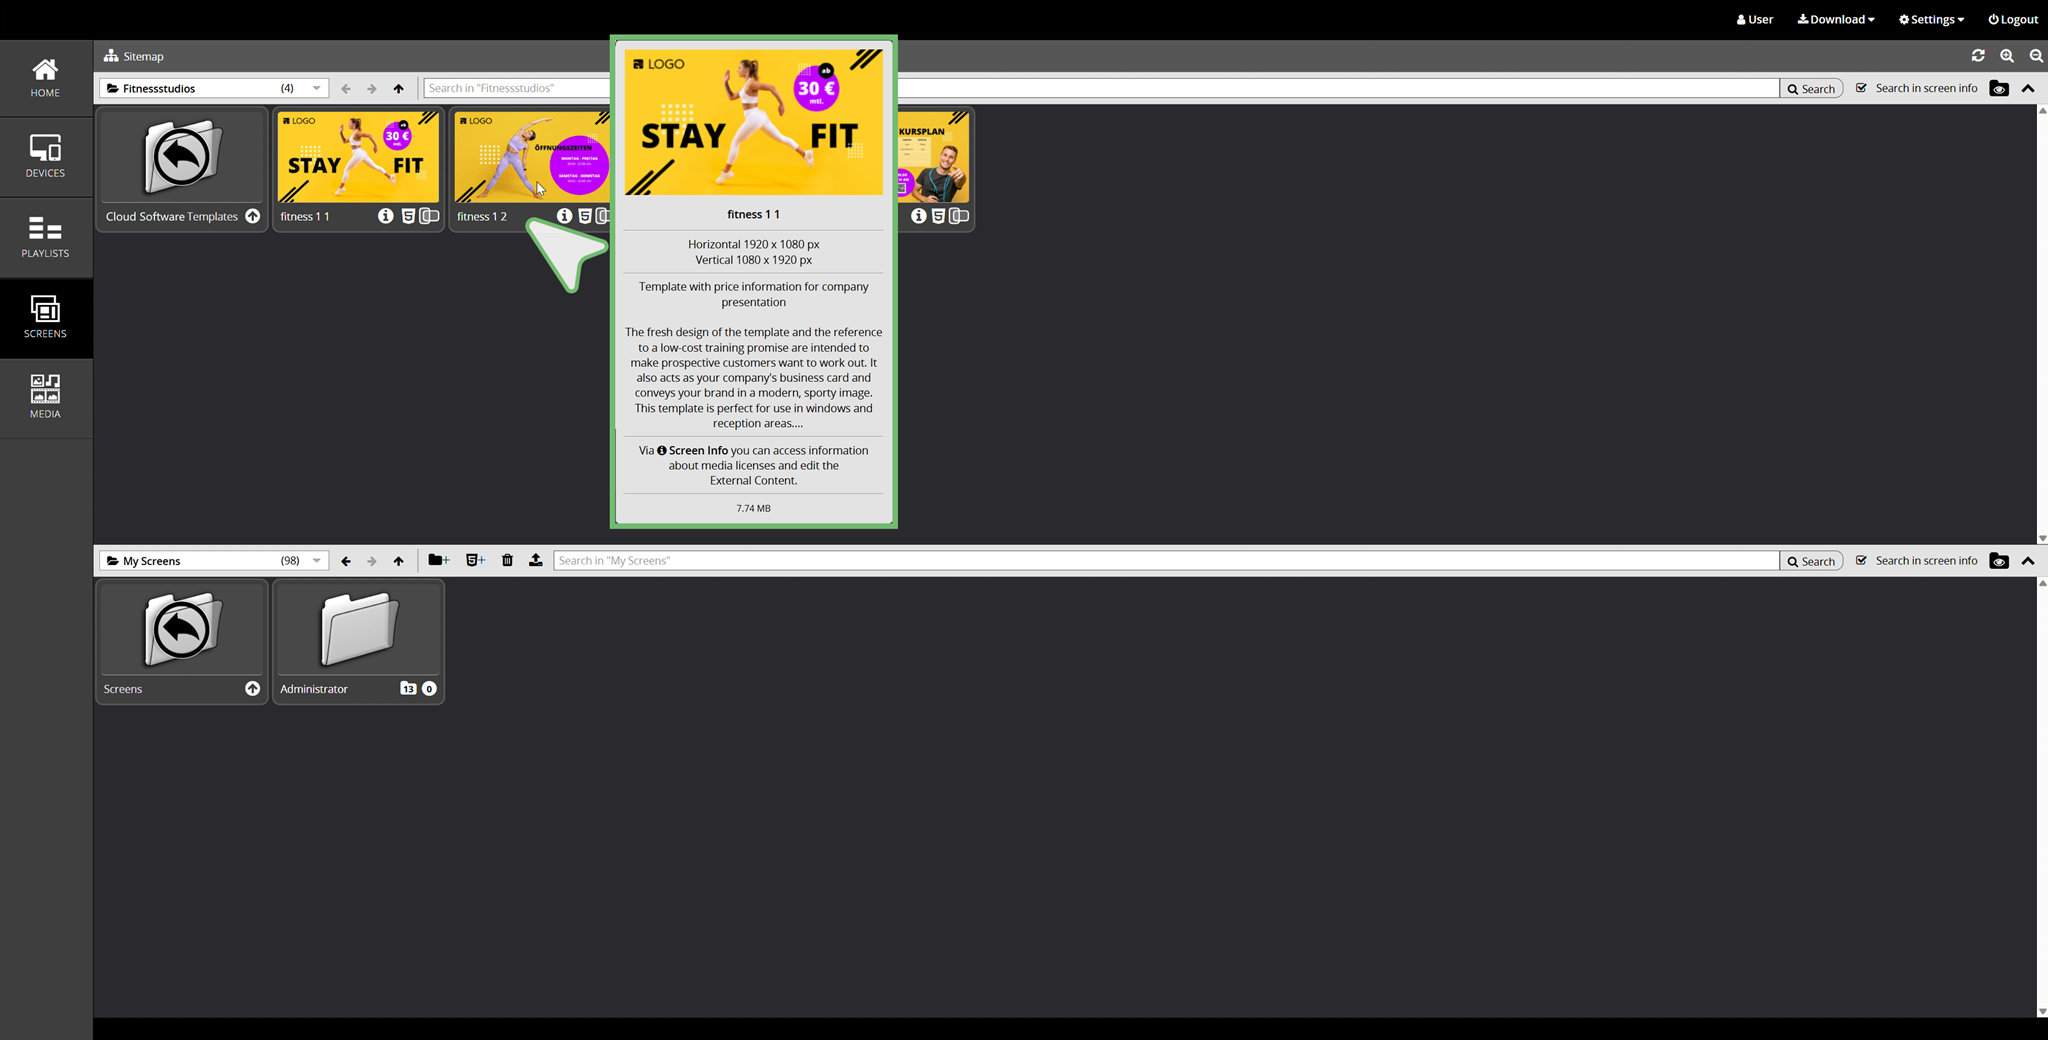
| | | Screen Info | Tooltip | |
The tooltip provides you with additional information to support you in your template selection and to improve the overview in your screen area.
This information is displayed together with
- the screen image
- the screen name
- the formats created
- a screen description
- a note on the screen info (media licenses and editing information)
- the file size
in the Tooltip.
A short tooltip description opens when you hover over the screen, a long tooltip description opens when you click on the screen.
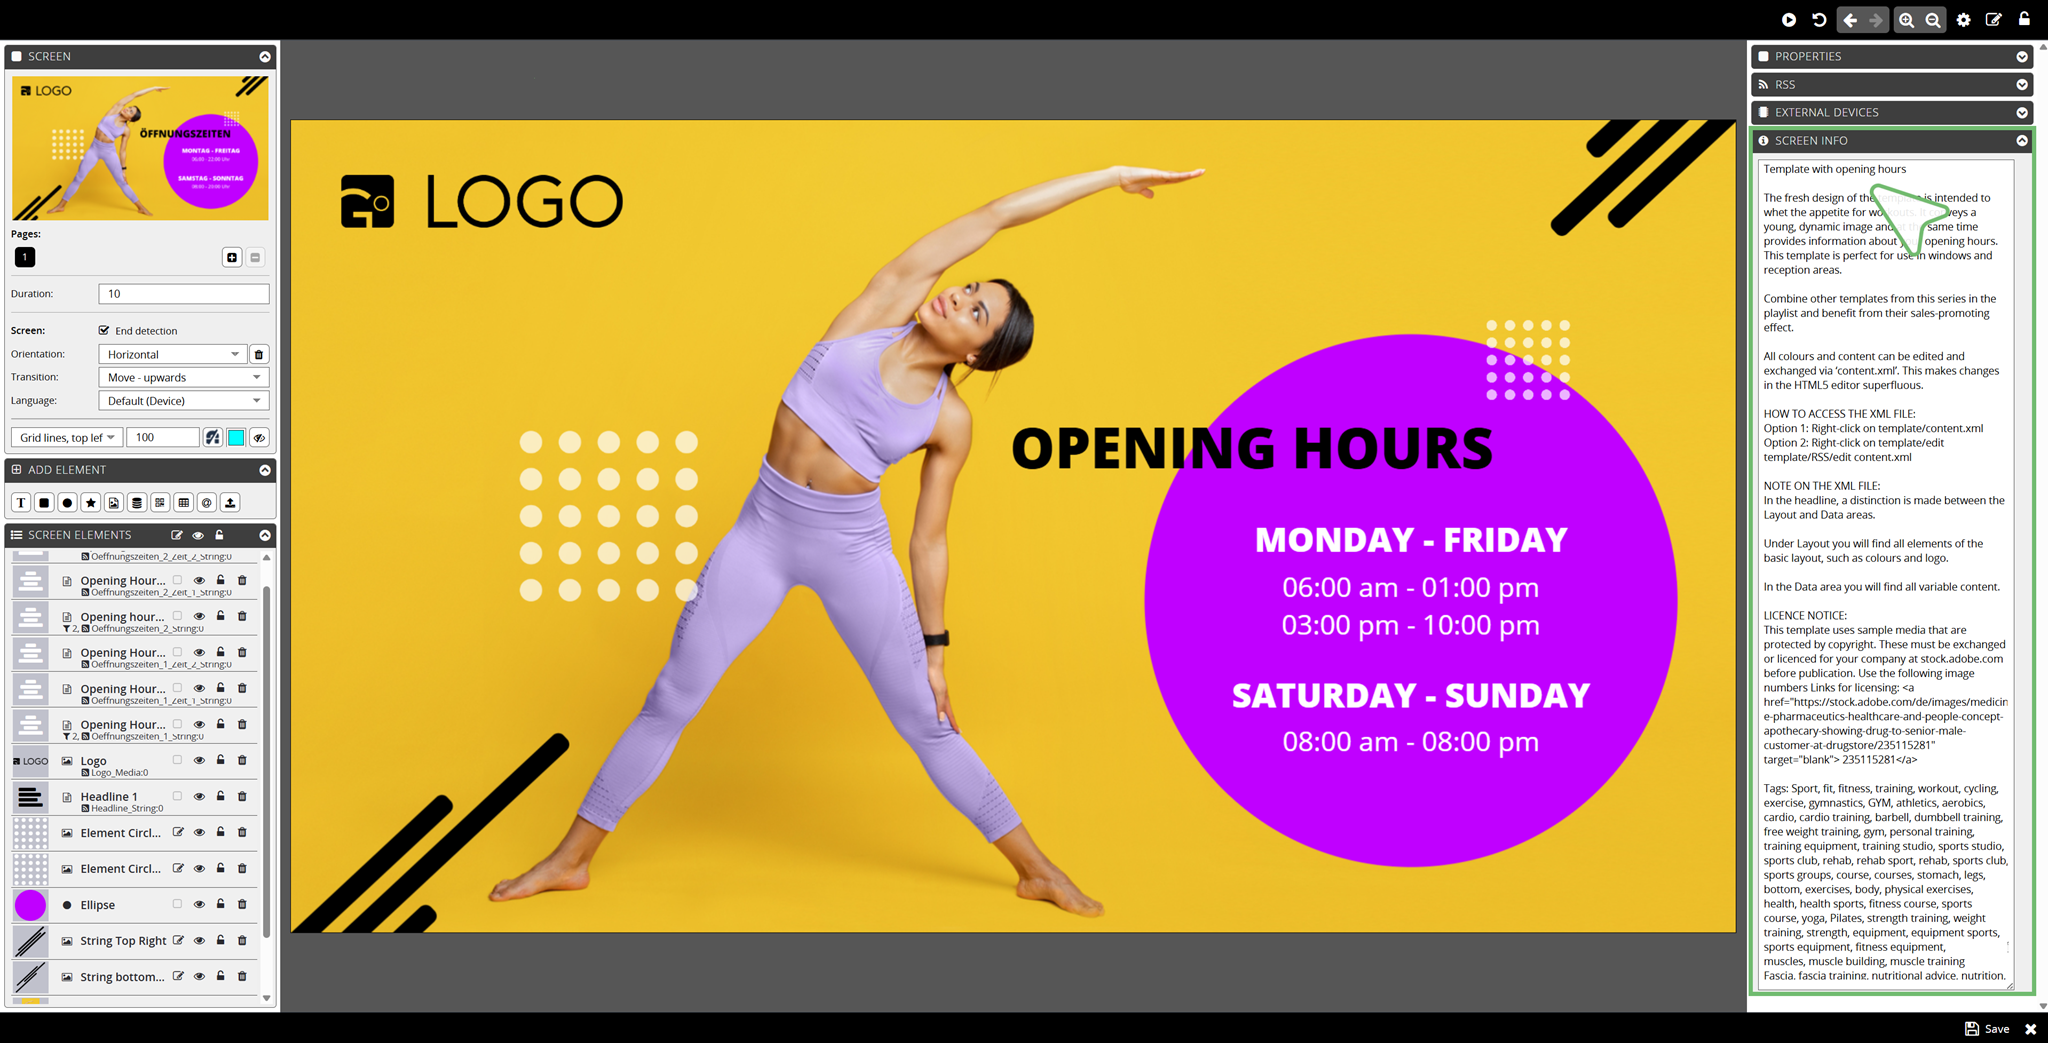
In the HTML5 Editor, you can add a description to each screen under the Screen Info tab. The file name, the available formats and the file size are automatically read and stored by the software. You only need to add your screen description. This information is then displayed as a tooltip in the screen area on mouseover or after clicking.
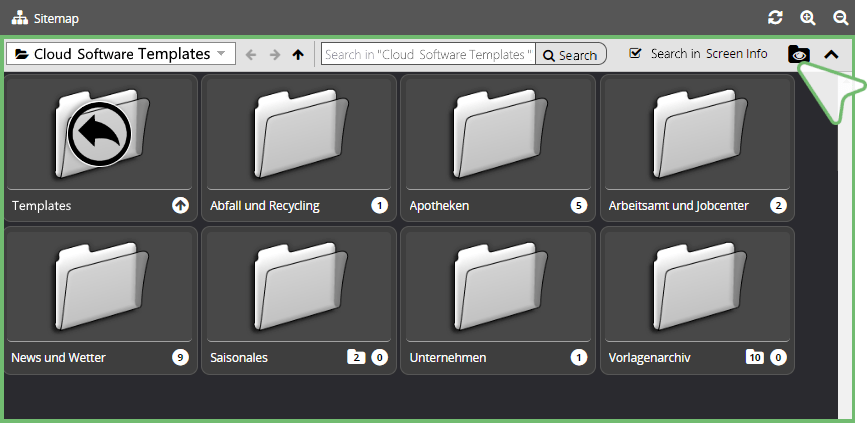
| | | Display Symbols |
The Screen thumbnails have symbols at the bottom right that provide information about the display options and properties.
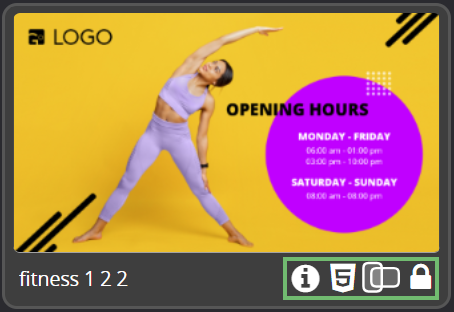
 | | Info This symbol indicates templates that contain important user information under Screen Info, such as license information on the use of third-party media or editing information on external content. | |
 | | HTML5 | |
 | | Horizontal | |
 | | Vertical | |
 | | Vertical / Horizontal The screen can be used for horizontal display as well as for vertical display. | |
 | | Locked The screen has been locked for further editing in the HTML5 Editor. | |
| | | Unlock the screen by right-clicking and selecting the menu item → | |
| |  | Unlock screen. | |
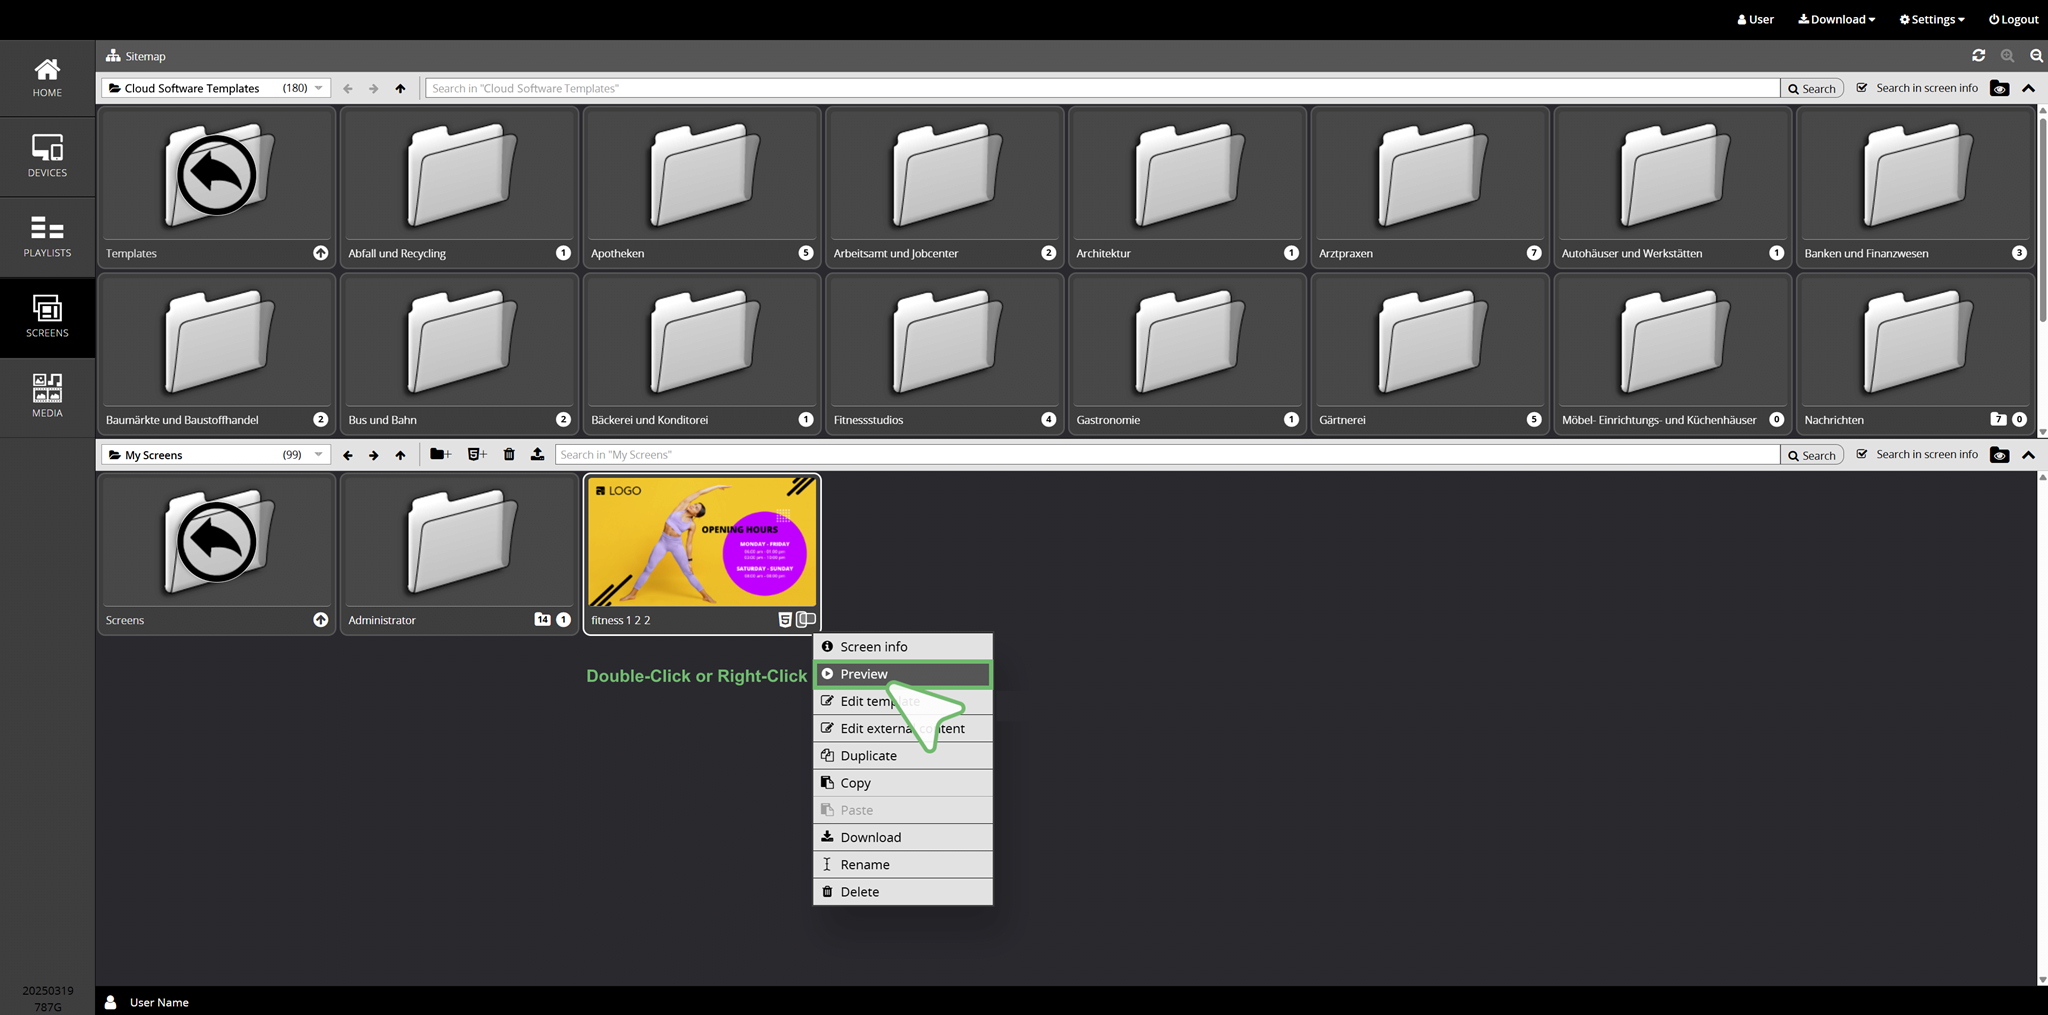
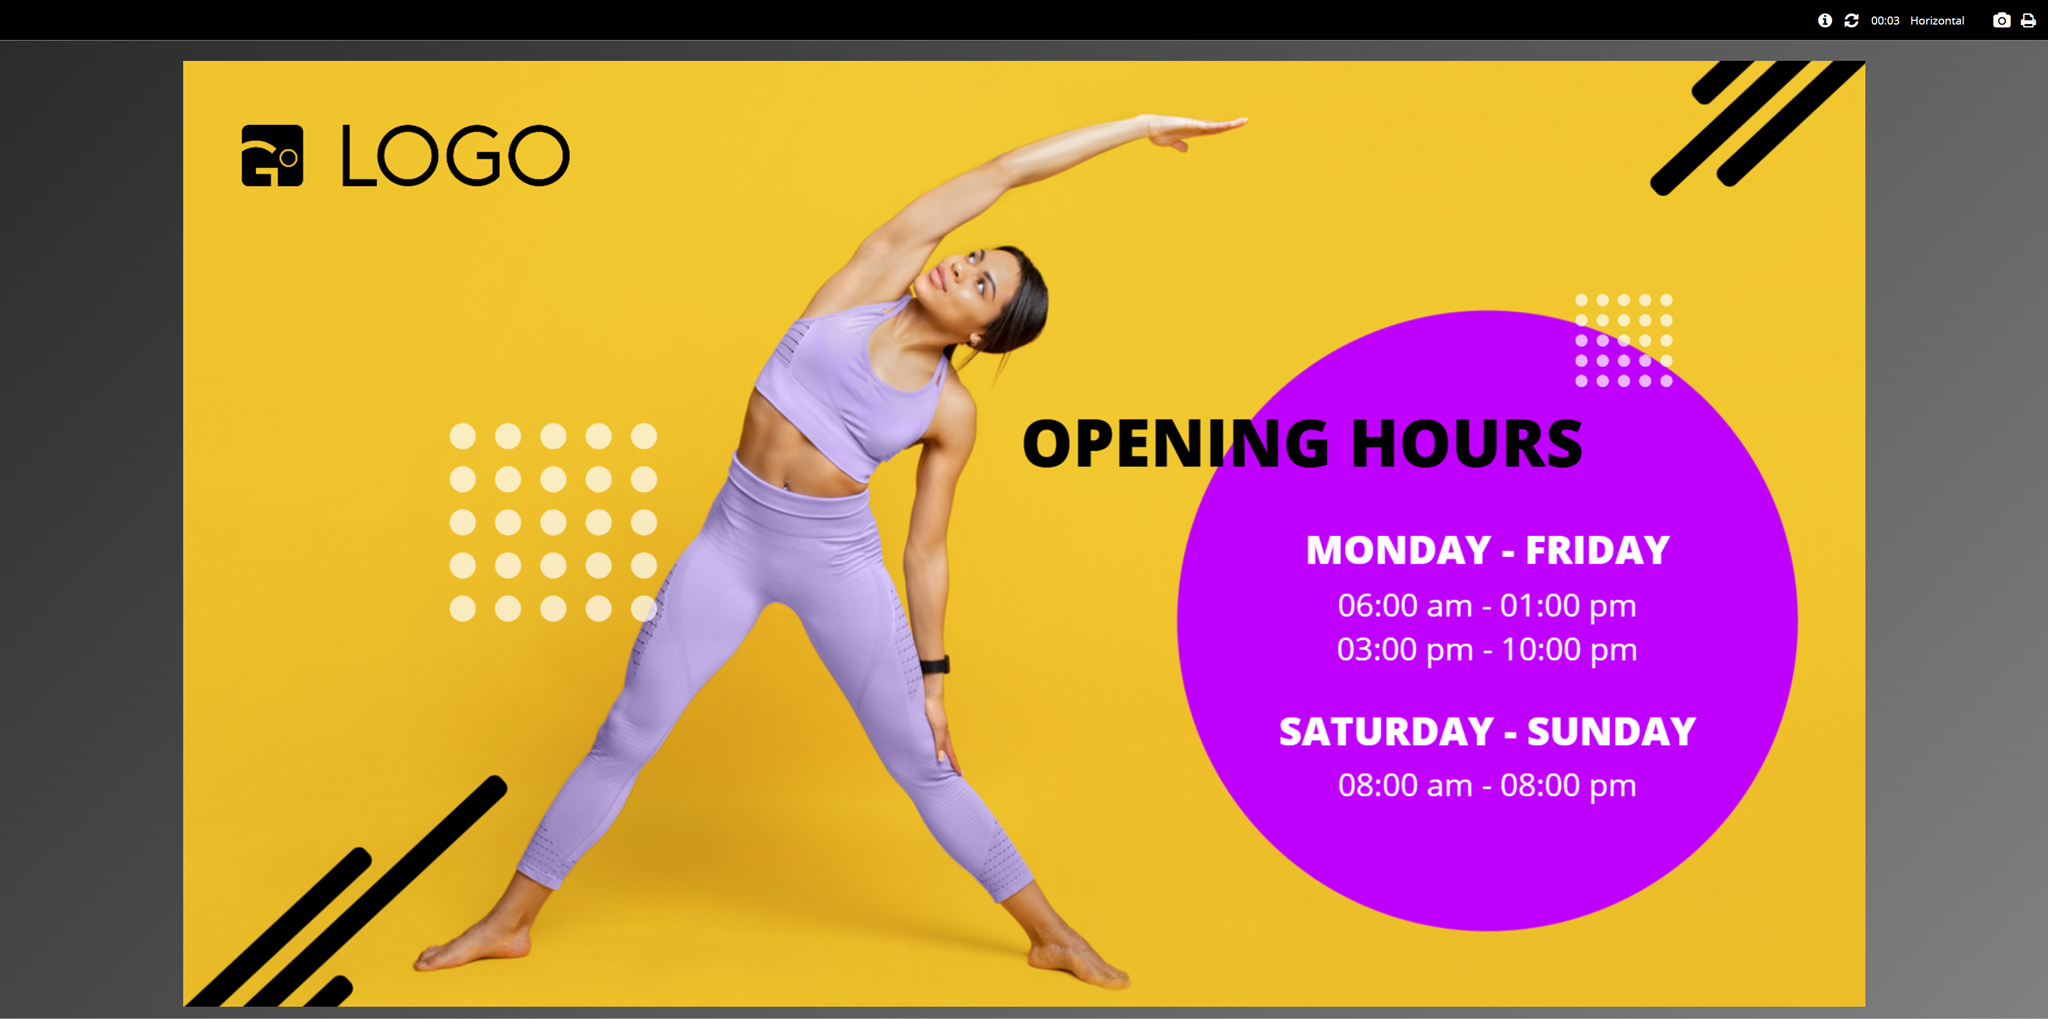
| | | Preview | |
To preview a screen, either double-click on it or right-click and select the Preview menu item.
ORGANISATION AND EDITING
In the user-specific screen area, you have the option of managing screens for yourself and your sub-users in your own folder structure. You can create new folders and create, edit, upload/download, move, rename and delete screens.
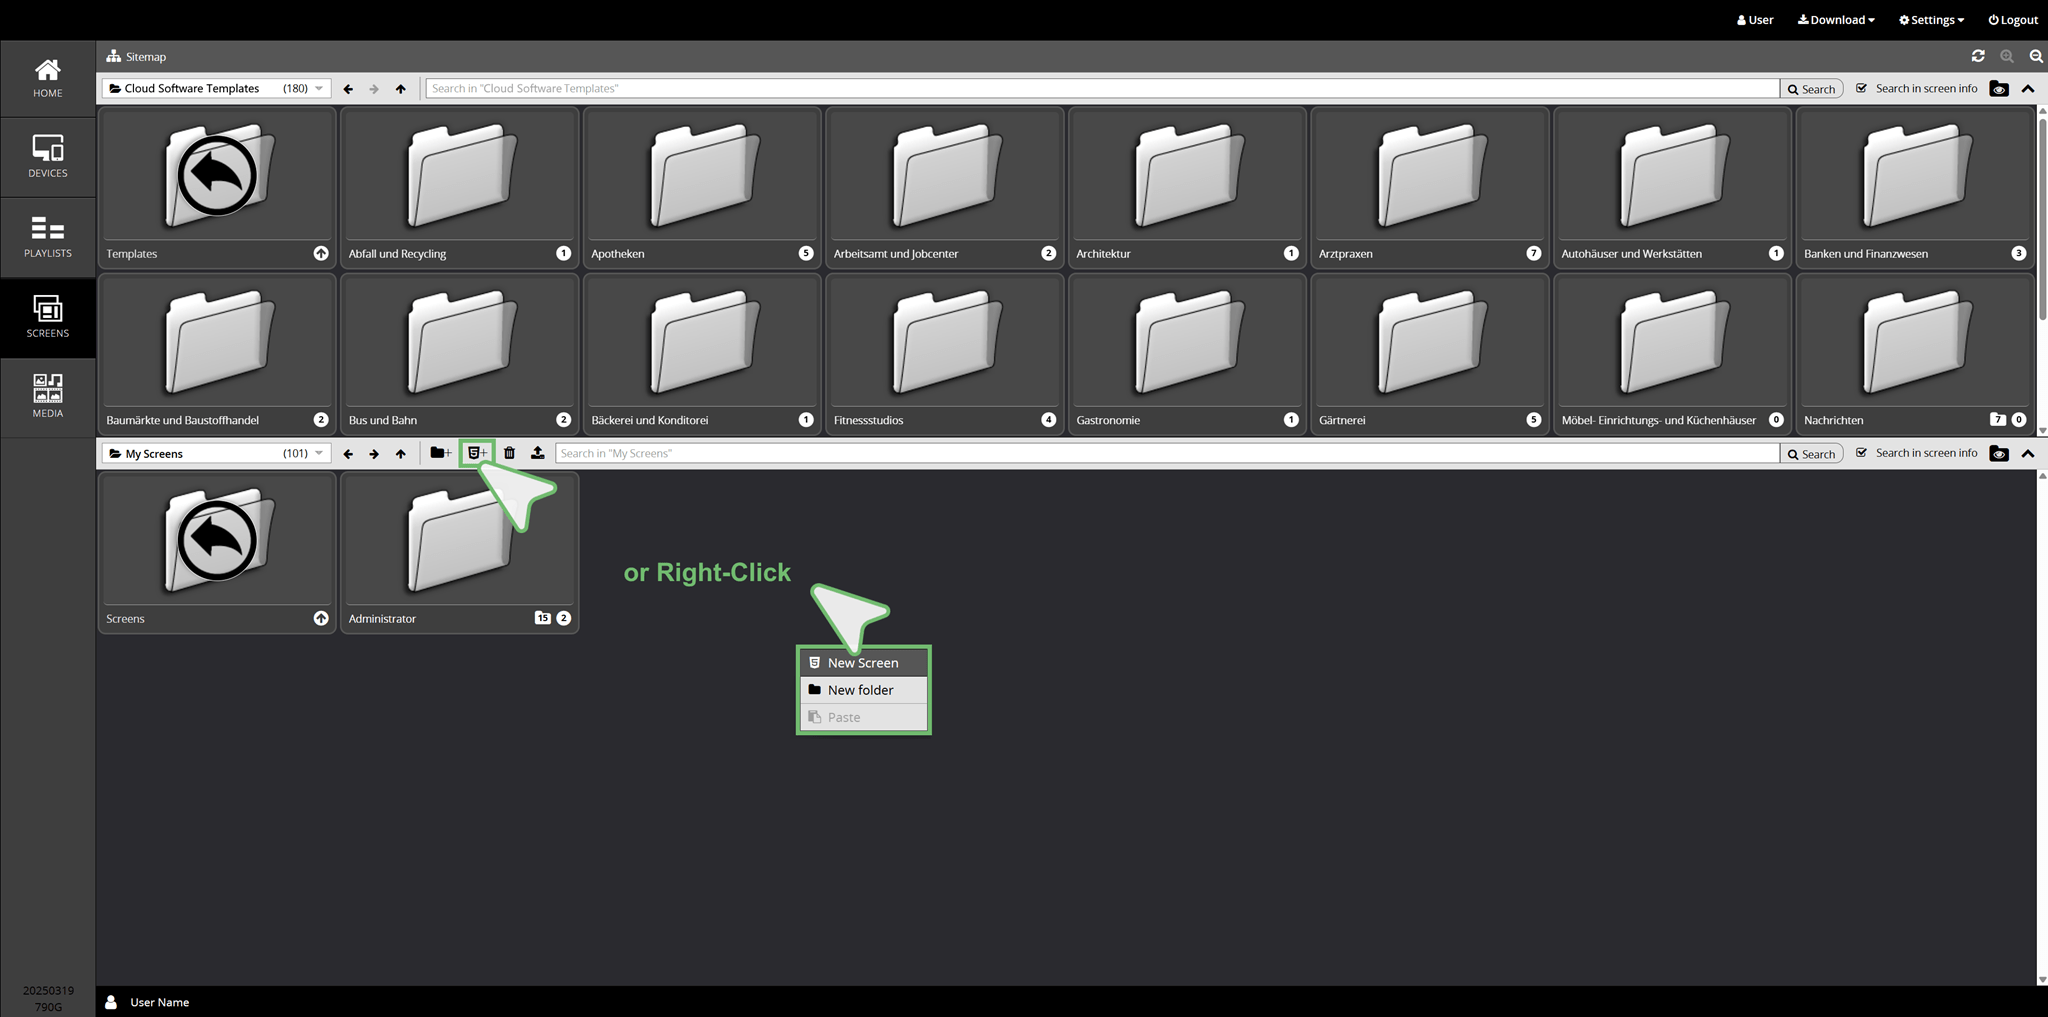
| | | Create Folder Structure - New Folder |
 | | You can add a new folder by clicking on the folder icon in the top bar of the screen area. Alternatively, you can select the menu item → New folder by right-clicking on a free space in your screen area. |
A window opens first. Enter a name for the new folder in the input field and confirm with → Okay.
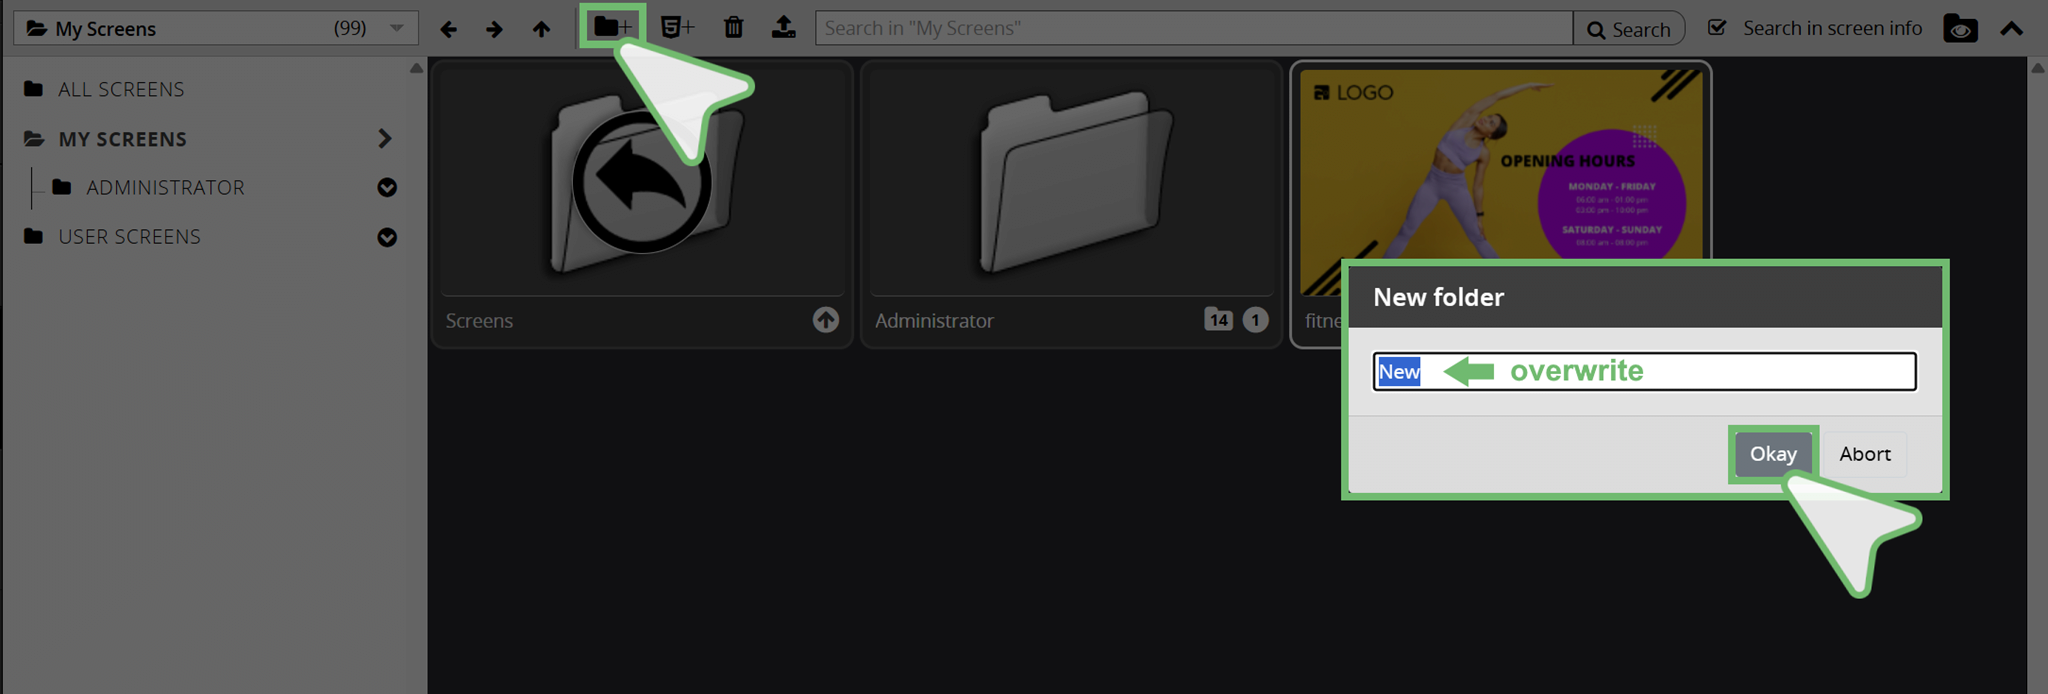
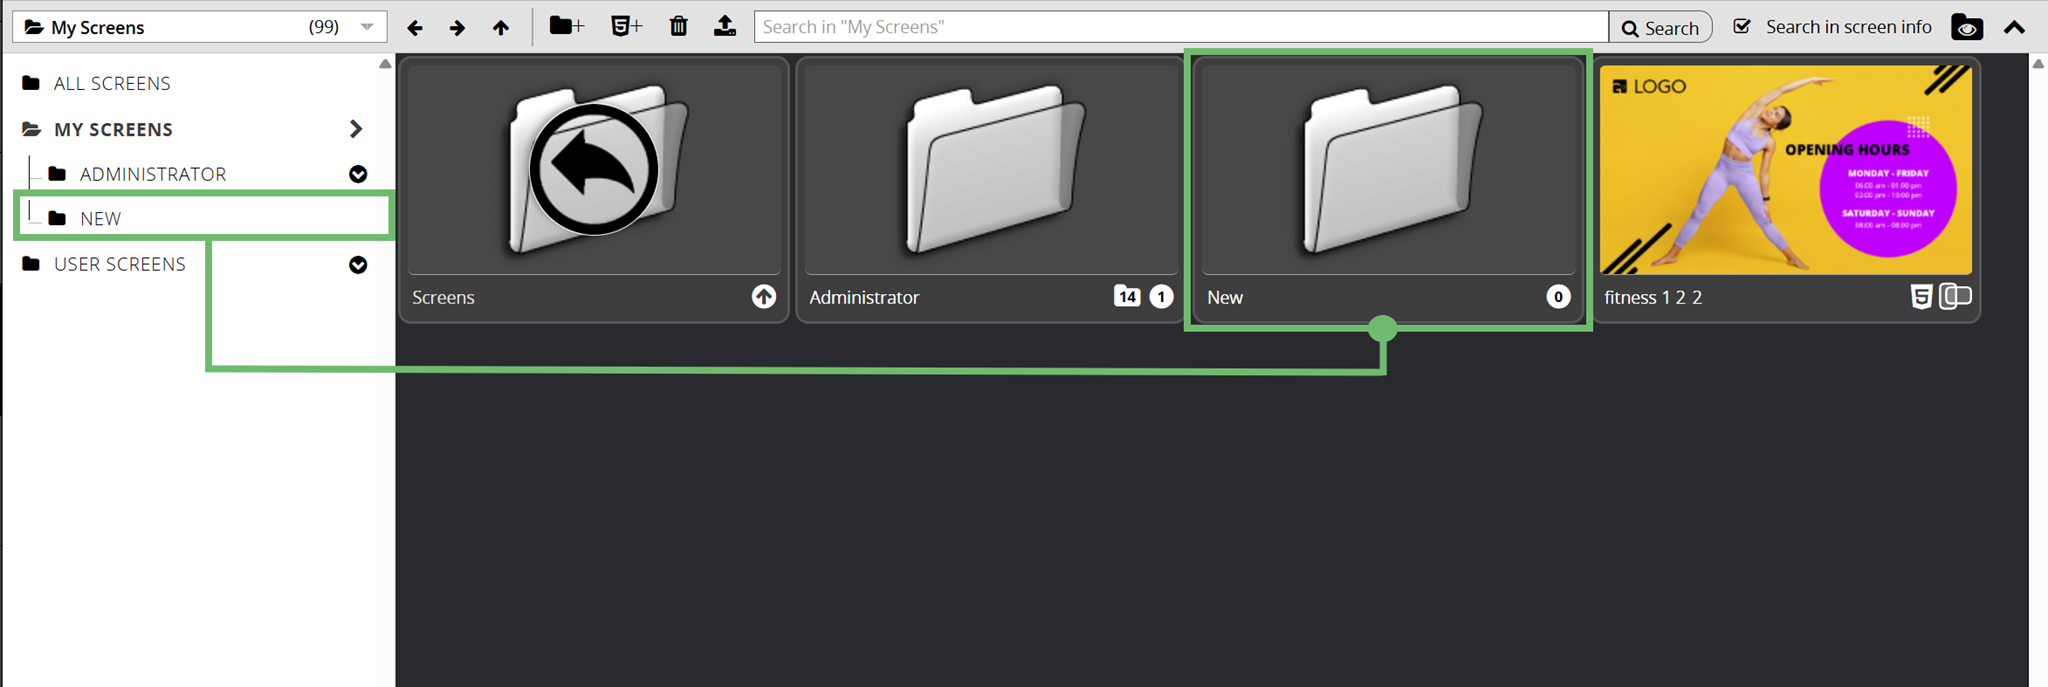
Clicking Okay provides the folder in the My Screens area.
| | | Add Template to Screen Area | |
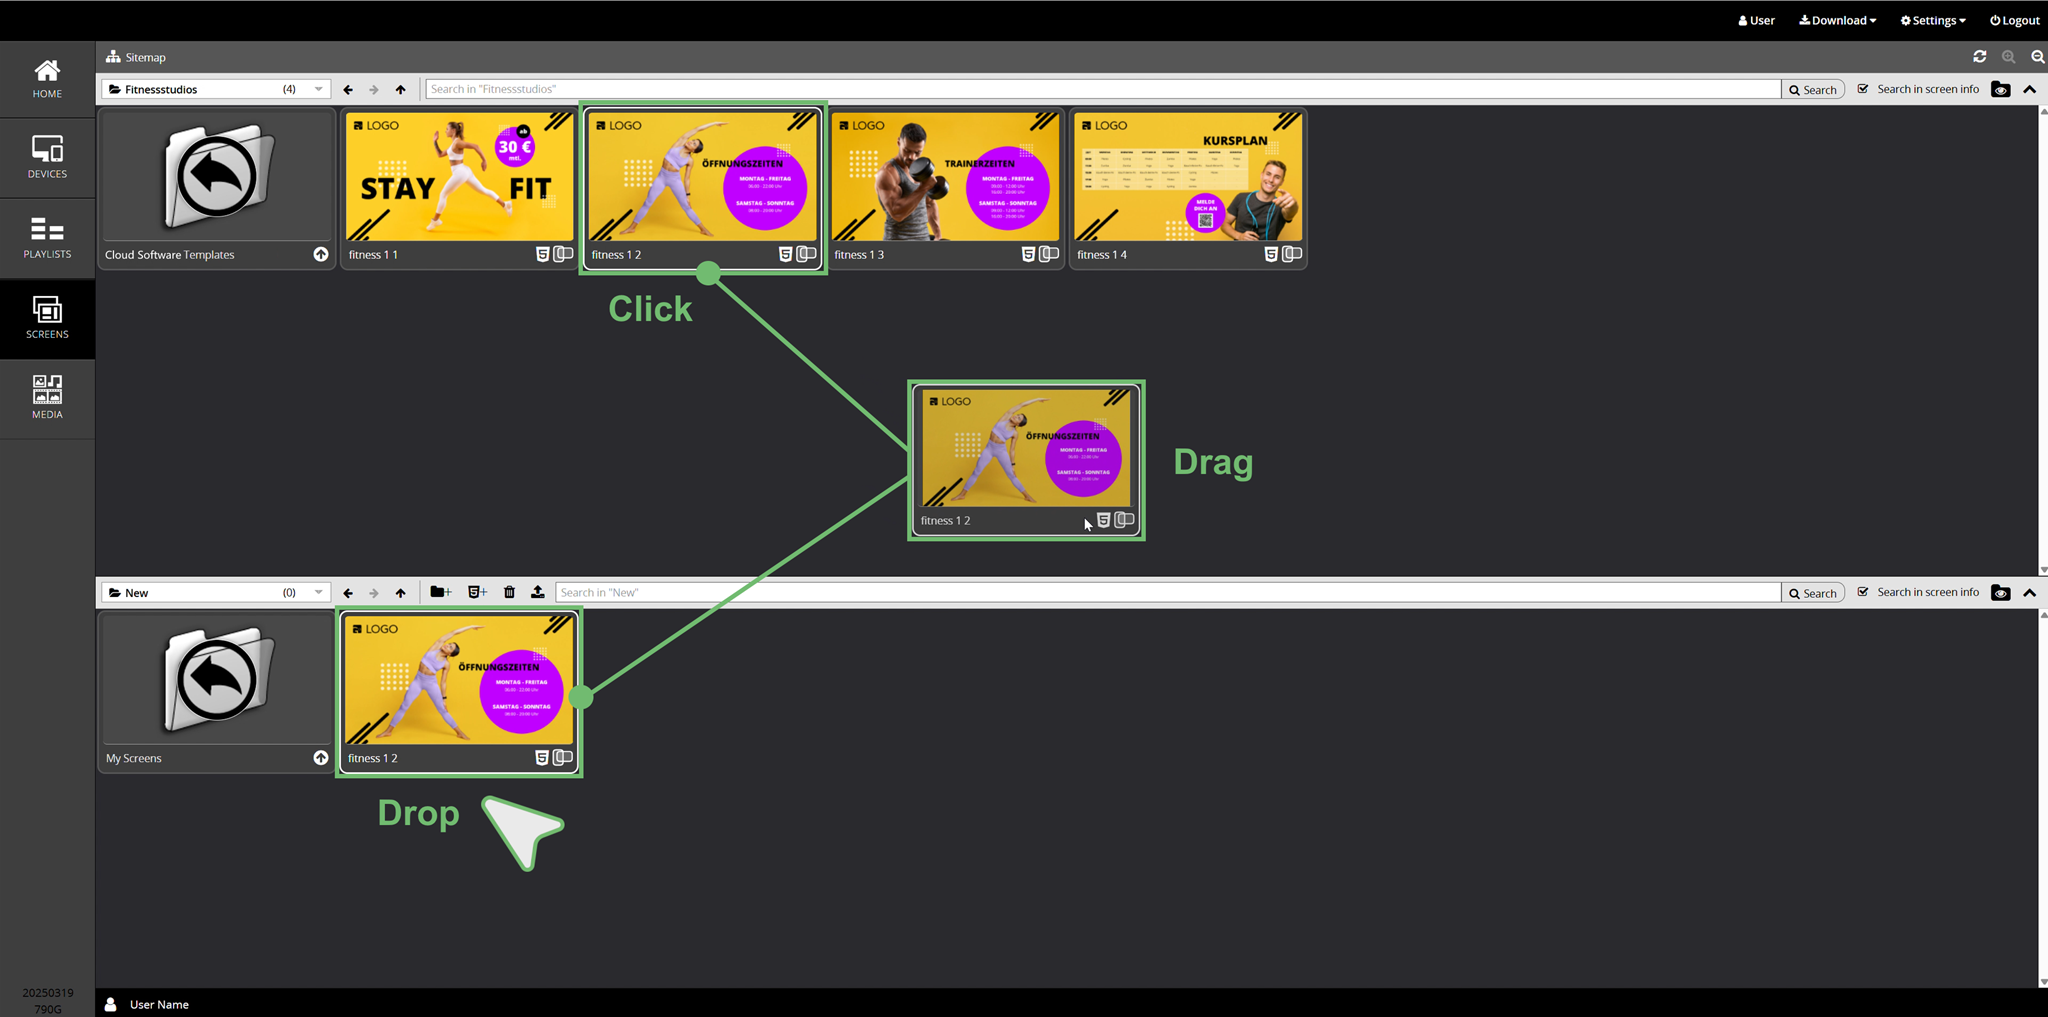
If you have selected a template from the upper Template Area, you can simply drag & drop it into your Screen Area for editing.
| | | New Screen | |
You can create a new screen in the HTML5 Editor. To do this, click on the following button:
 | | Clicking on the button takes you to the HTML5 Editor. Alternatively, you can select the menu item → New Screen by right-clicking on a free space in your Screen Area. |
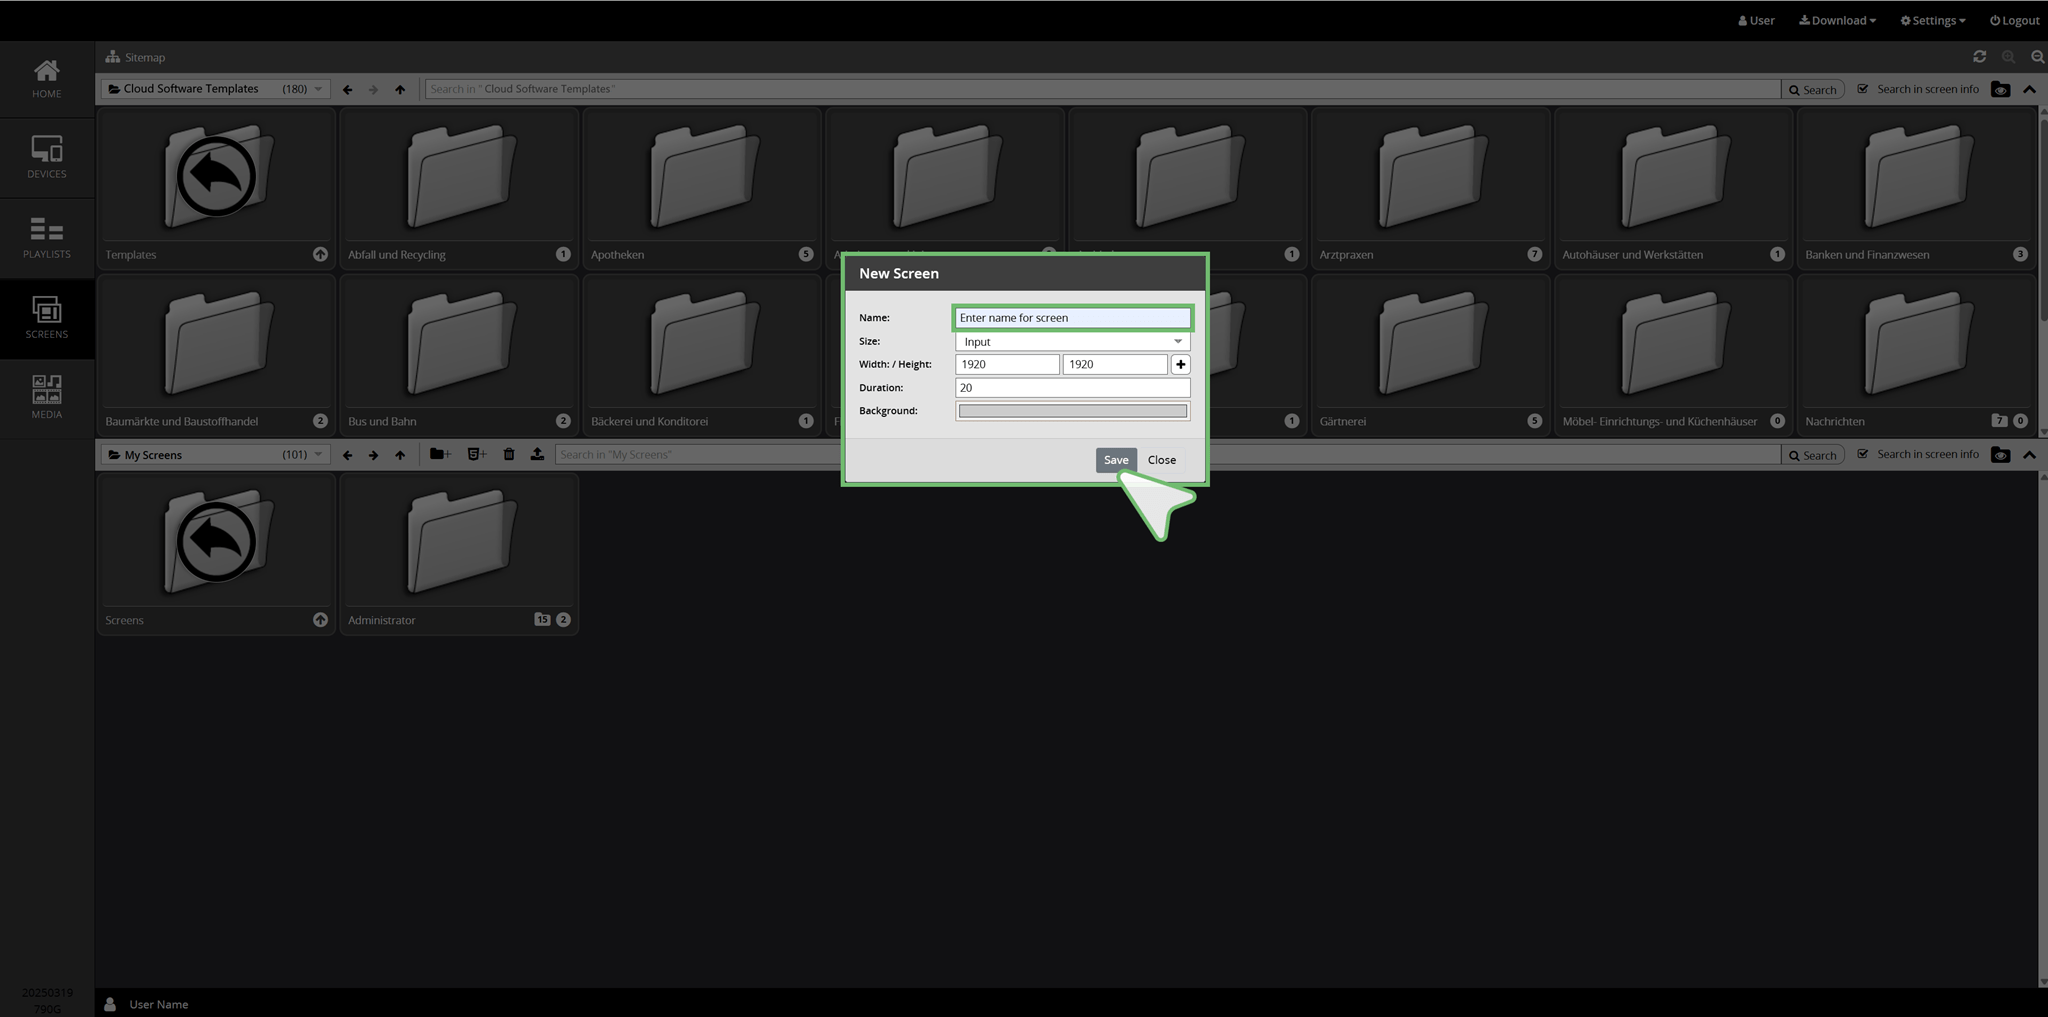
This first opens a window for entering a name for the new screen → Mandatory entry. Below this, you can define properties such as height/width, playback duration and background colour → these entries are stored in the program by default and can be optionally changed here. Then click on → Save to open the newly created screen in the HTML5 Editor.
Further information about the extensive functions and options of the HTML5 editor can be found in the following subchapter → HTML5 Editor.
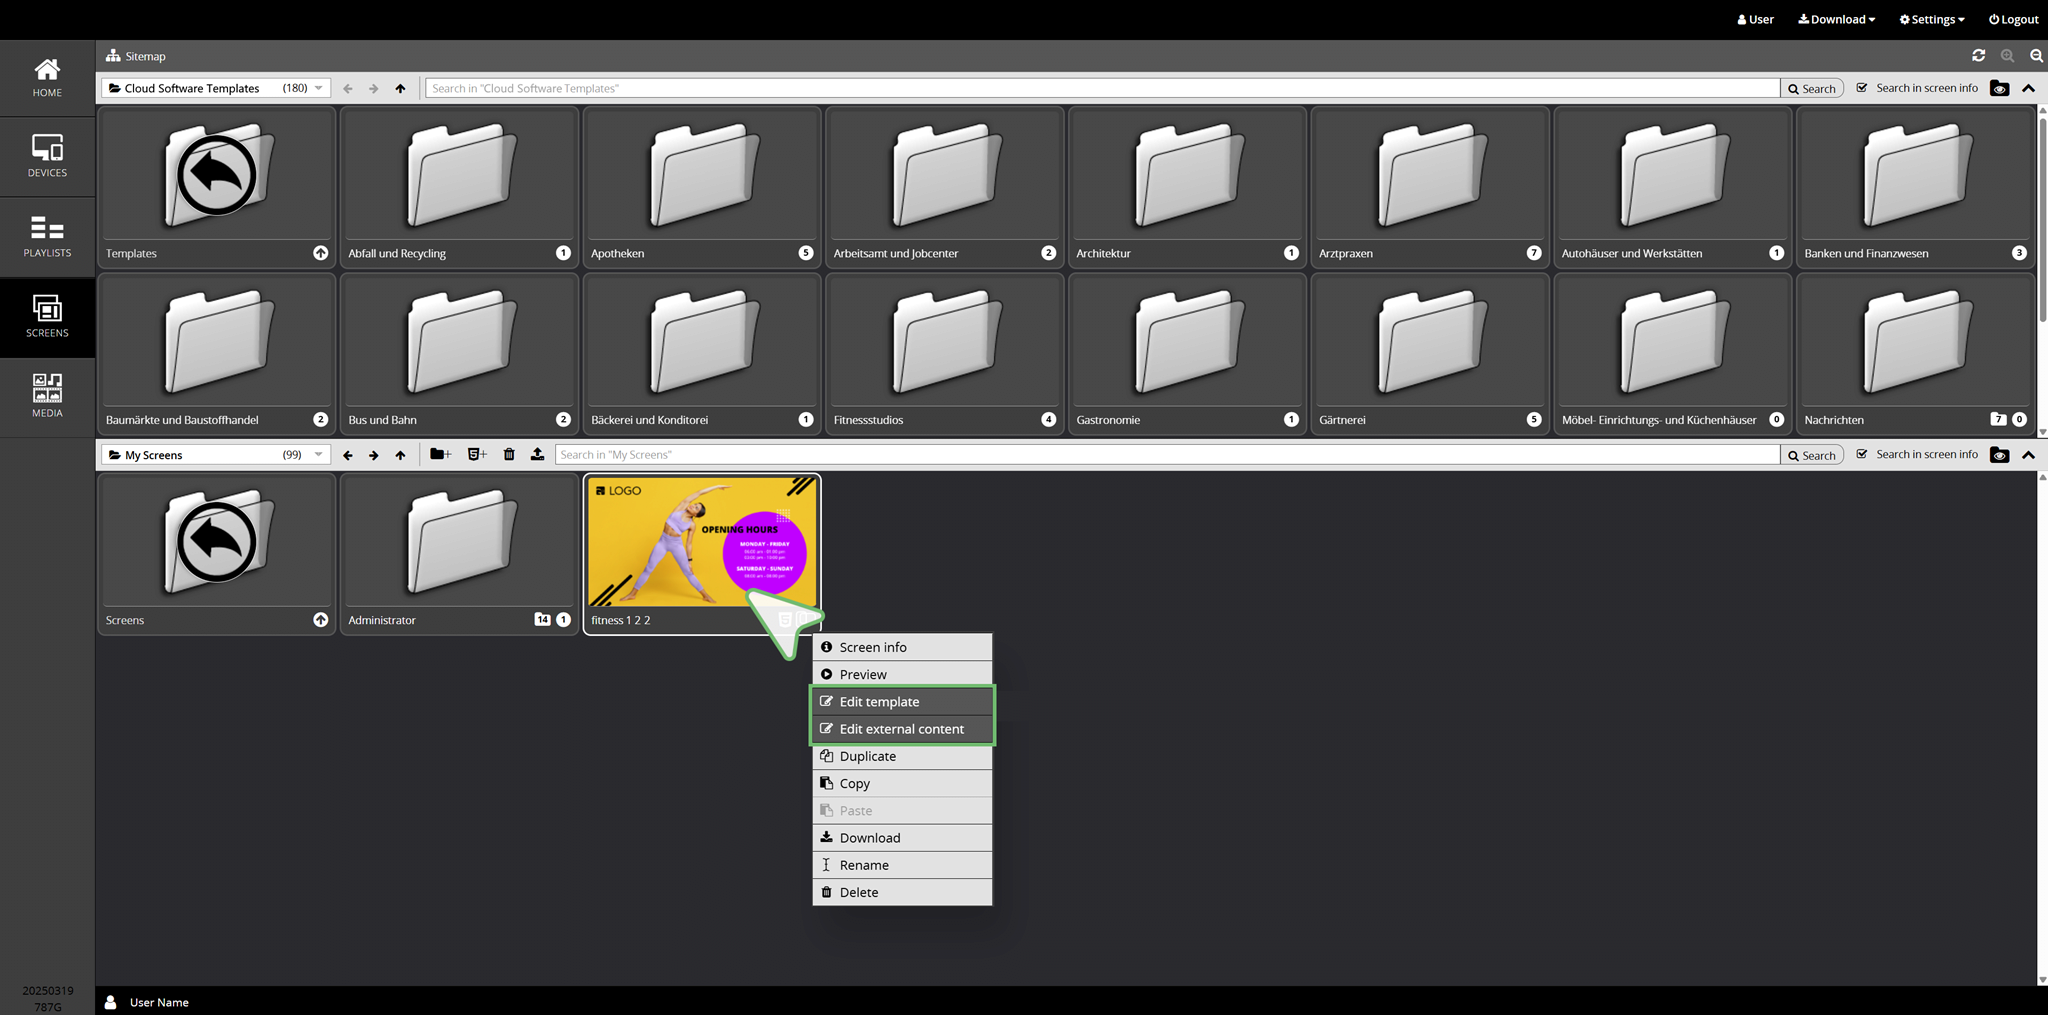
| | | Edit Screen | |
If you want to edit the screen directly, right-click to open the context menu and choose between the following menu items according to your editing requirements:
| Edit Template | → | Opens the screen in the HTML5 Editor → wider range of functions. |
| Edit External Content | → | Opens the screen in the XML Editor → The range of functions refers only to the screen content. |

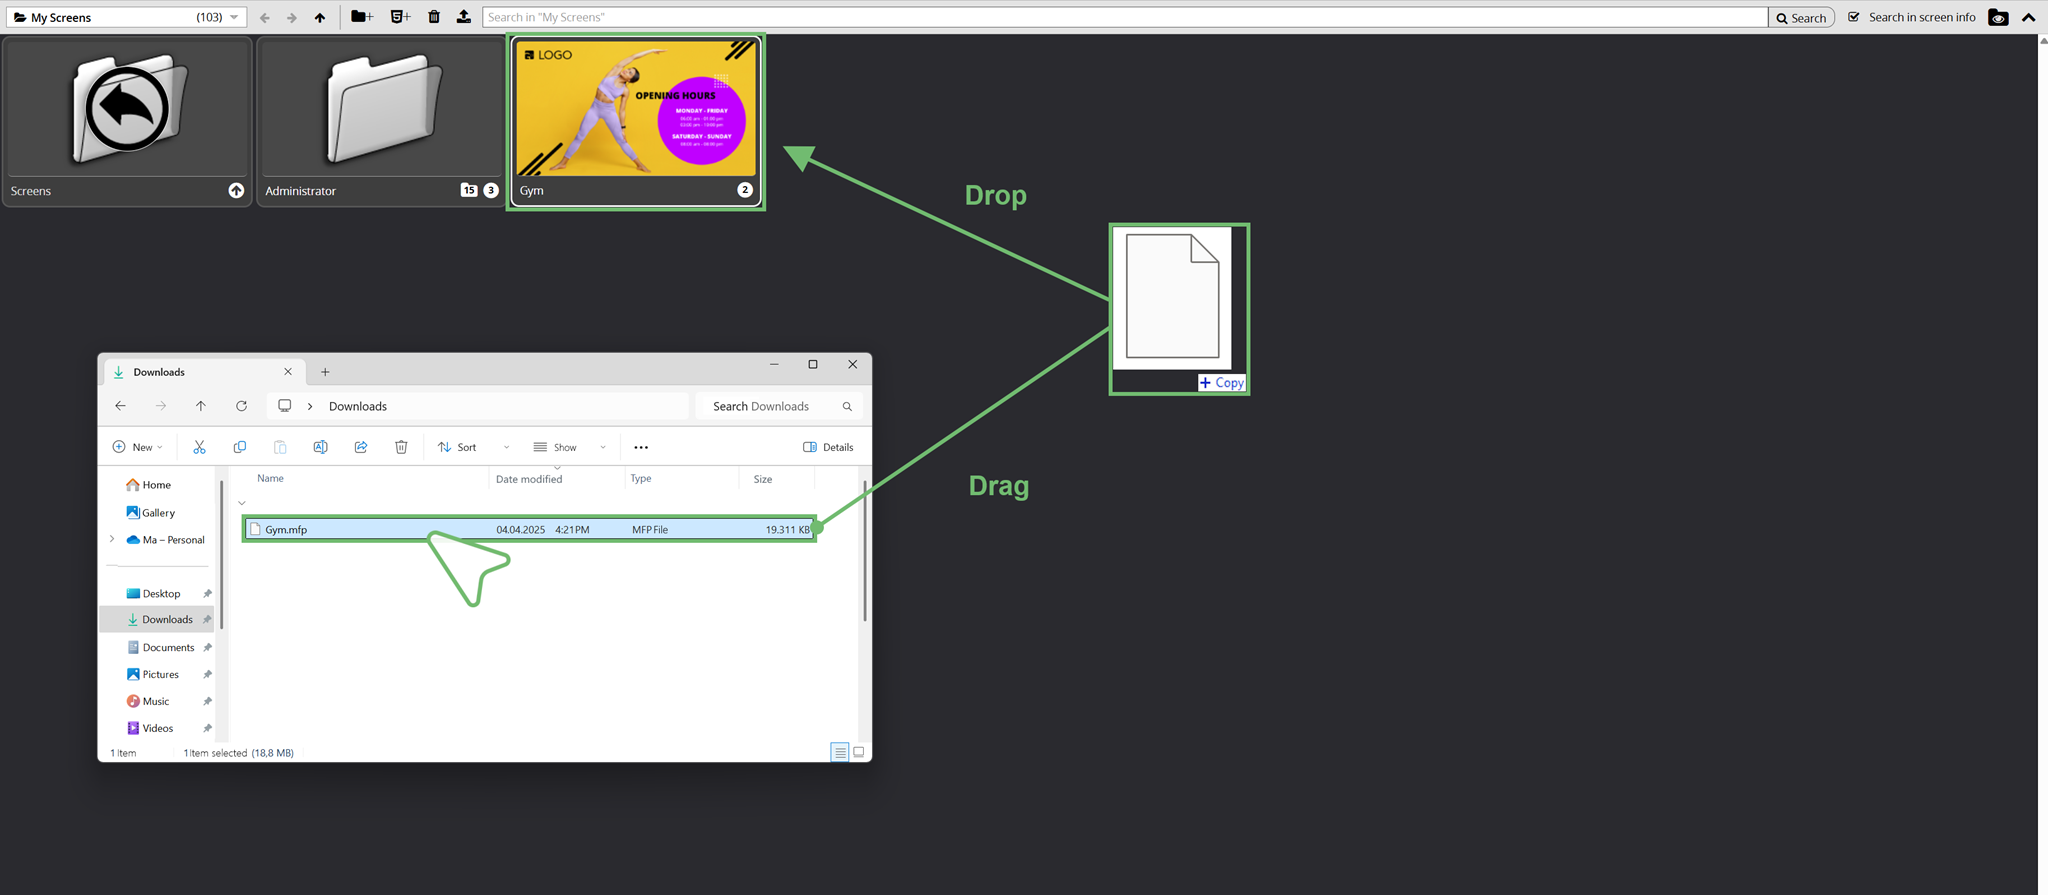
| | | Upload | |
Folders or screens that you have saved in another location can be uploaded to your Screen Area using the following button:
 | | Opens the Explorer to load an MFP file from another storage location into your Screen Area. |
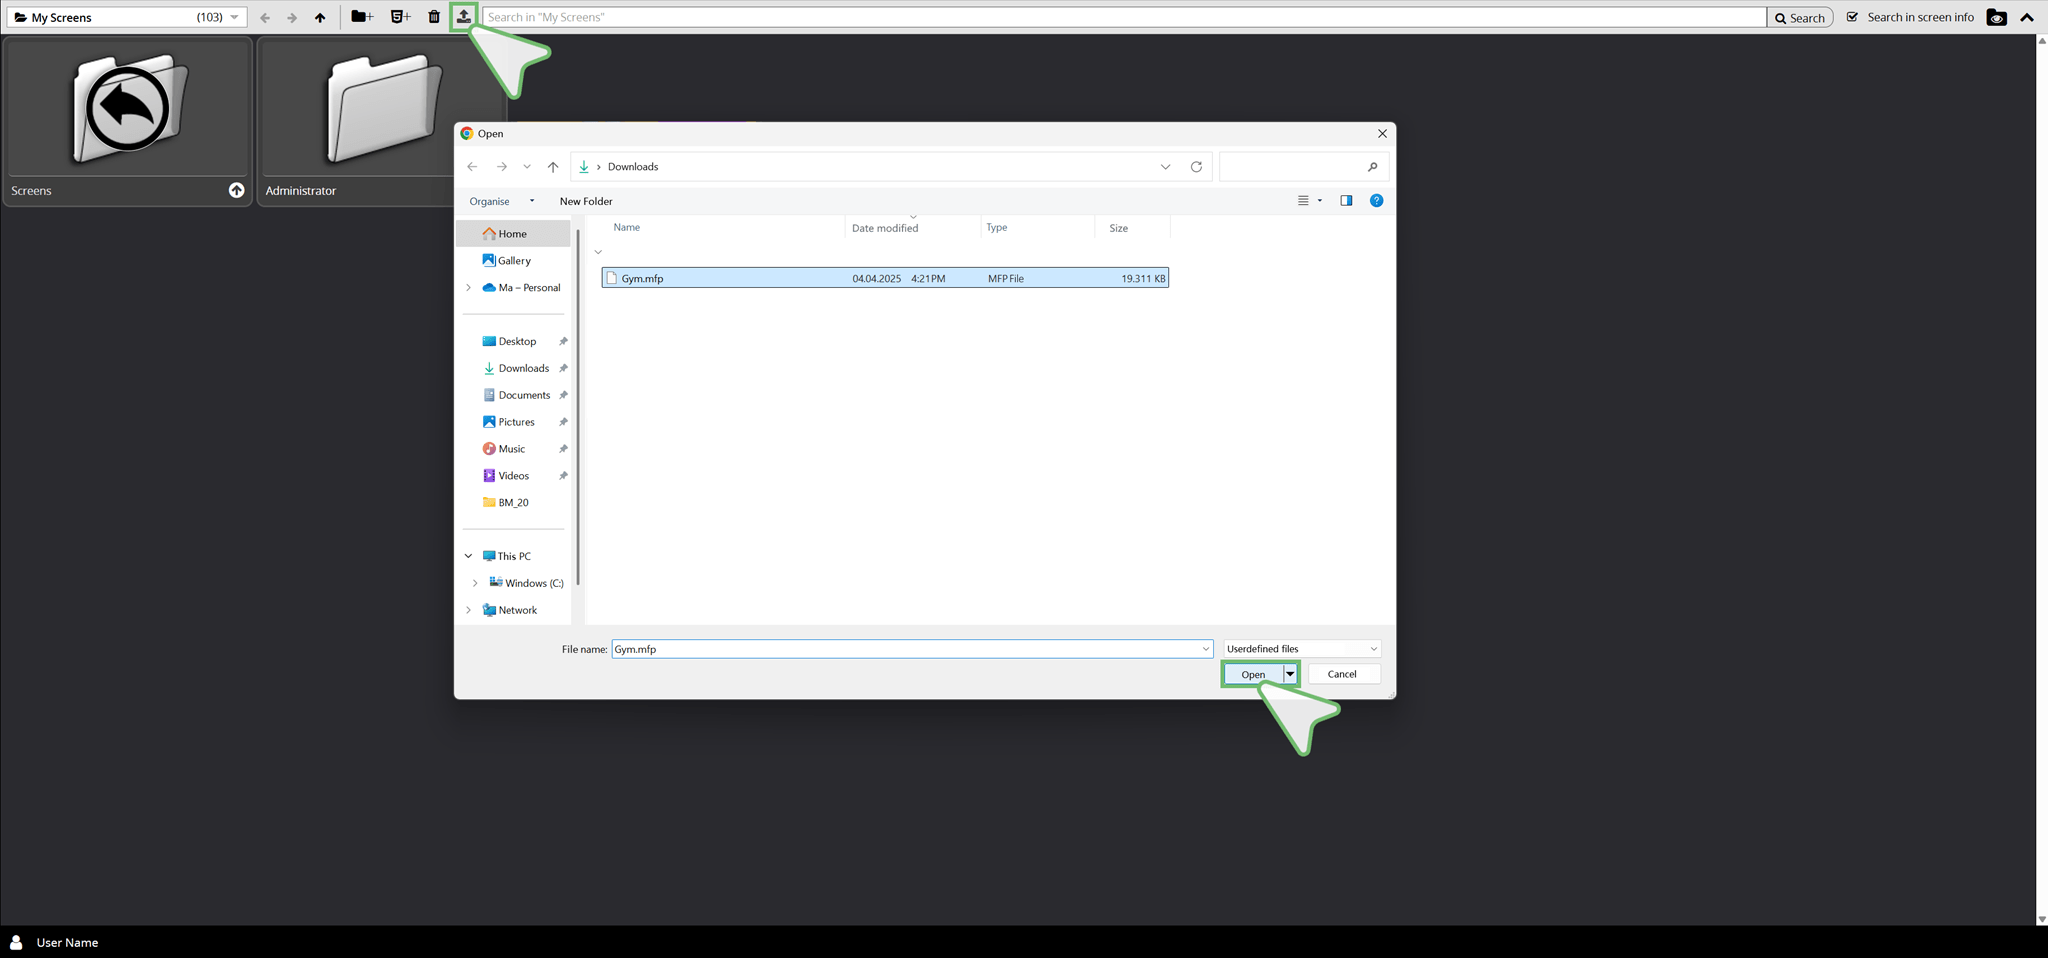
Alternatively, you can open the Explorer and add the desired files to the screen area using drag & drop.
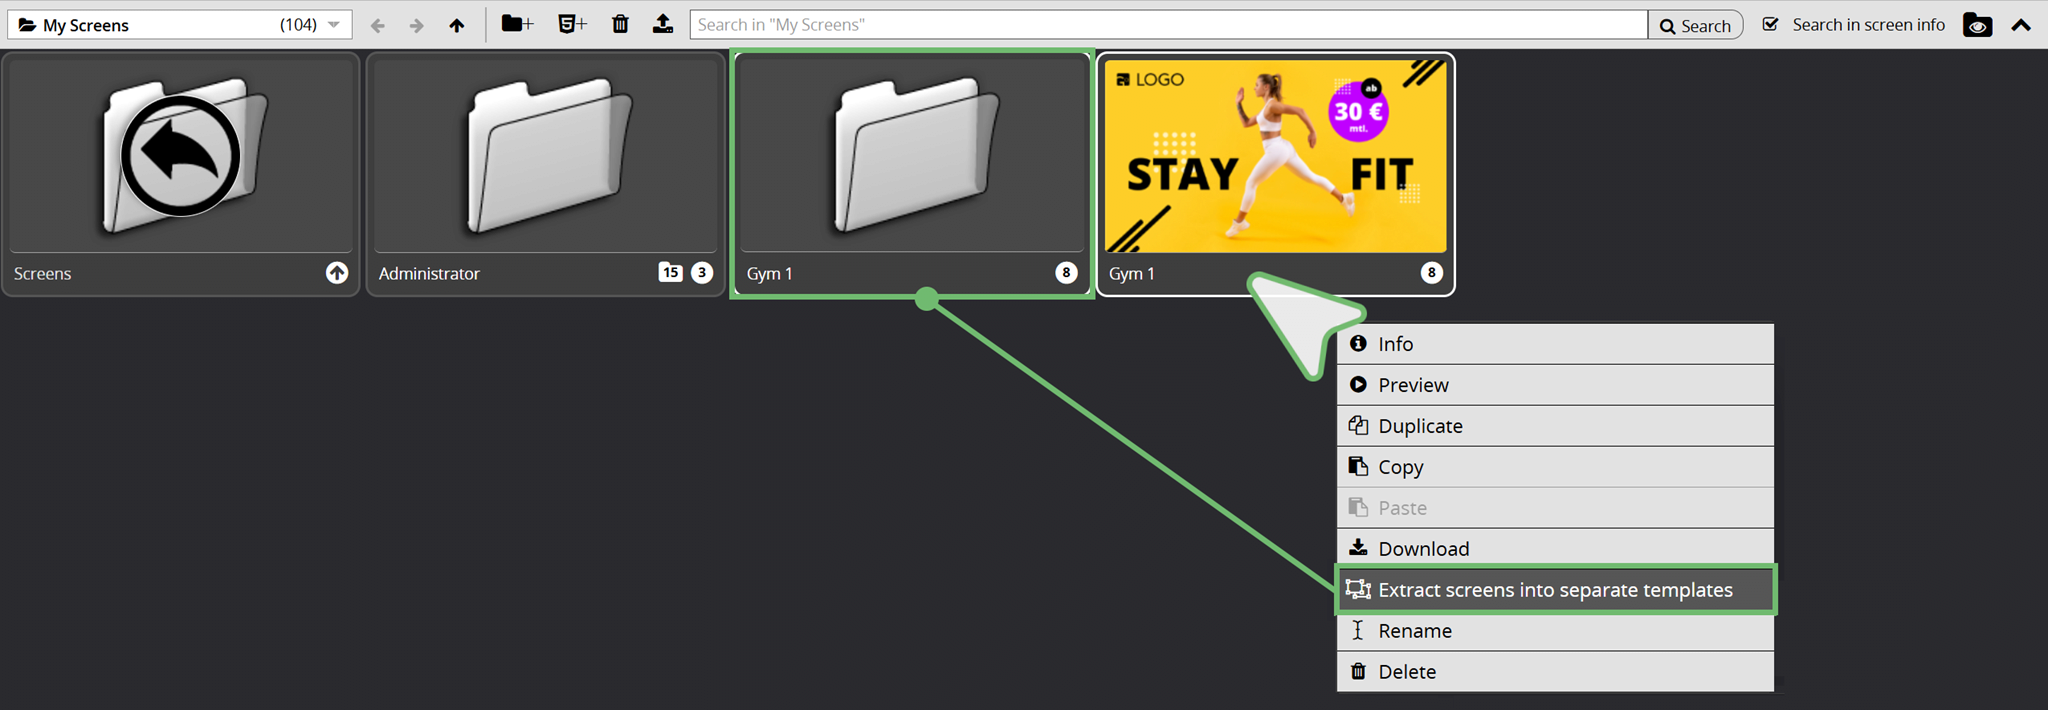
Uploaded folders contain more than one screen. Therefore, after right-clicking, the following context menu is first made available to you (see image).
Clicking on → Extract screens into separate templates creates a new folder in which all screens are contained separately for editing.
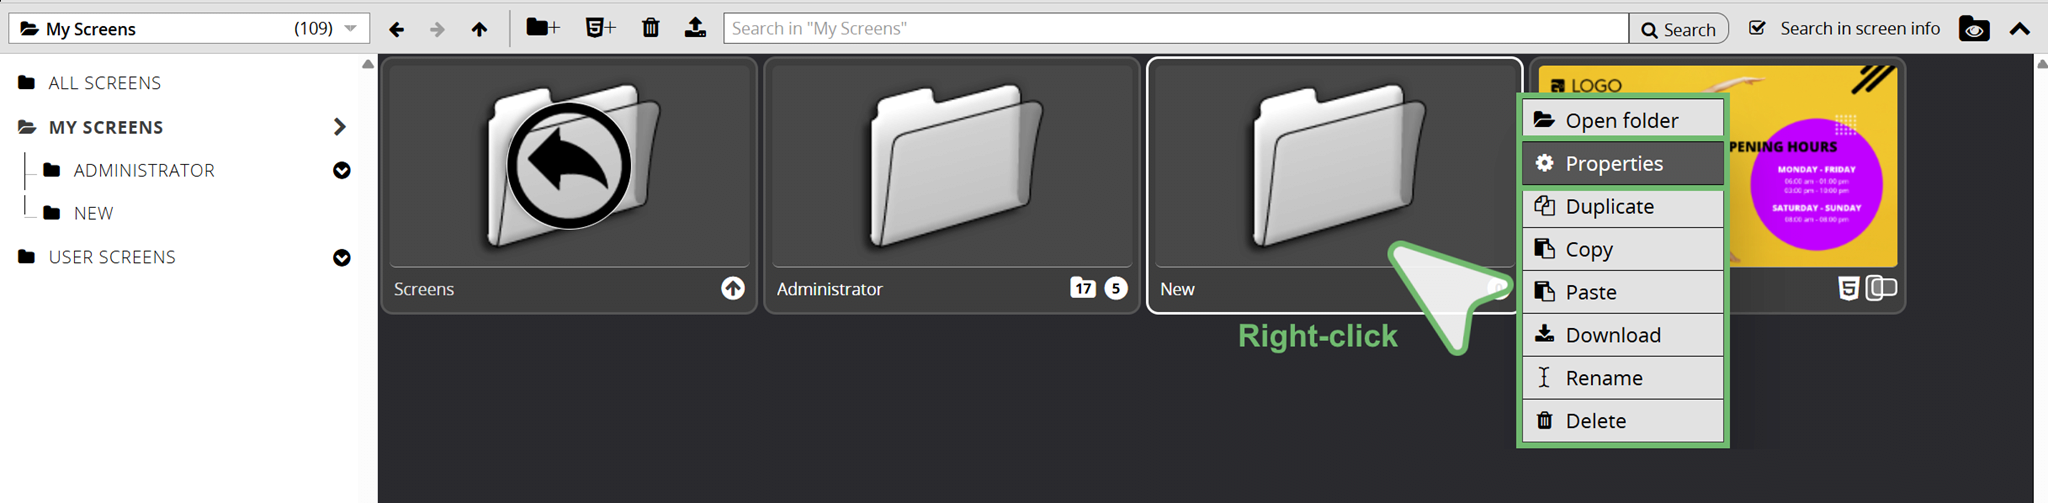
| | | Context Menu |
After right-clicking on a screen, you can access further options in the context menu. Read the following sections for more information.
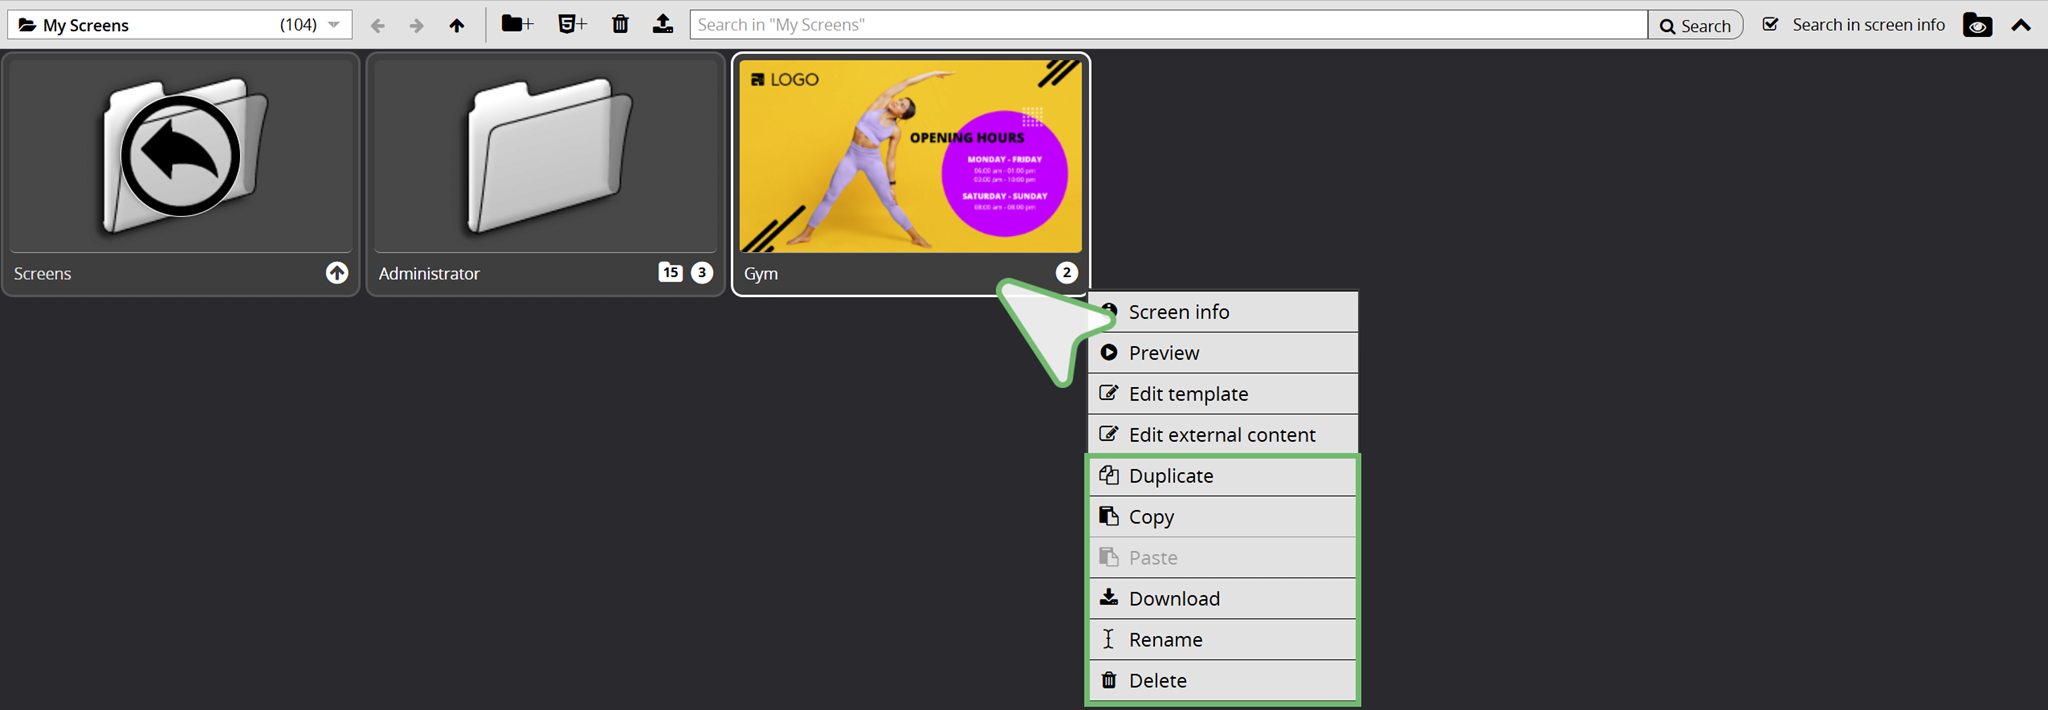
| | | Duplicate |
If you want to duplicate folders or screens in your screen area, right-click to open the context menu and select the menu item → Duplicate.
| | Copy |
If you want to copy folders or screens in your Screen Area, right-click to open the context menu and select the menu item → Copy.
| | | Paste |
If you want to paste copied folders or screens, right-click to open the context menu and select the menu item → Paste.
| | | Download |
If you want to save folders or screens from your Screen Area to another location, right-click to open the context menu and select the menu item → Download.
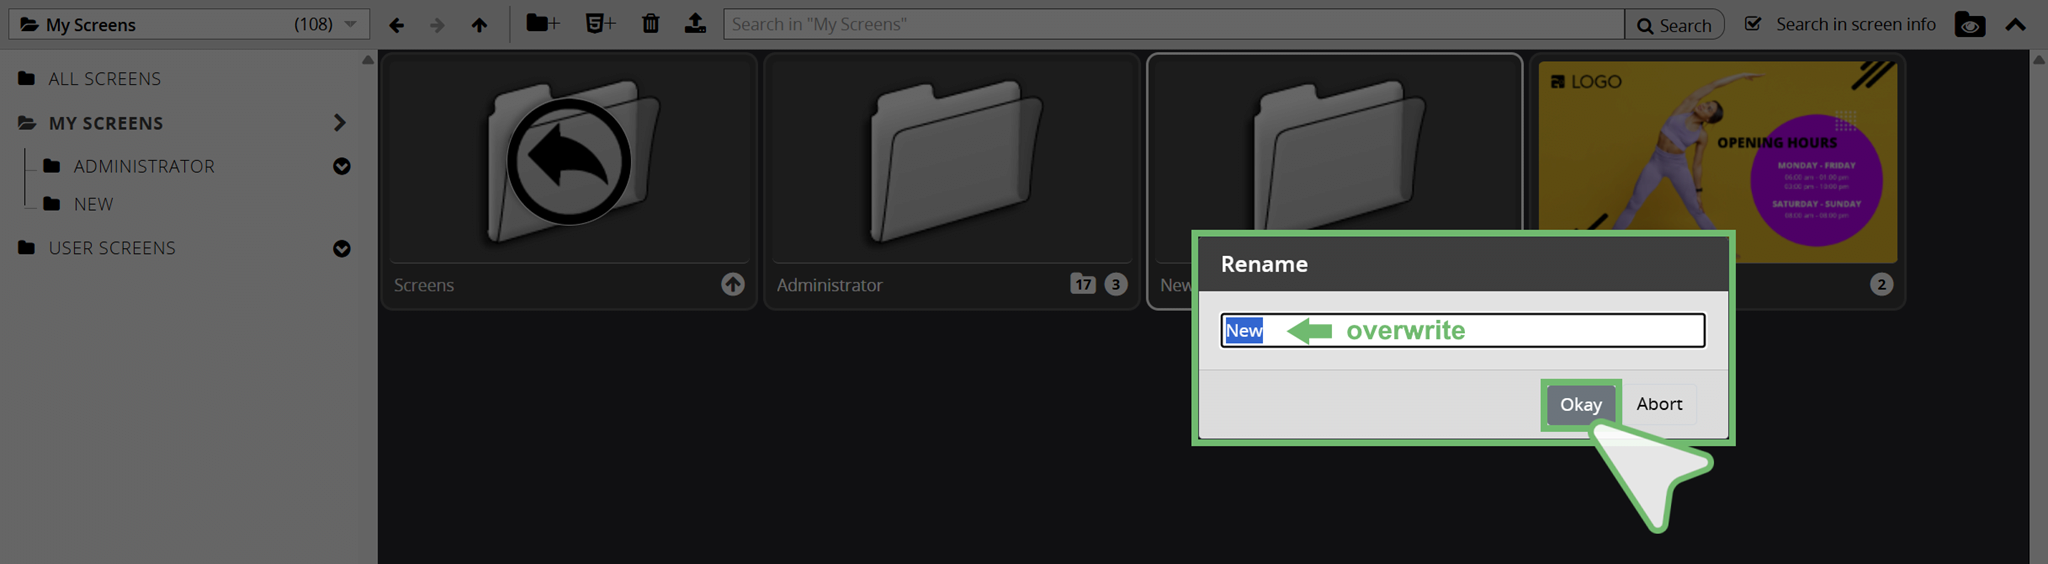
| | | Rename |
If you want to rename folders or screens, right-click to open the context menu and select the menu item → Rename.
After clicking on this menu item, an input window opens. Overwrite the name and then click on Okay.
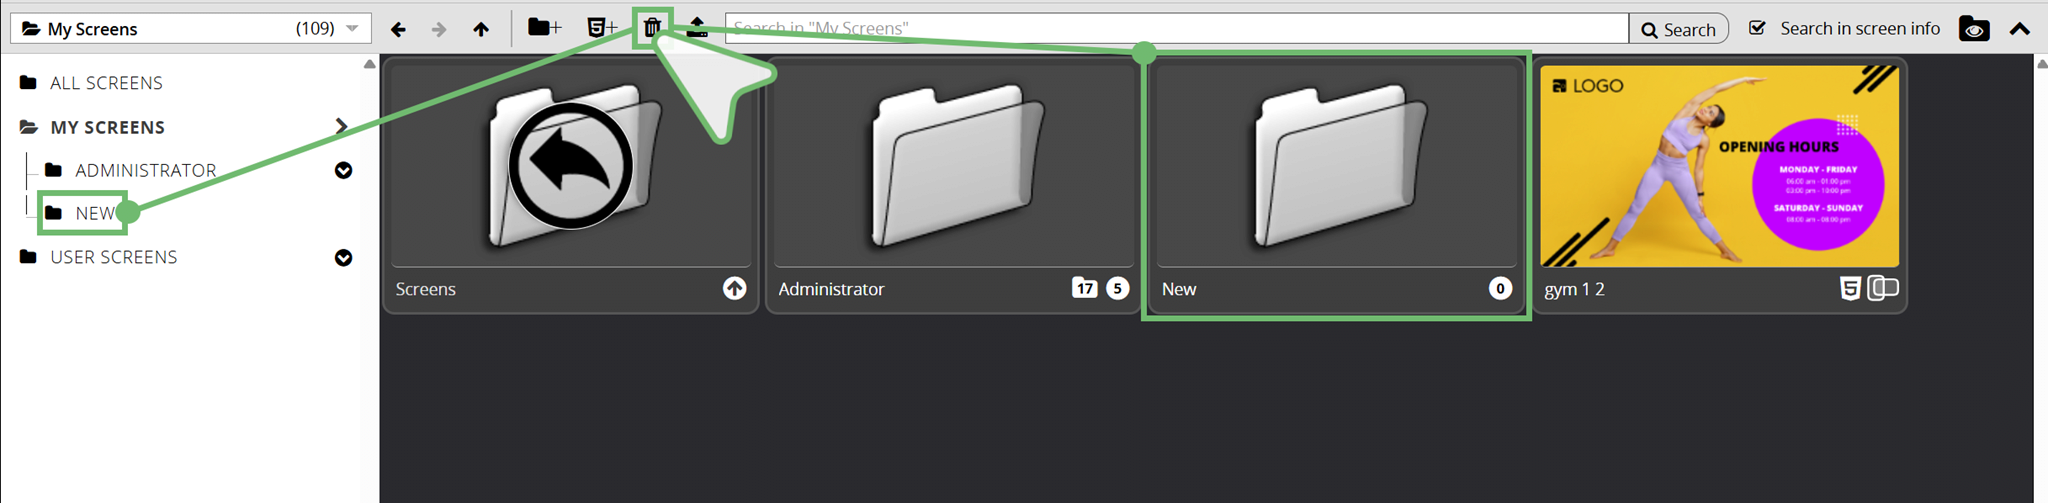
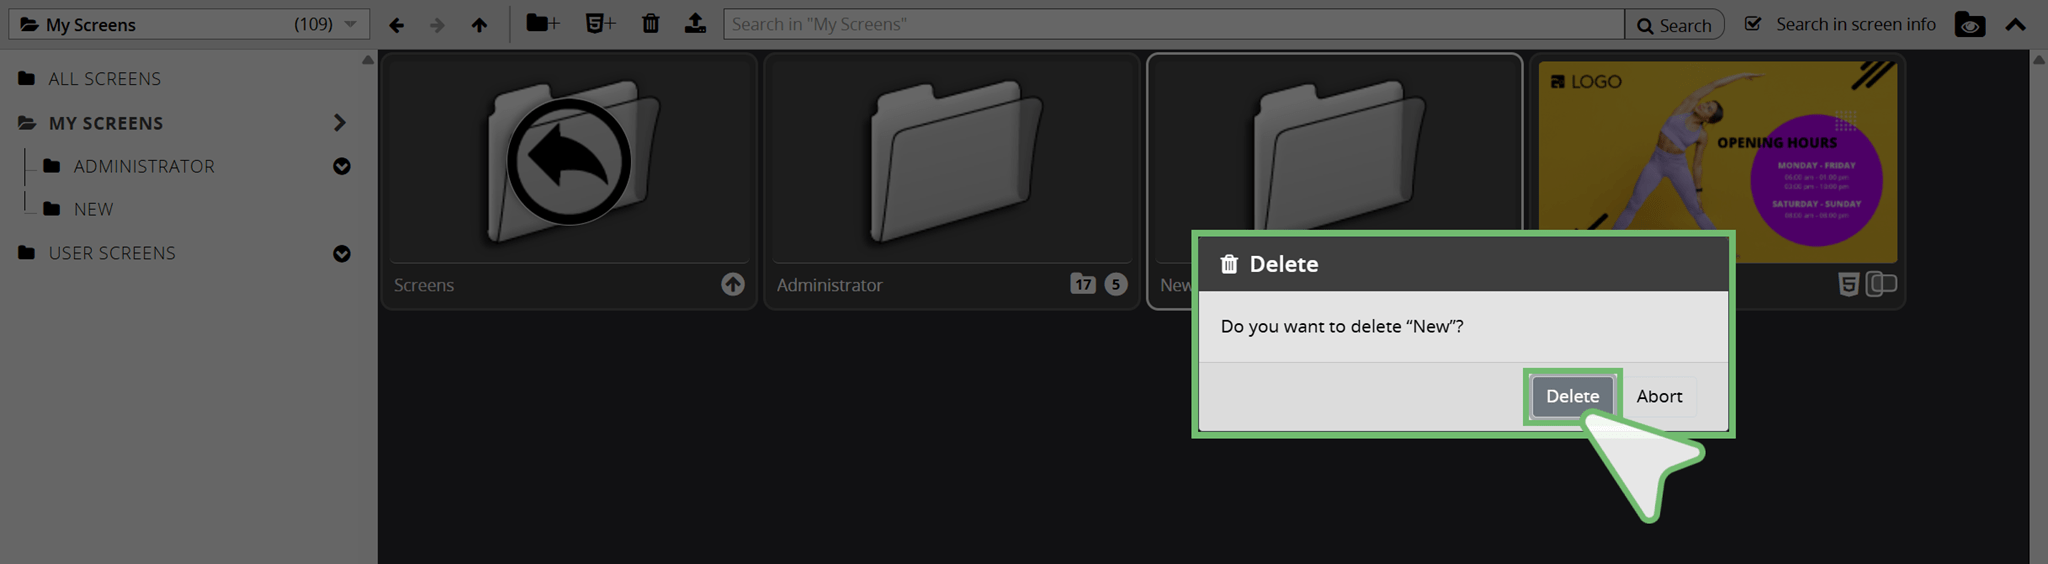
| | | Delete |
 | | Deletes the selected folder or screen from your Screen Area. Alternatively, you can right-click on the selected folder or screen and select the menu item → Delete. |
To be on the safe side, a prompt opens, which you confirm to permanently delete the folder / screen.
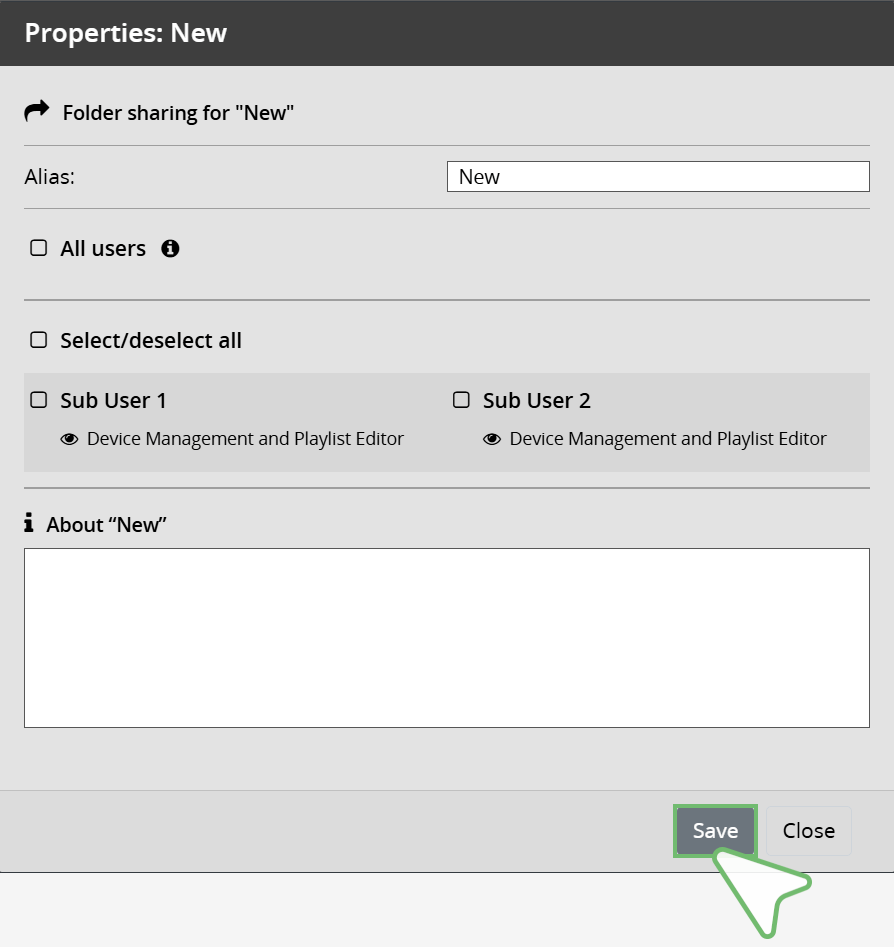
| | | Sharing Folders With Sub-Users |
If you want to share a specific folder with a sub-user, right-click on the relevant folder and select the menu item → Properties.
Properties
The Properties menu item opens a window in which you can share the folder with your sub-users.
The upper input field allows you to assign an alias name for the folder beforehand.
Below this, you will find the option to activate/deactivate sharing for all users or to specify it individually.
The lower input field provides you with space to enter information about the folder.
Confirm your entries with Save.
Click here to continue to the chapter → HTML5 Editor.