
Set Up Samsung TizenPro Up To 2023
- For TizenPro devices up to the end of 2023 -
Preparing The Device
Do you have the latest Samsung firmware version on your TizenPro device?
It is important that you install the latest firmware version on your TizenPro device to ensure an optimal display.
Please check this and update the firmware if necessary.
Then follow the installation instructions for the Samsung TizenPro device.
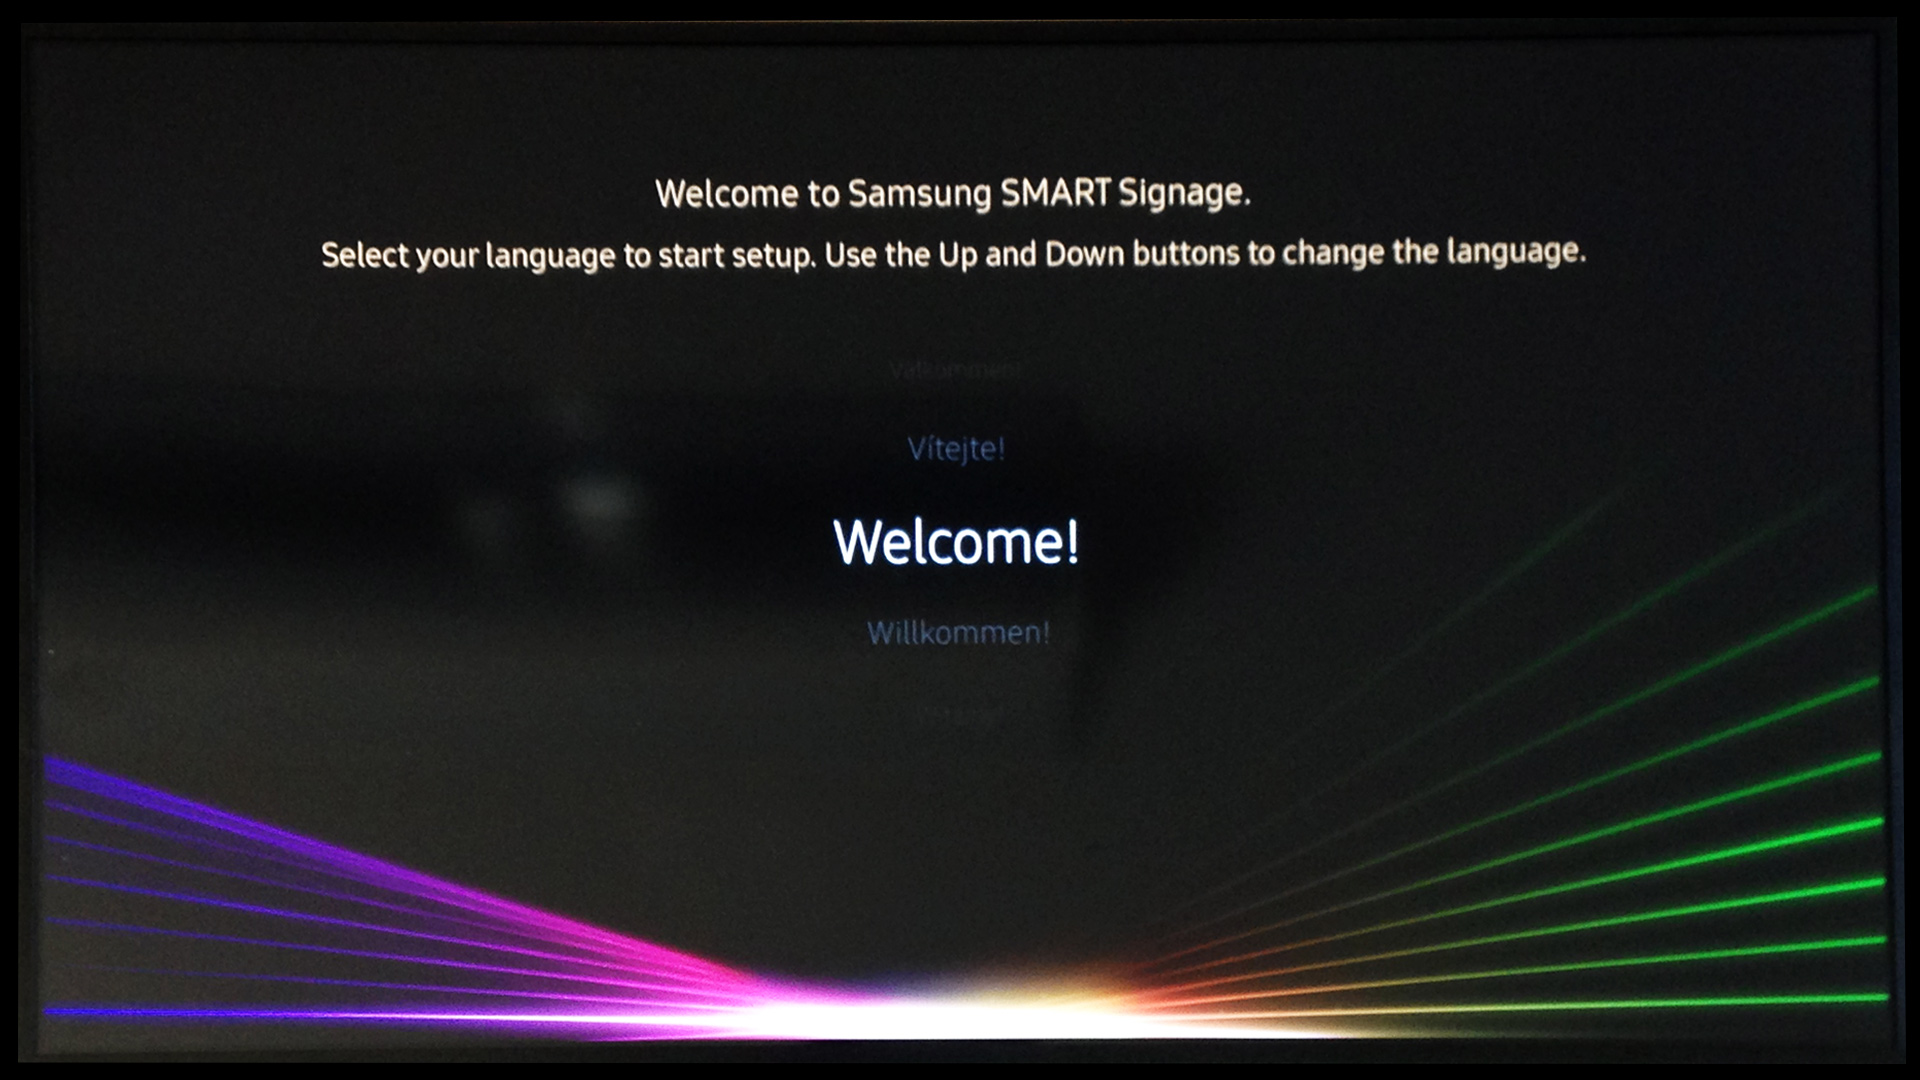
HOME Screen - Menu Language
Set your desired language on your device. Use the arrow keys on the remote control.
After making your selection, press the Enter key →  on the remote control.
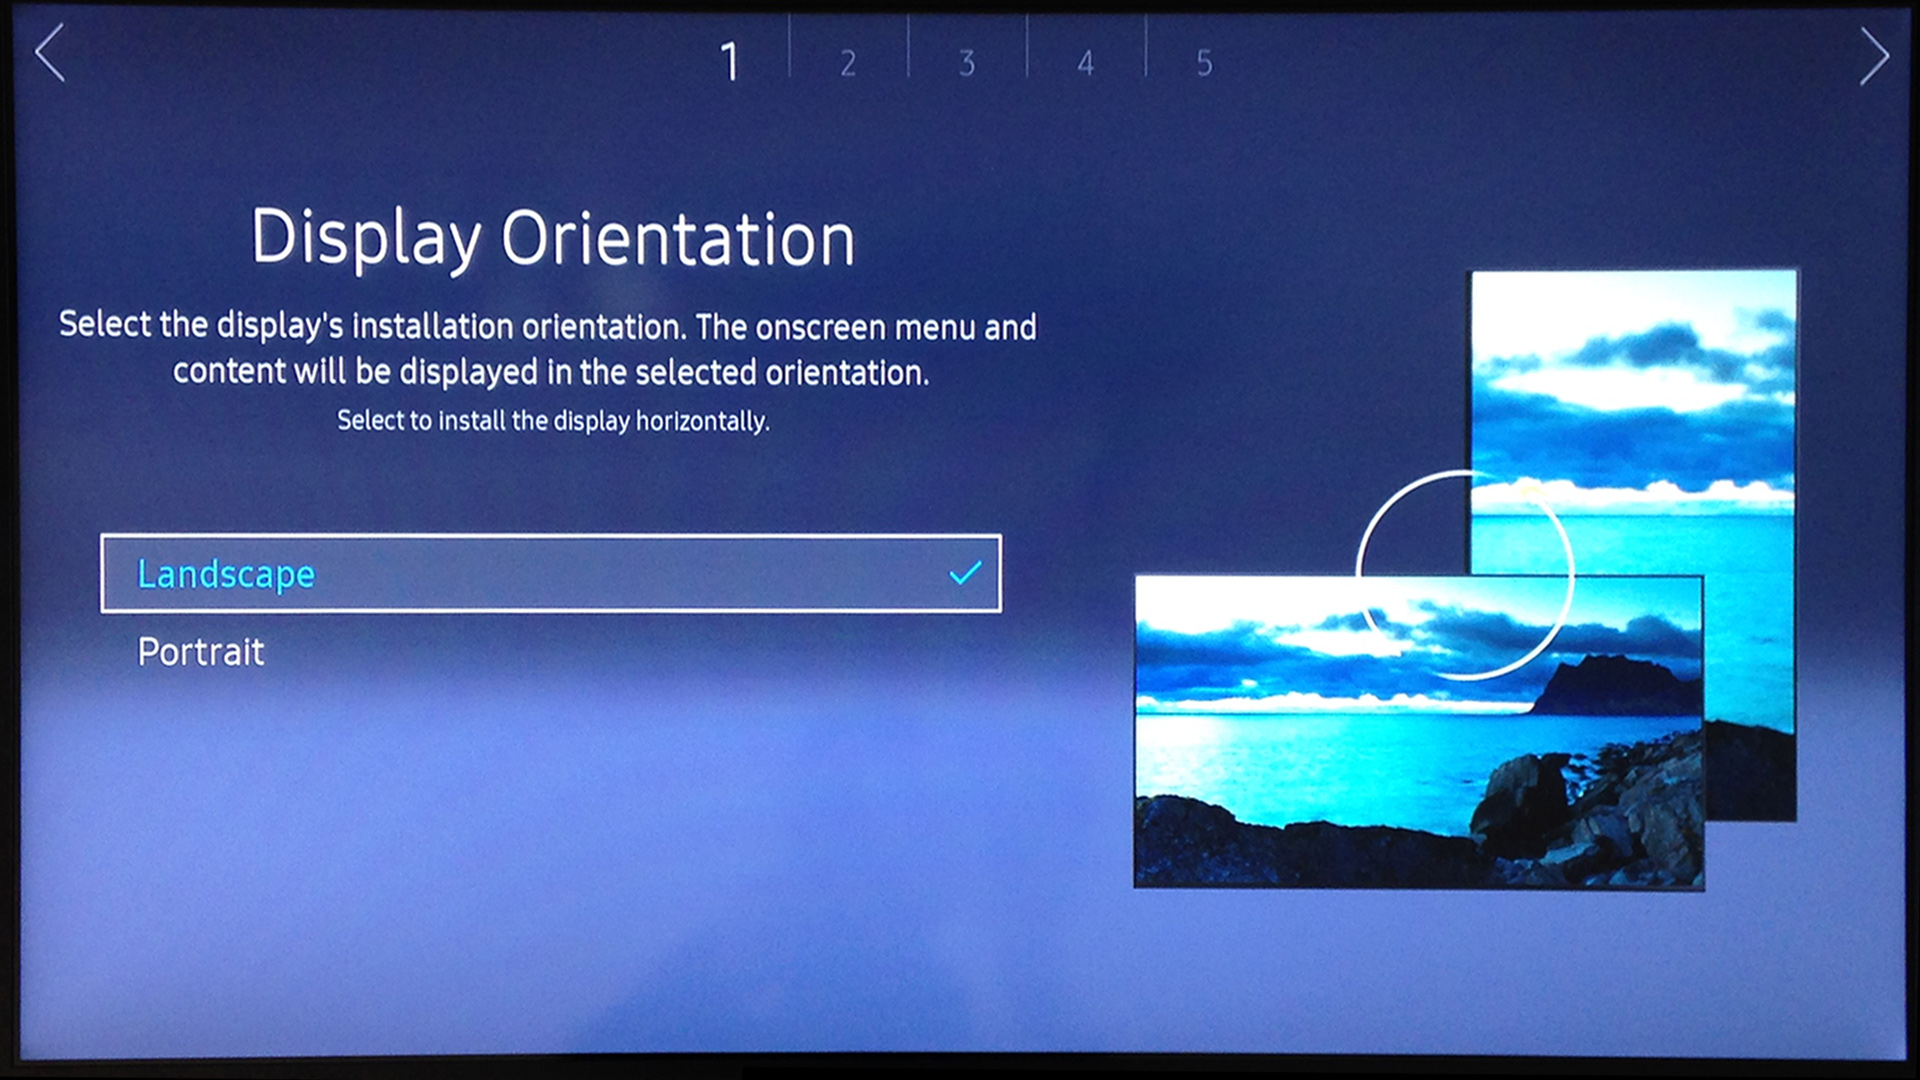
1 - Display Orientation
Set up the display of the device in the desired output format. Use the arrow keys on the remote control.
Confirm your selection with the Enter key → .
. 
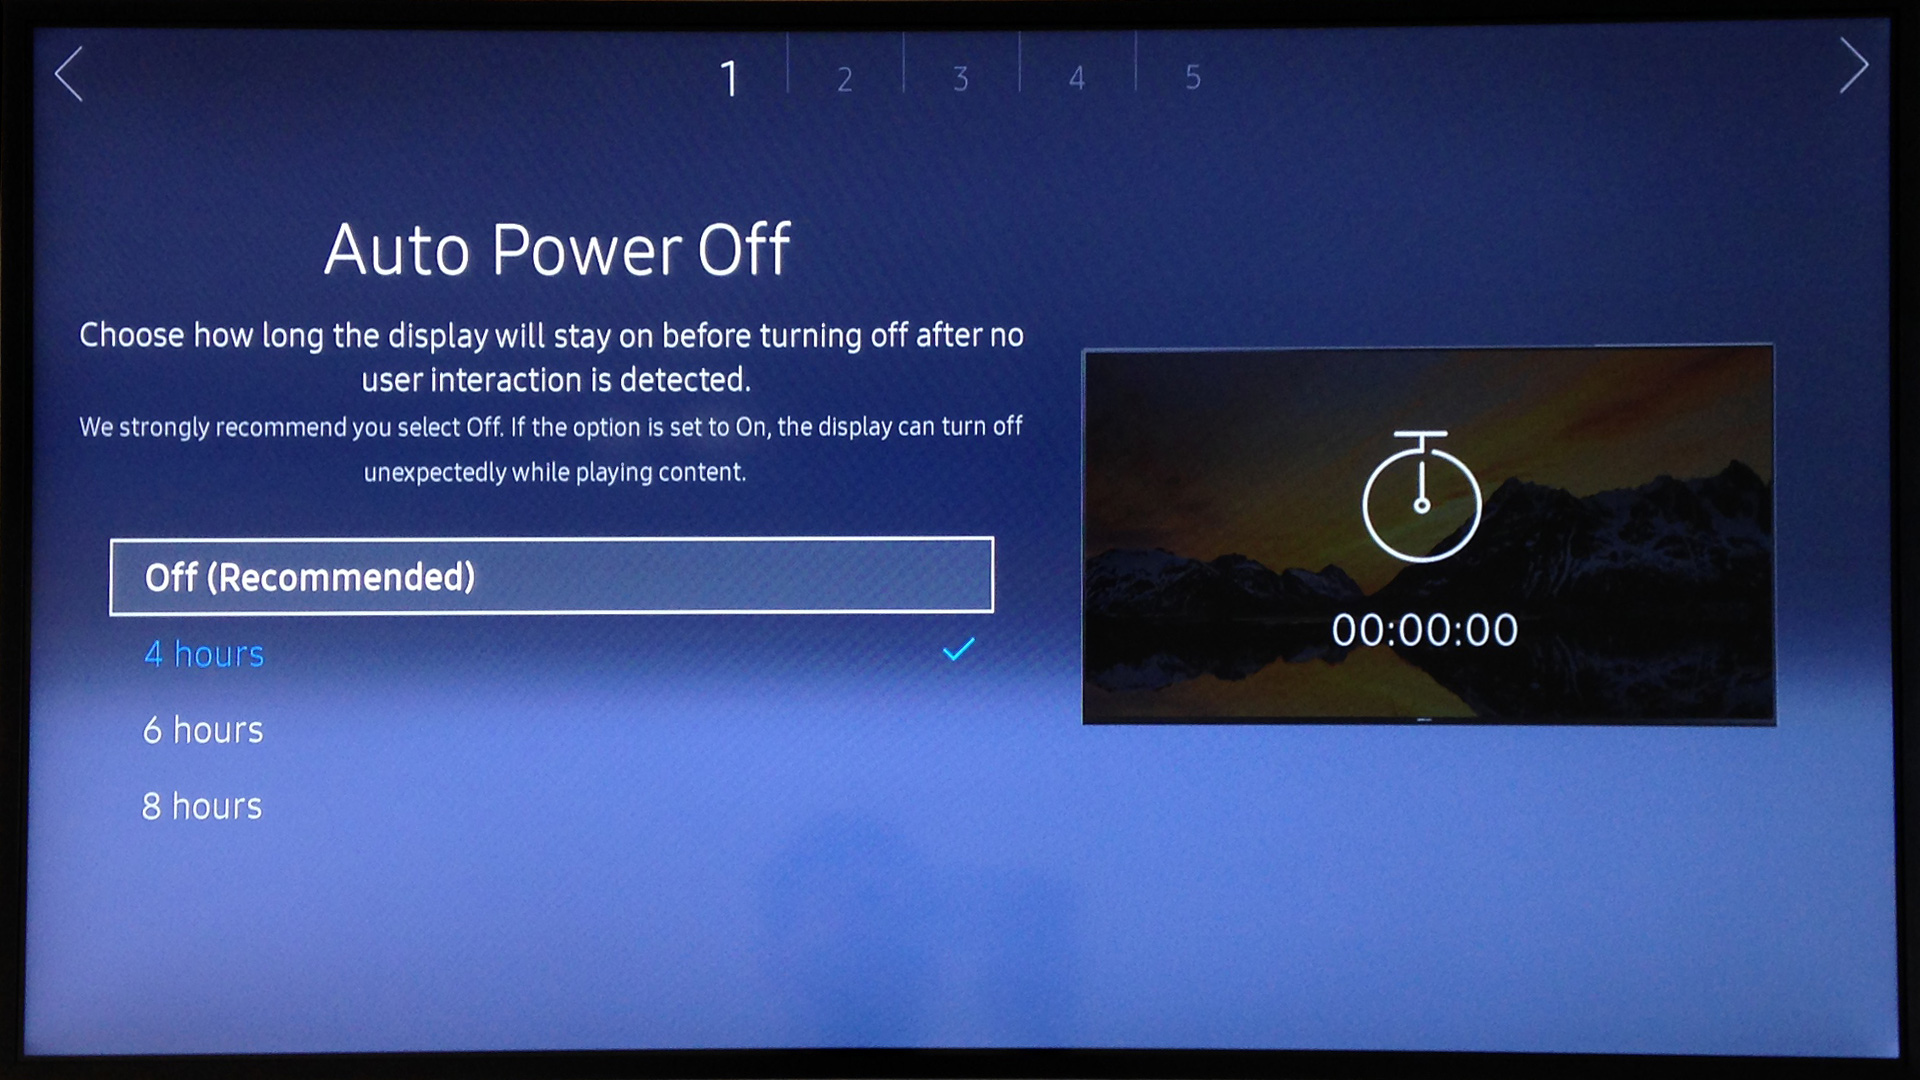
1 - Auto Power Off
Select the option Off (Recommended) to disable the Automatic Power Off on your device. Use the arrow keys on the remote control.
Then confirm your selection by pressing the Enter key →  .
.
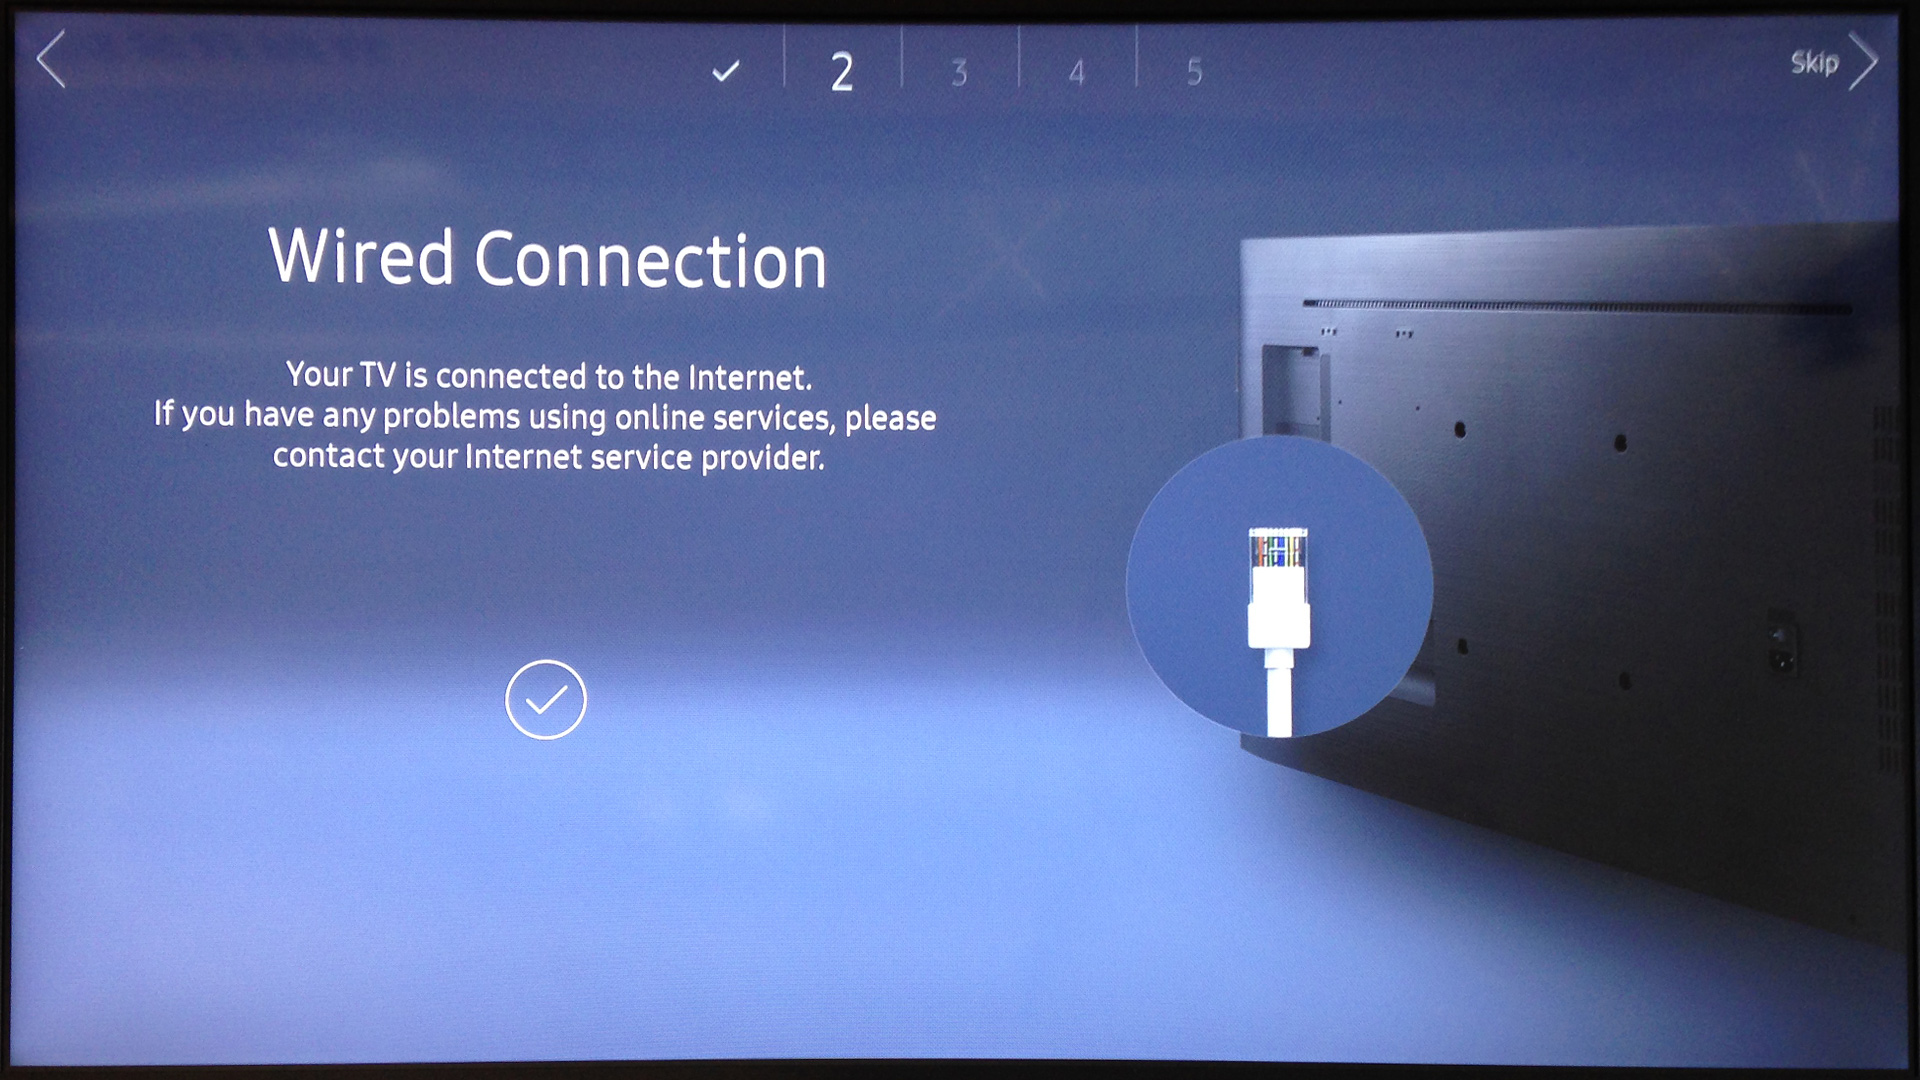
2 - Wired Connection
You have two options to connect your Tizen SoC device:
LAN (Wired Connection) or W-LAN (Wi-Fi).
→ Please choose Wired Connection LAN.
Then press the Enter key →  .
.
3 - Clock Set
Set the current time and date on the device. This process is decisive for the connection to the server.
Then press the Enter key →  on the remote control of your device.
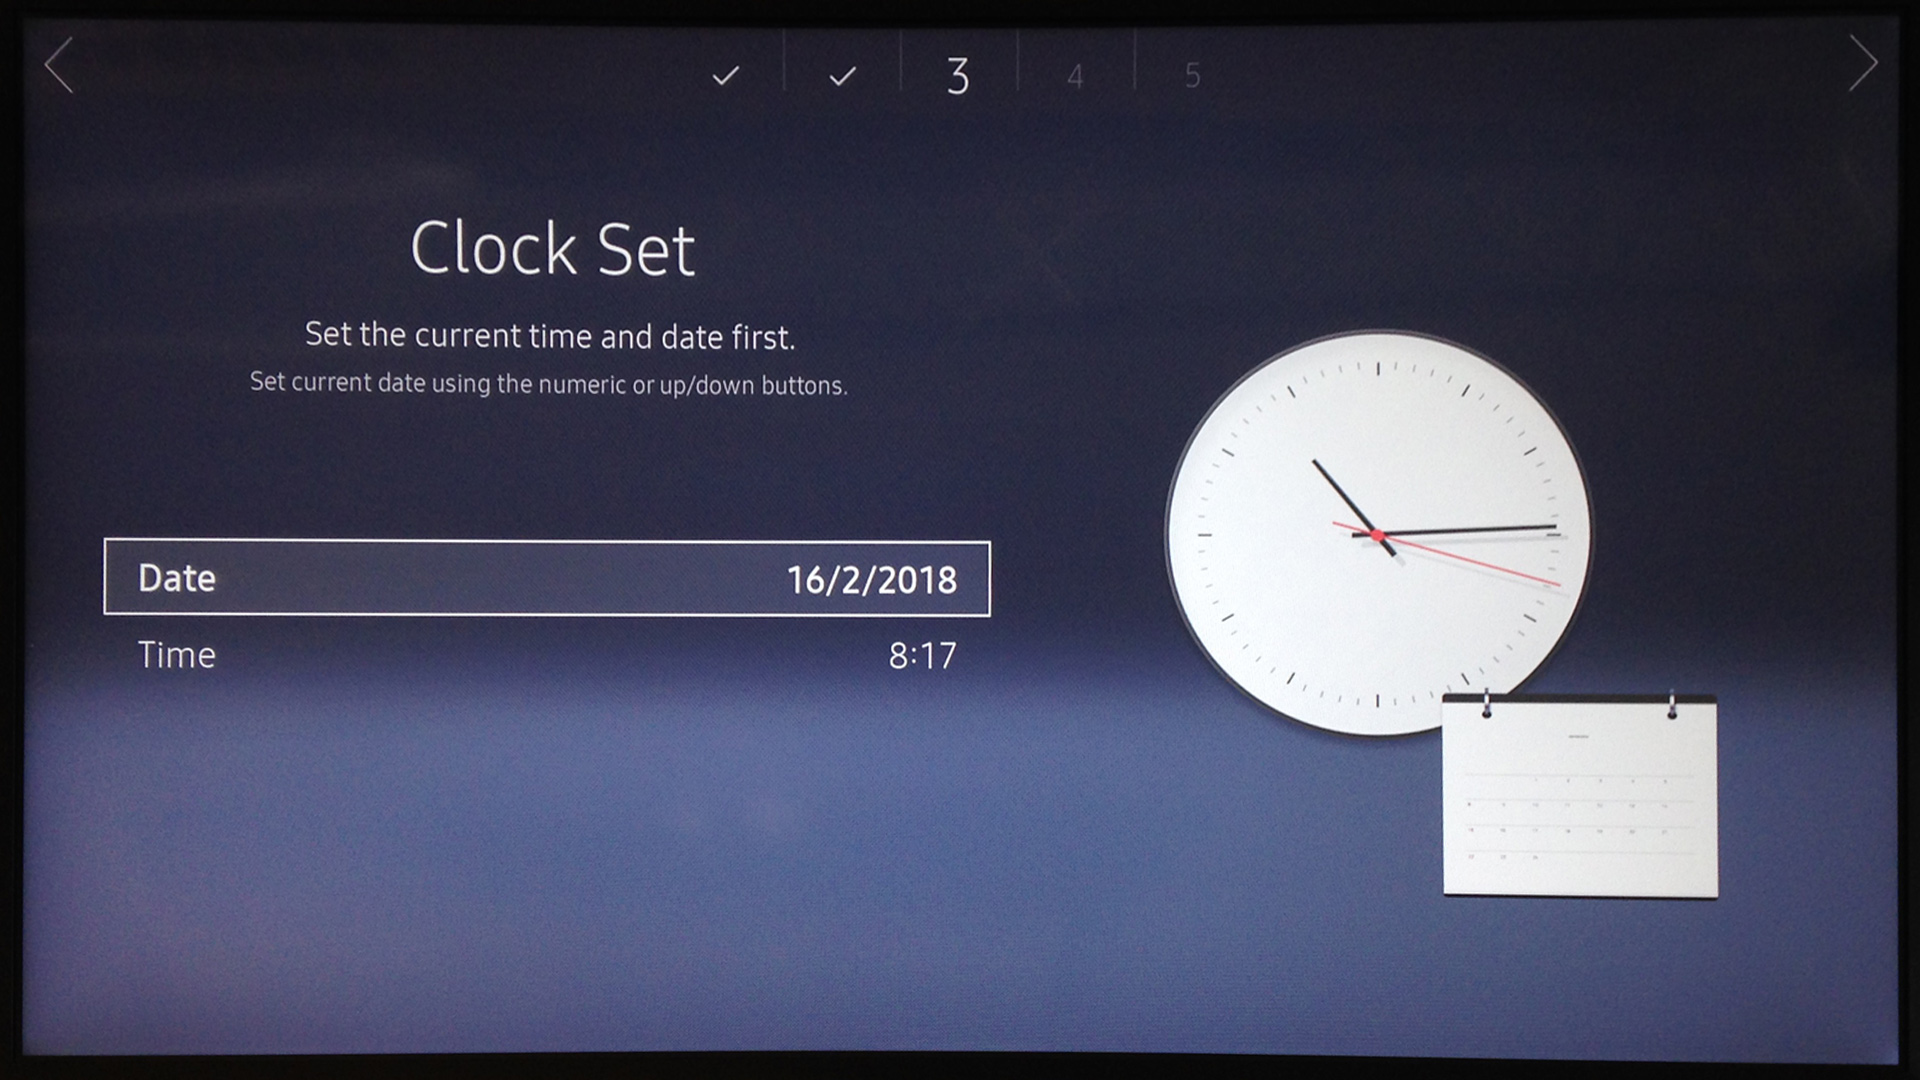
Please also read the section Time Setting In The Cloud Software at the end of the chapter.
4 - Play Via
For the purpose of displaying a playlist as well as connecting to the cloud please choose the URL Launcher function.
Confirm by pressing the Enter key →  on the remote control of your device.
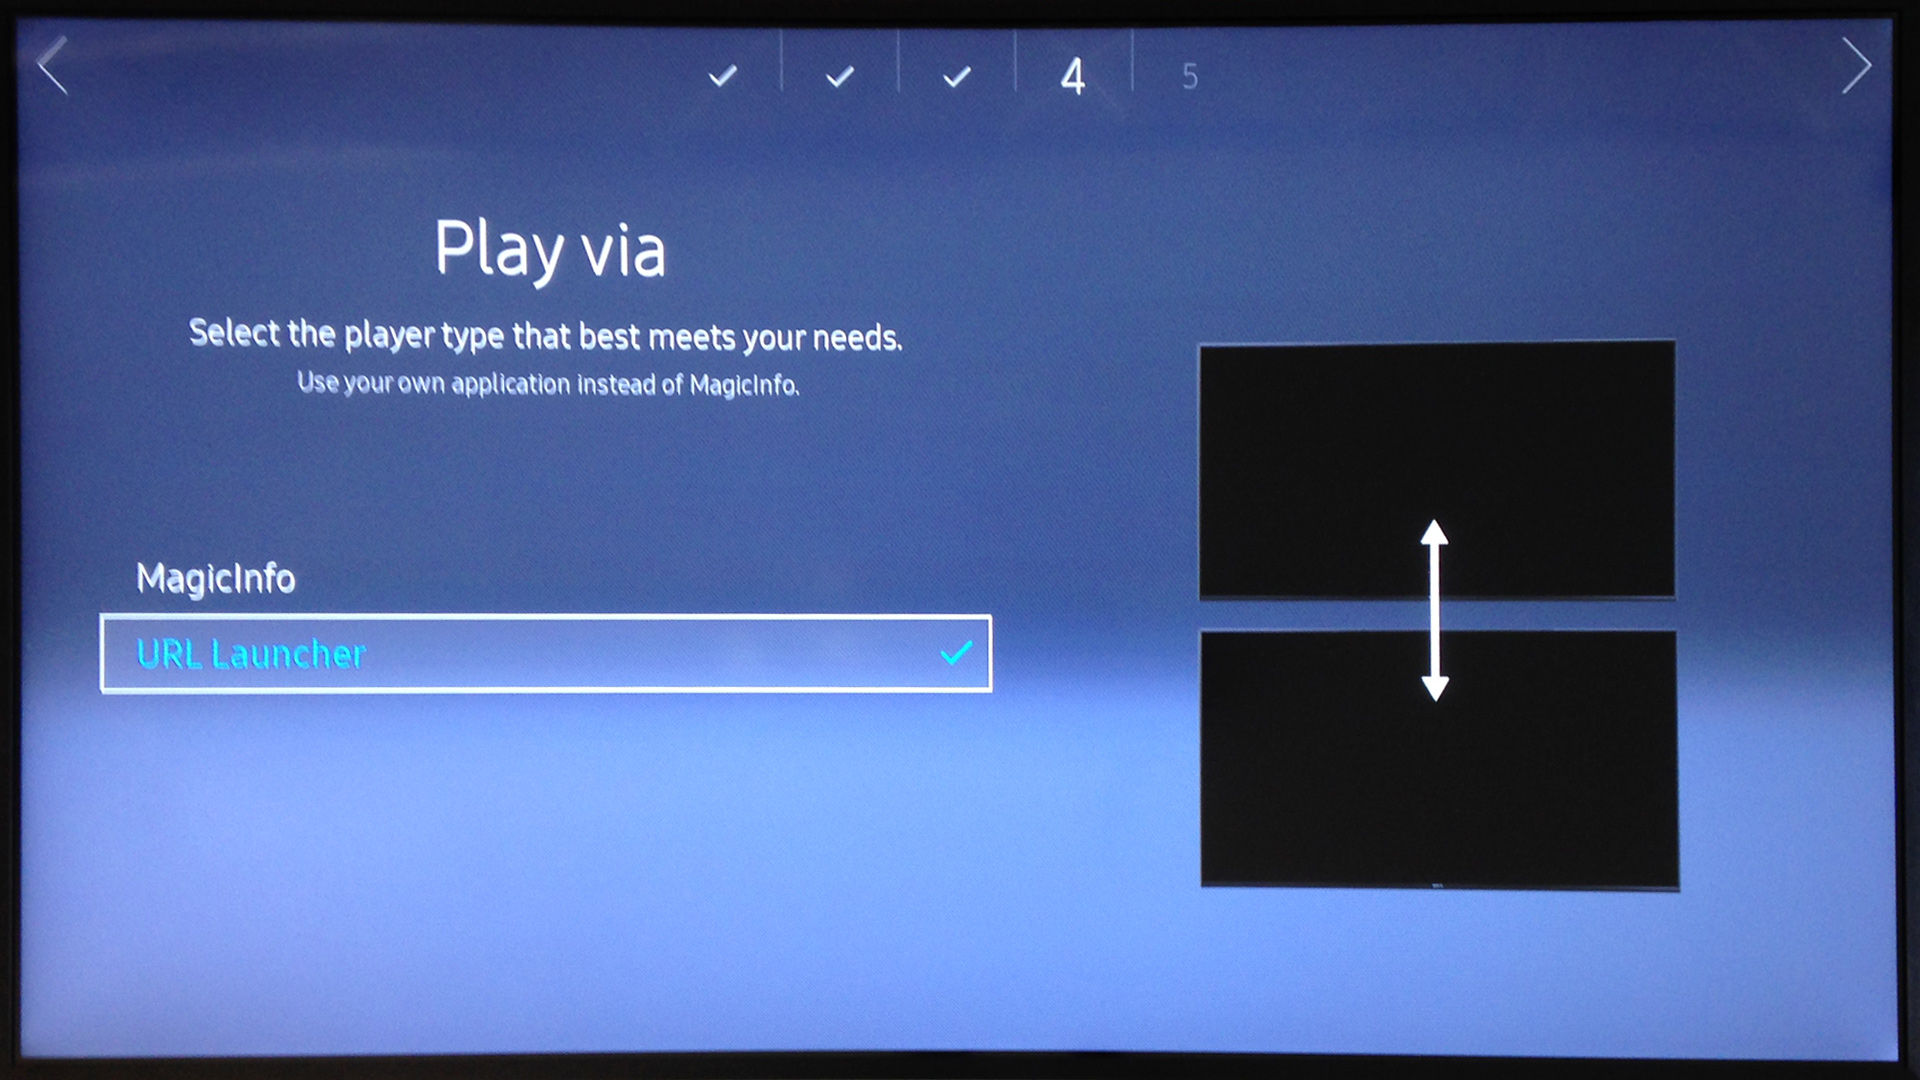
..This will forward you to the following screen...
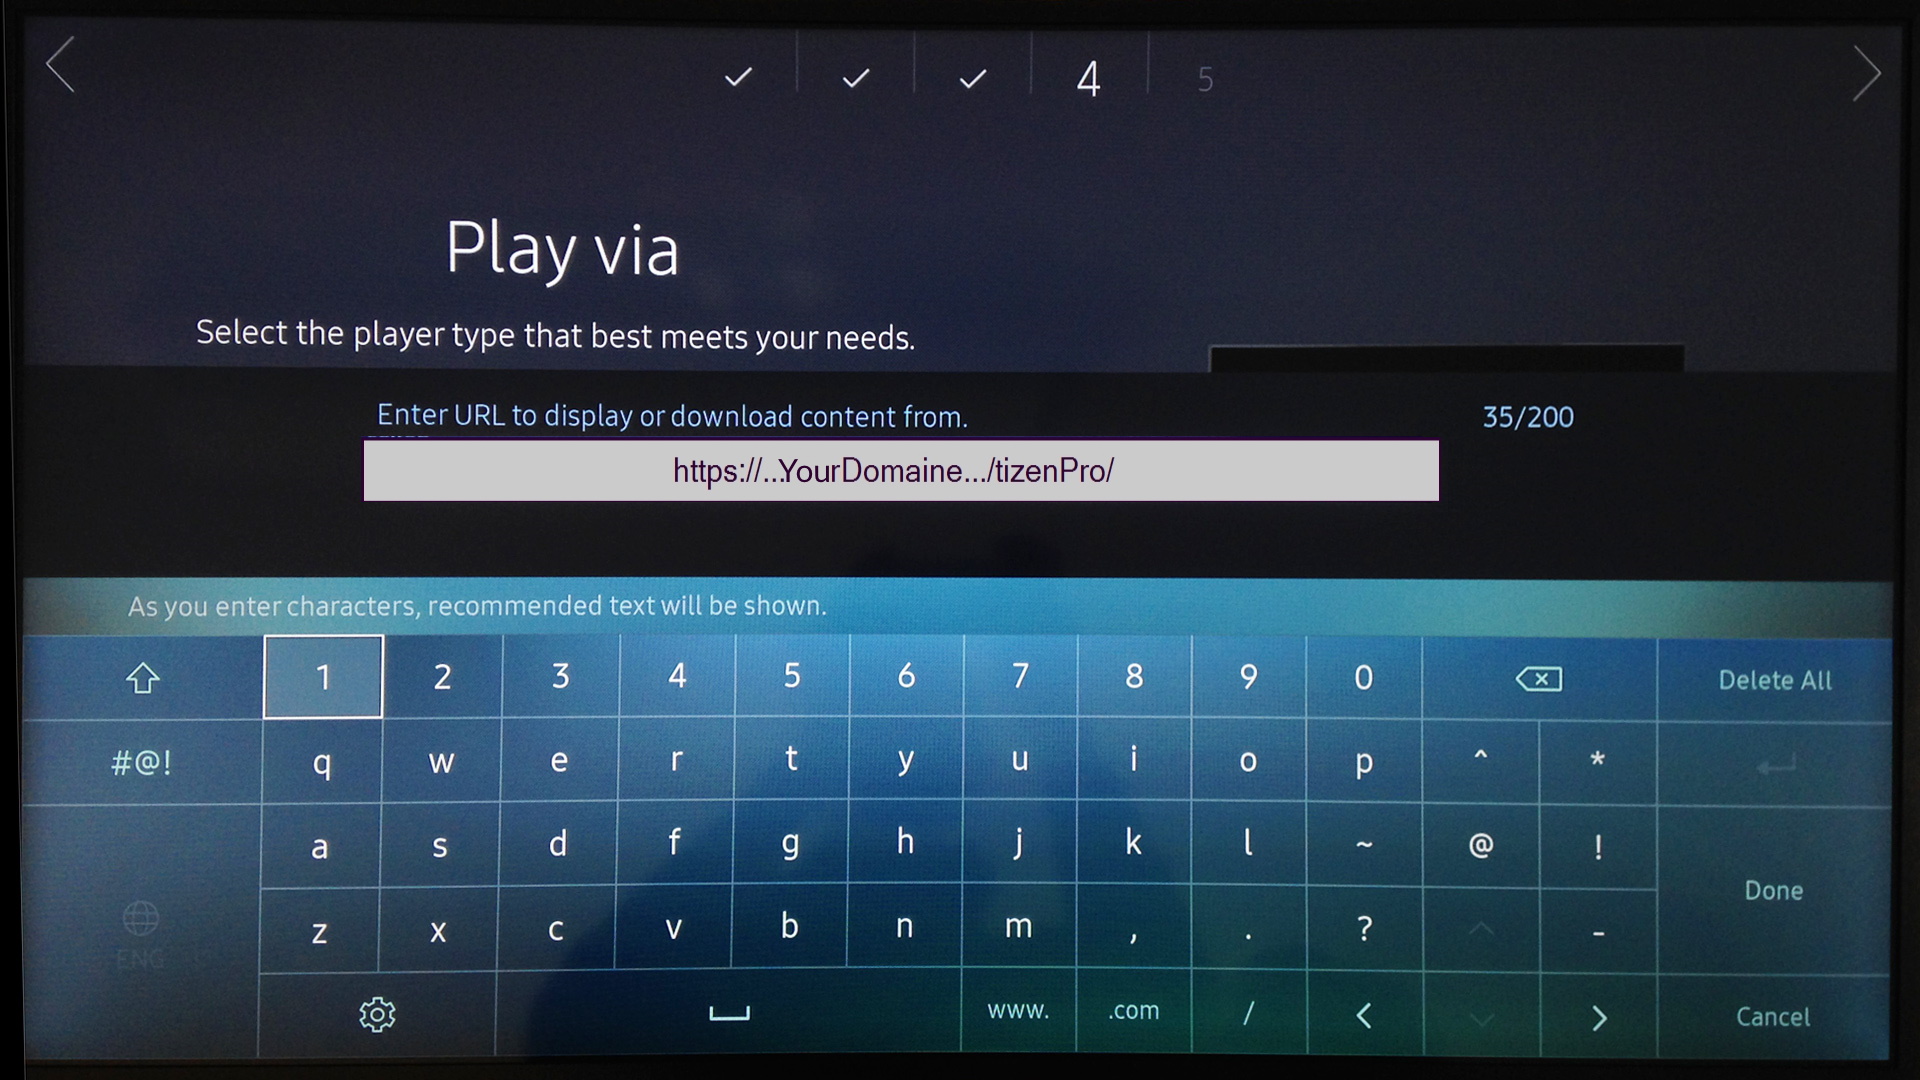
Now enter this URL address into the input field:
https://...YourDomaine.../tizenPro/
4 - URL Input
For the purpose of entering the URL you can use a USB keyboard. When you have finished typing, use the arrow keys on the remote control to go to Done .
Confirm by pressing the Enter key →  .
.
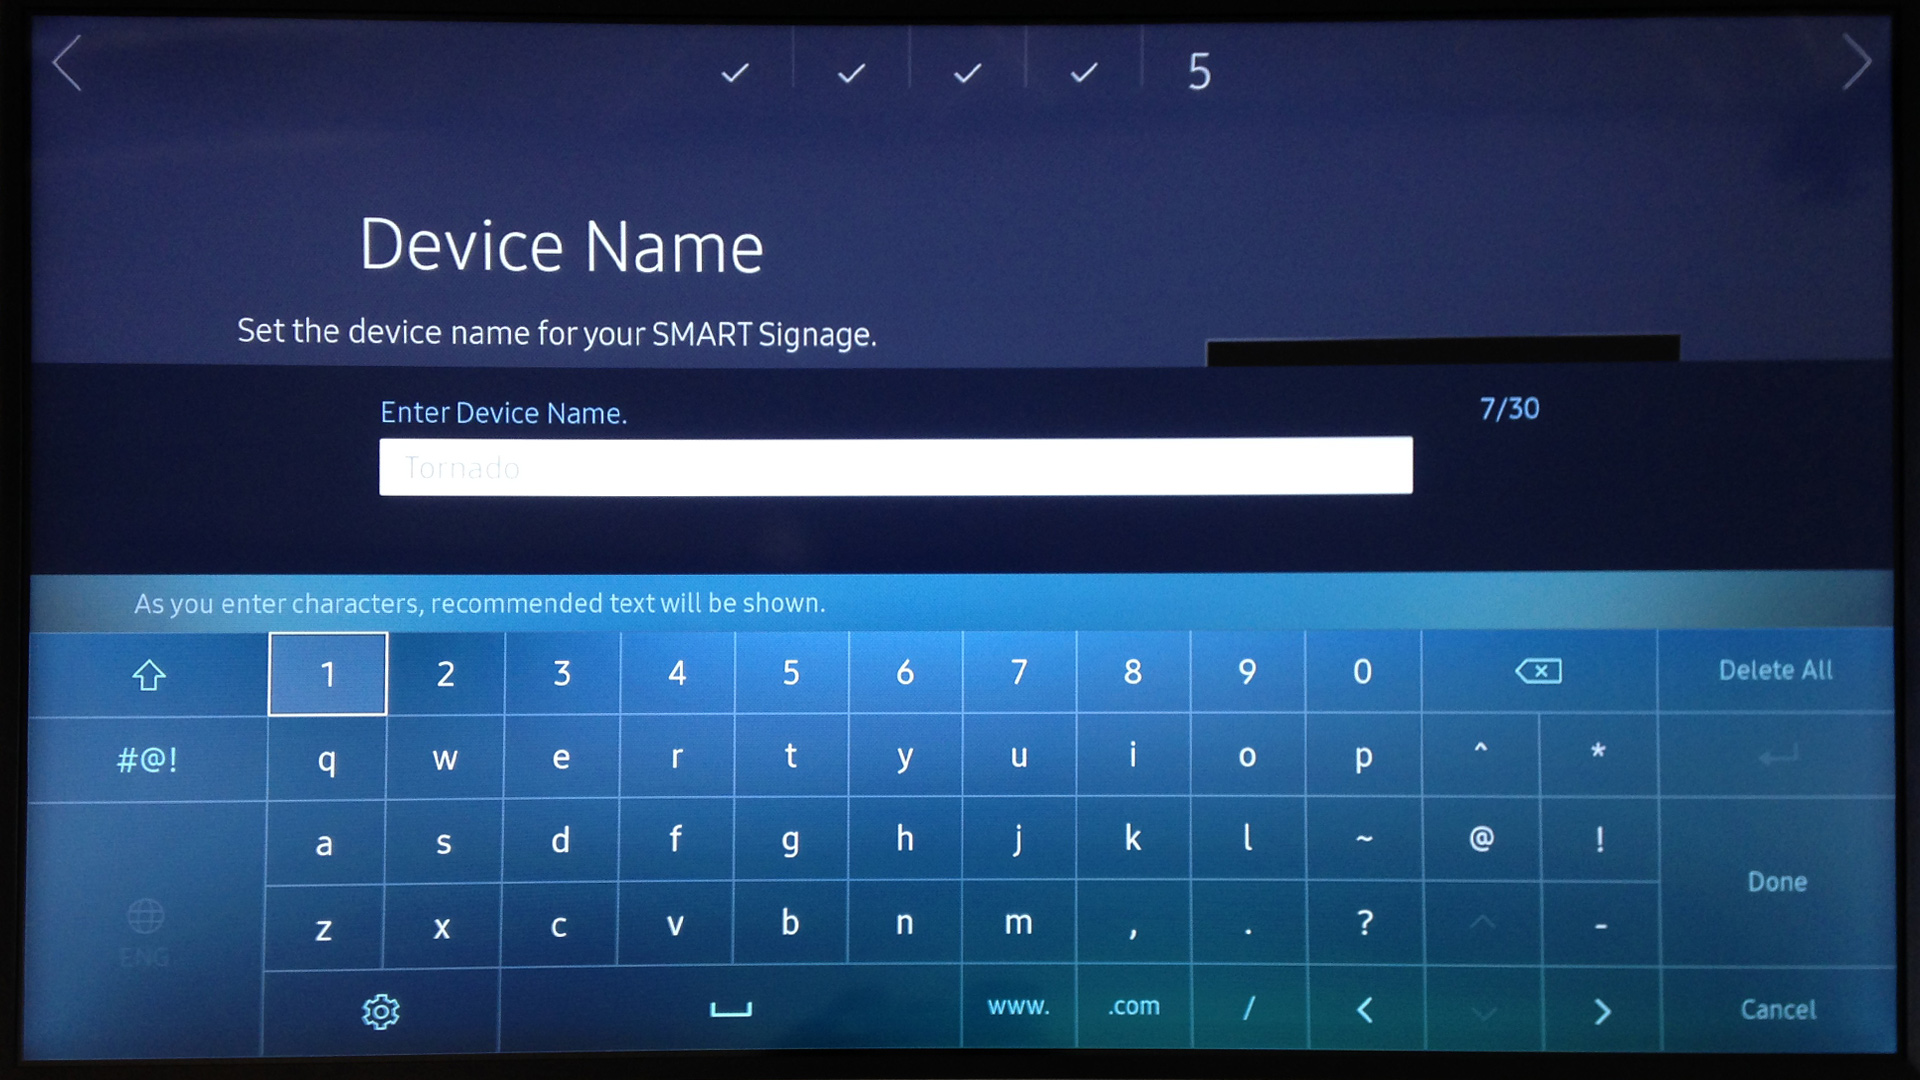
5 - Device Name
This screen allows you to specify a name for the device to identify it more easily in the device management.
Confirm the name by pressing the Enter key →  .
.
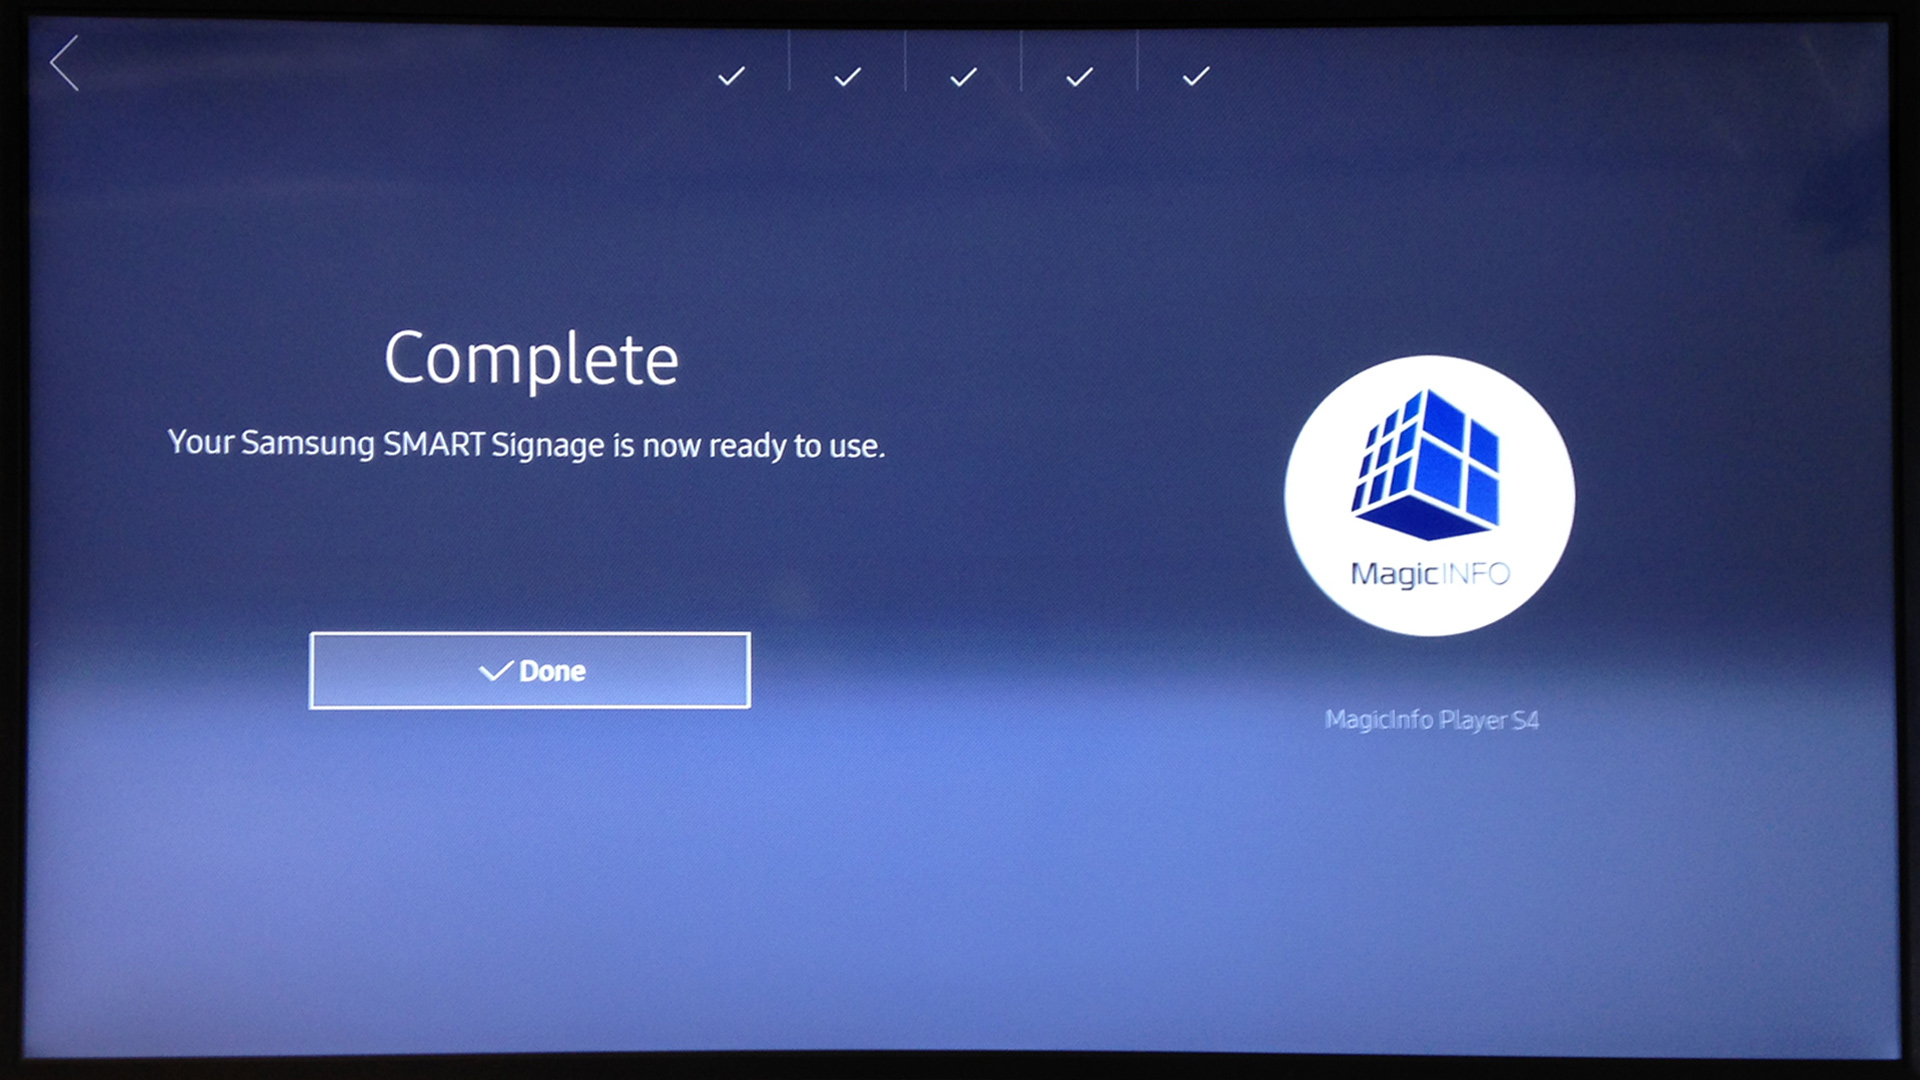
 - Complete Setup
Complete the setup by moving to Done .
Use the arrow keys of the remote control.
Confirm by pressing the Enter key →  .
.
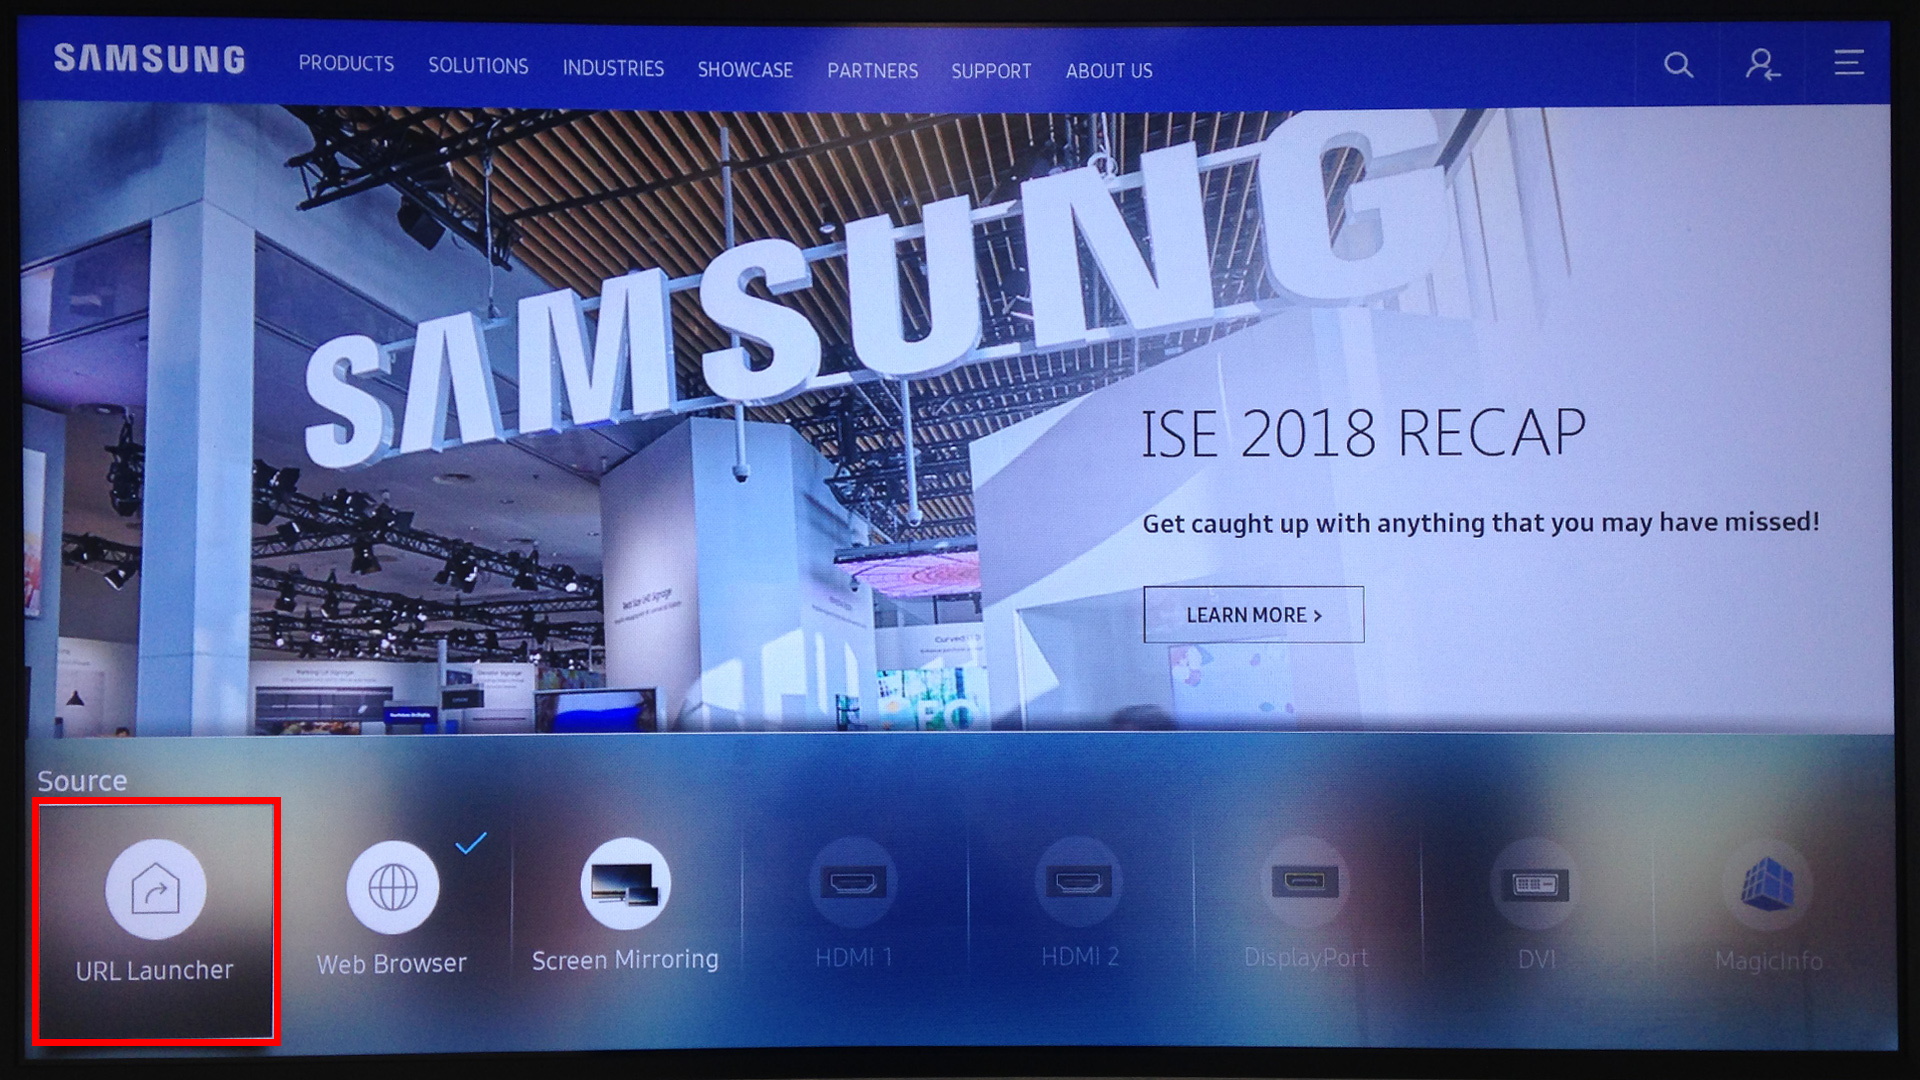
URL Launcher
In this view move to URL Launcher →  .
.
Use the arrow keys of the remote control press the Enter key →  .
.
Activation
The player is now installed. Now connect your player to the Cloud Software.
To do this, use one of the following two options:
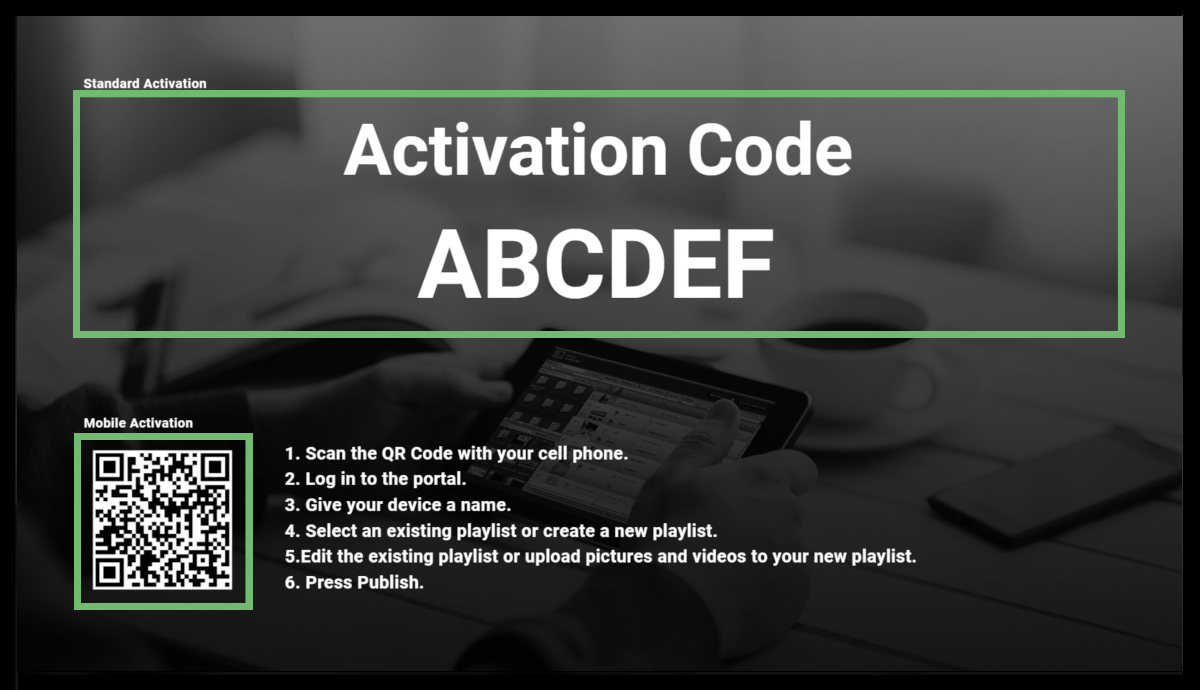
Activation Via Mobile Device| QR Code:
| 1. | Scan the QR Aktivation Code on the monitor. |
| 2. | Enter your username and your password → Login. |
| 3. | Enter the device information → Name of the device = mandatory field. |
| 4. | Assign an existing playlist or create a new playlist. |
| 5. | Save your entries. |
See chapter → Mobile Device Activation.
Aktivation Via Your Cloud Account | Activation Code:
| 1. | Log in to your Cloud Account. |
| 2. | Open the Device Management. |
| 3. | Clicken on the → +Device function in the bottom bar. |
| 4. | Enter the name for the player → name of the device = mandatory field. |
| 5. | Enter the Activation Code in the field under Code. |
| 6. | Save your entries. |
See chapter → Add Device.
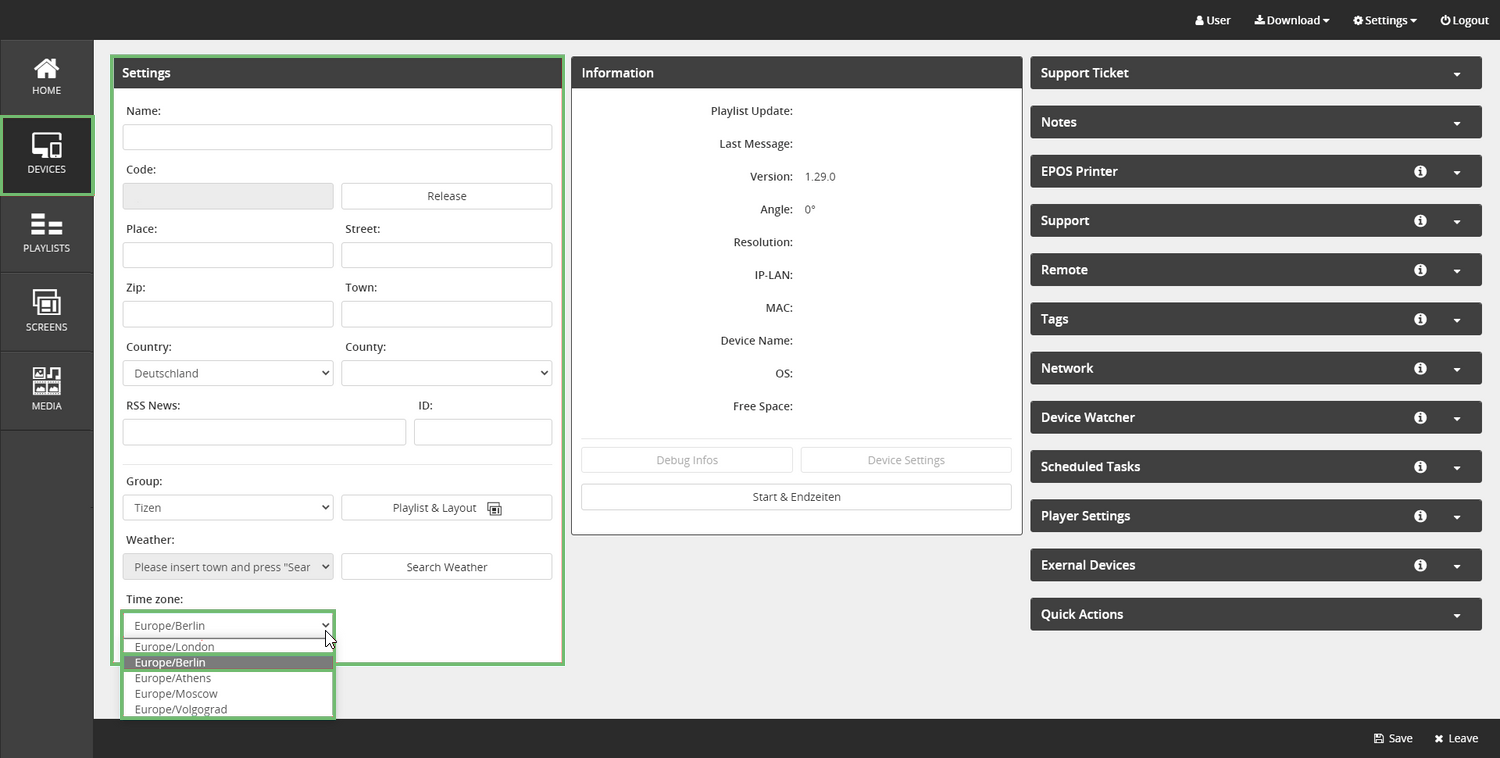
Time Setting in the Cloud Software
The time setting in the Cloud Software is important for the time control of the playlists and especially for the automatic changeover of summer and winter time based on the time zone.
1. To do this, click the pencil icon of the corresponding Samsung Tizen device in the Cloud
Software under → Devices. The time zone "Europe/Berlin" is set there by default.

2. Go to the → Settings area and open the selection menu under → Time zone to select
another time zone.
3. Click on → Save.
Note:
Modifications to the time zone and also the modification on the day of the time change will only be applied after the app has been restarted.